Learn how to make a beautiful hair-on cowhide pillow with Chuck Dorsett from Weaver Leather Supply! This easy leathercraft DIY project is beginner-friendly, machine- or hand-sewn, and makes the perfect Western-style accent for your home or a thoughtful handmade gift. In this step-by-step tutorial, Chuck walks through everything from choosing your hide to cutting, clipping, and sewing, with pro tips on handling hair-on leather and backing it with soft, supple deer-tan cowhide. Whether you’re using a sewing machine or hand-stitching, you’ll end up with a one-of-a-kind cowhide pillow that adds rustic charm to any space.
How to Make a Hair-On Hide Pillow: A Beginner-Friendly Leathercraft Project
If you’re looking for an easy leathercraft project that’s equal parts Western rustic charm and modern appeal, a hair-on hide pillow is the perfect place to start. In this beginner-friendly tutorial from Chuck Dorsett at Weaver Leather Supply, you’ll learn how to create a beautiful, functional accent pillow using soft deer-tan cowhide and your choice of unique hair-on cowhide.
🛠️ Tools & Materials You’ll Need
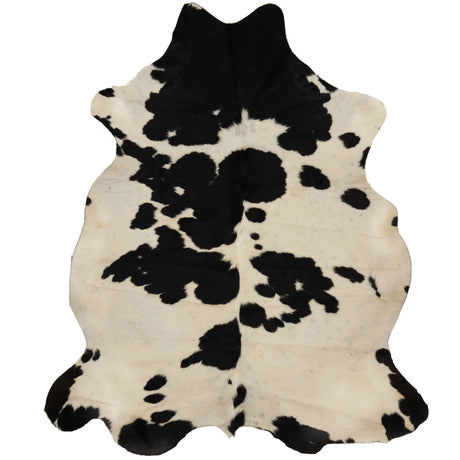
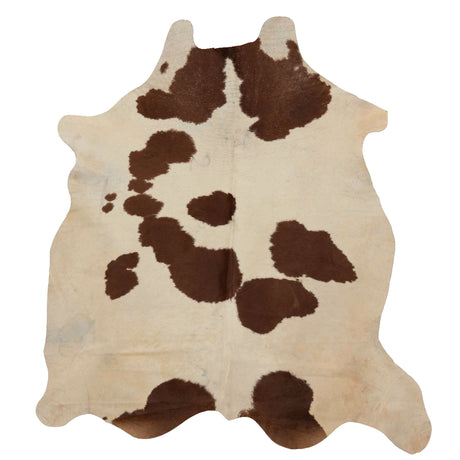
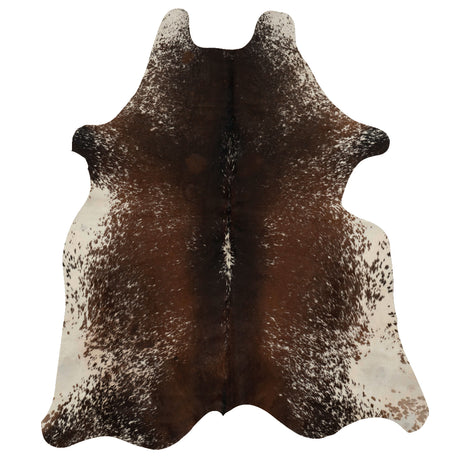
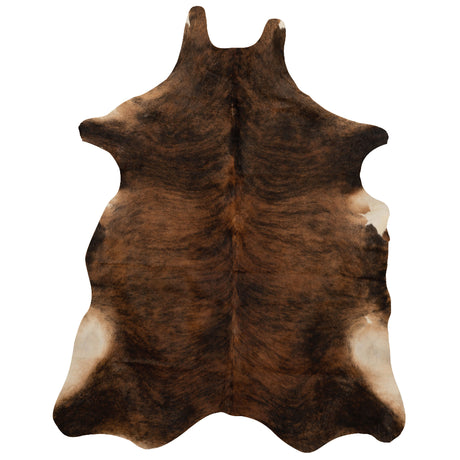
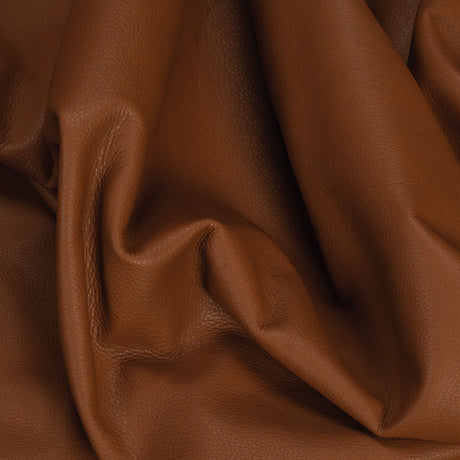
Hair-On Cowhide (choose from black and white, brown and white, exotic, or brindle)
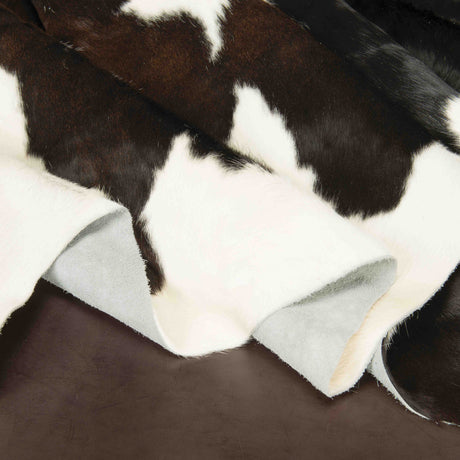
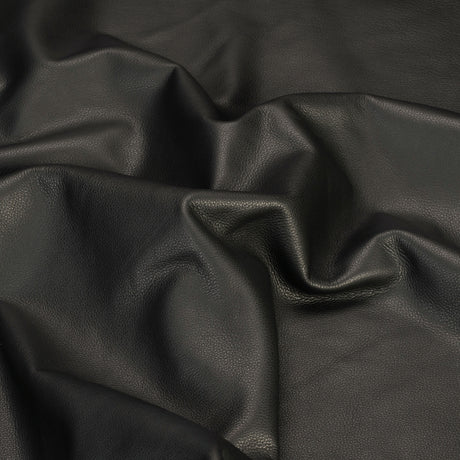
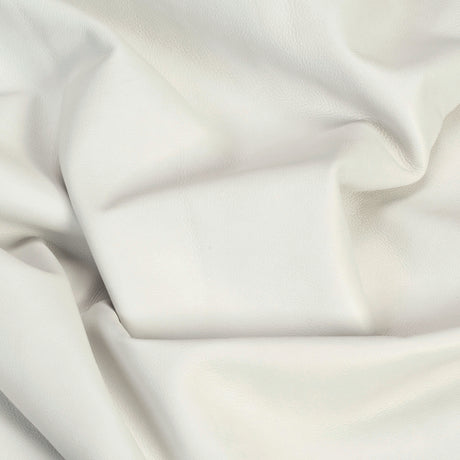
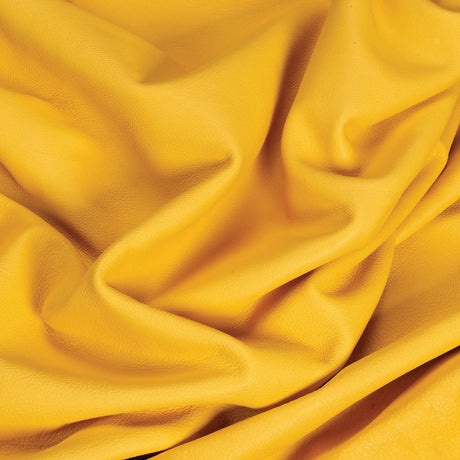
Deer-Tan Cowhide for the backing
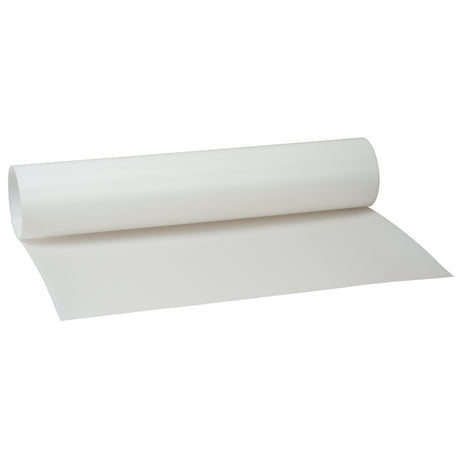
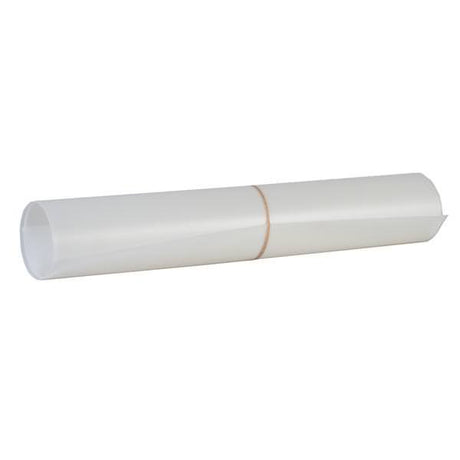
Pattern Sheeting (transparent for easy placement)
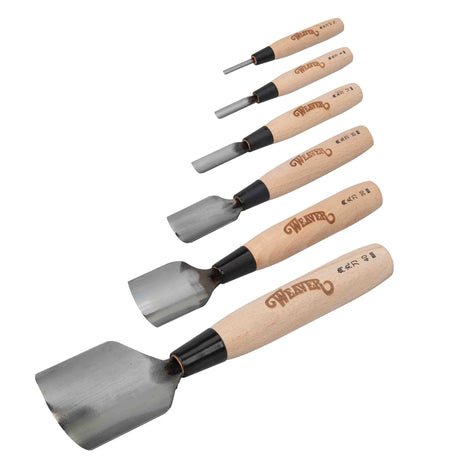
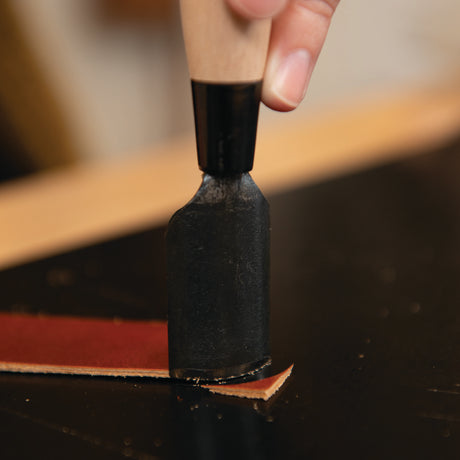
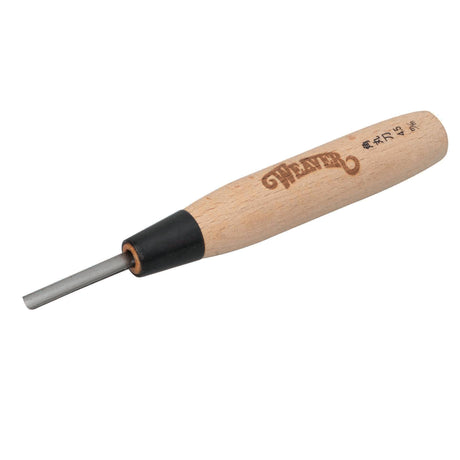
Round Corner Knife (or scissors if needed)
Small Craft Clips (to hold panels while sewing)
Sewing Machine (Weaver 303 or hand-stitch)
Pillow Insert (14” x 14”)
Step-by-Step Instructions
Choose Your Hair-on Hide
Weaver Leather Supply offers some of the most beautiful hair-on hides you’ll find. Each is completely unique, so no two pillows will ever look the same. Choose a color that complements your home décor — black and white for a modern or minimalist look, or brindle and brown for more classic Western style.
Cut the Leather Panels
For a 14” x 14” finished pillow:
Cut the hair-on hide to 15” x 15” (adds ½ inch seam allowance on all sides).
Cut two backing panels from deer-tan cowhide, each 15” wide by 9” tall to create a 3” overlap.
Use pattern sheeting to cut from the hair side, allowing you to position for the best pattern. When cutting hair-on, expect some hair shedding—shake out the panel and vacuum the workspace.
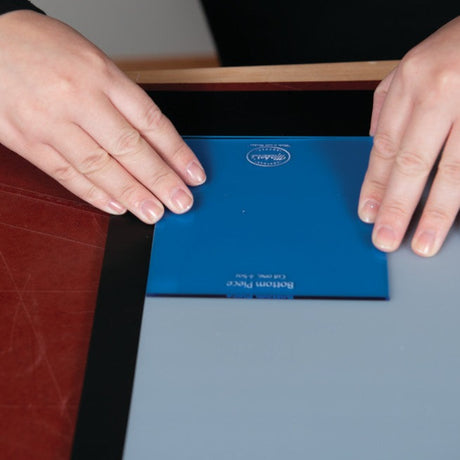
Clip & Prepare for Sewing
Avoid using tape or glue on hair-on leather. Instead, secure panels with small binder clips, like you’d find in an office supply store. Place the two backing pieces overlapping slightly on the hair-on panel, with the hair-on side facing the grain side of the deer-tan cowhide side (you’ll reverse this later).
Round the corners using a 40mm round corner knife for a professional finish.
Stitch It Up
Sew around all four sides. If you’re using the Weaver 303 sewing machine, take advantage of its servo motor to go slow and maintain control. If you’re hand sewing, take your time and enjoy the process. This is a gift-worthy project that lasts for years.
Clean Up and Turn Inside Out
After stitching, vacuum excess hair and trim any sticking out. Flip the pillow inside out through the opening, and gently shape the corners using your fingers or a rounded tool.
Why This Project Works
Beginner Friendly – No complex patterns, minimal tools.
Giftable – Handmade pillows make heartfelt, custom gifts.
One-of-a-Kind – Each hair-on hide is naturally unique.
Versatile – Great for rustic, farmhouse, Western, or modern décor.
Machine or Hand Sewn – Accessible for any skill level.
This is a project that looks like it came from a designer store, but you’ll know it came from your own hands. Whether you keep it or gift it, your hair-on cowhide pillow is sure to impress.