Take your custom leather forms from Part 1 and turn them into a finished project. In Part 2, Chuck Dorsett demonstrates how to wet form vegetable-tanned leather, create dimensional overlays and build them into a pair of custom leather arm guards. This project covers leather selection, wet forming, cutting, edging, punching, dyeing, finishing, sewing and lacing, giving you techniques you can carry into plenty of future leathercraft projects.
What You’ll Learn
- How to choose the right leather weight for wet forming
- How to wet form leather by hand
- How to create better definition without excessive tool marks
- How to prepare and finish leather edges
- How to dye and finish vegetable-tanned leather
- How to attach and sew a formed leather overlay
- How to lace and finish a leather arm guard
- How to use custom forms to add dimension to future leather projects
Before You Begin
This project builds on the custom wet-forming forms created in Part 1. If you haven’t made your forms yet, start there before moving into the finished arm guard project.
Part 1: Create the custom forms
Part 2: Wet form the leather and build the arm guards
Materials and Tools
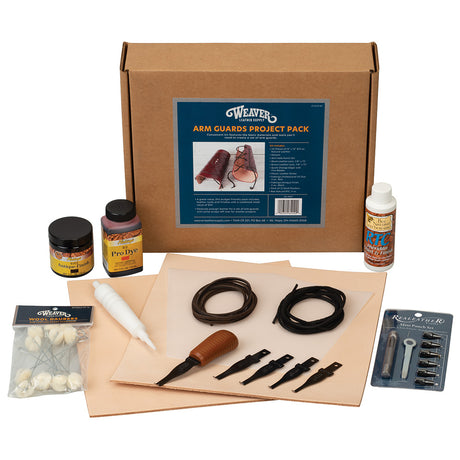
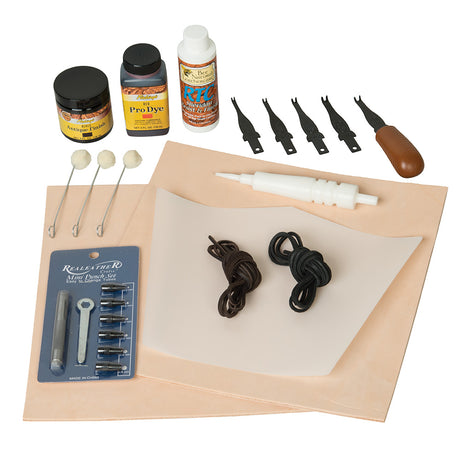
The Arm Guard Project Pack provides the foundation for this build, including leather, lace and several tools and finishing supplies you can continue using on future projects.
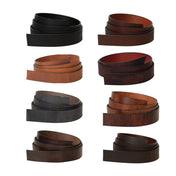
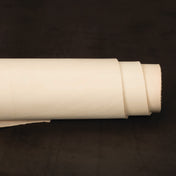
Leather
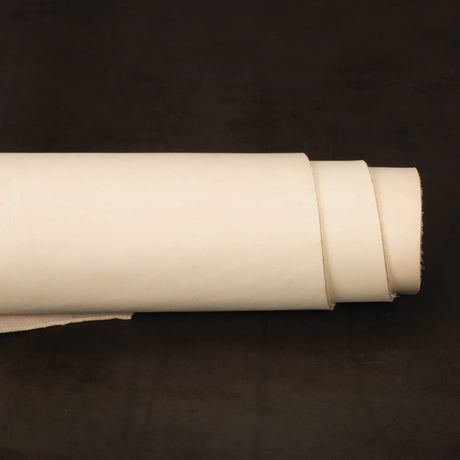
An economical option for smaller wet-formed pieces and overlays.
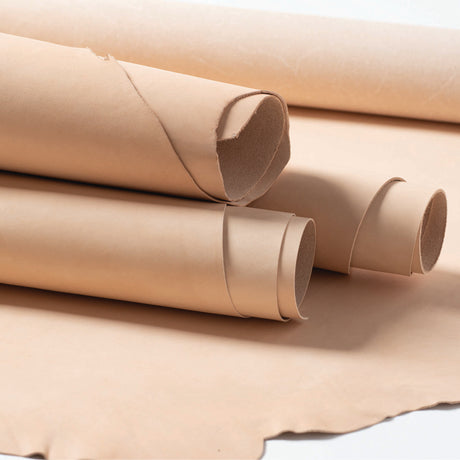
A versatile option available in multiple leather weights for projects large and small.
Cutting and Layout
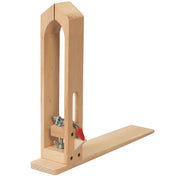
Steel Square with Non-Slip Tape
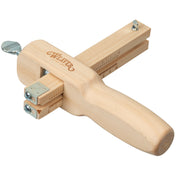
Wooden Strap Cutter
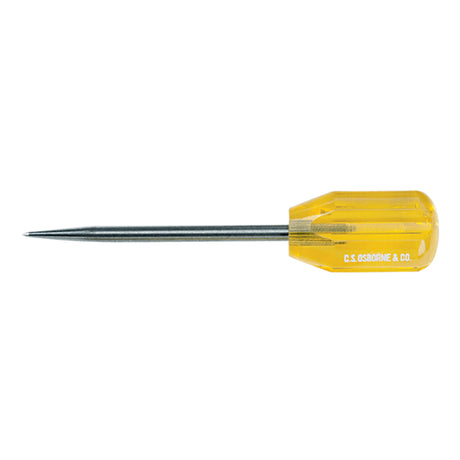
Heavy Duty Scratch Awl
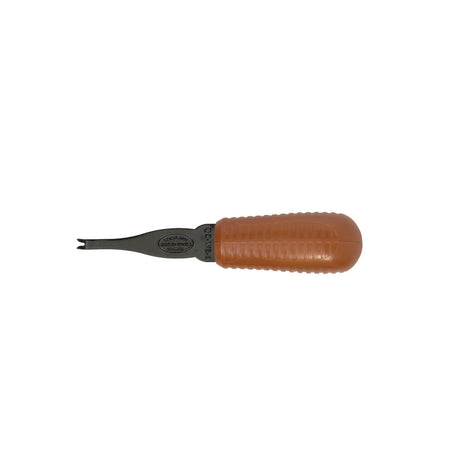
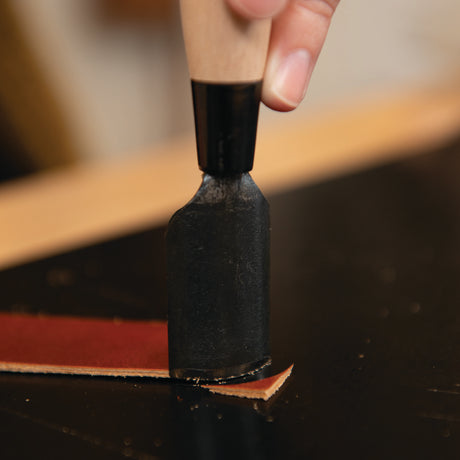
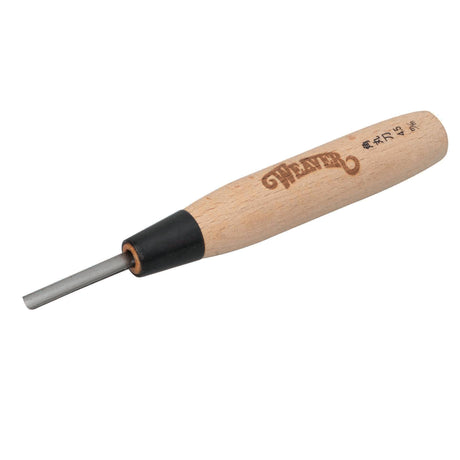
Corner Knife
Forming and Edge Work
Bone Folder
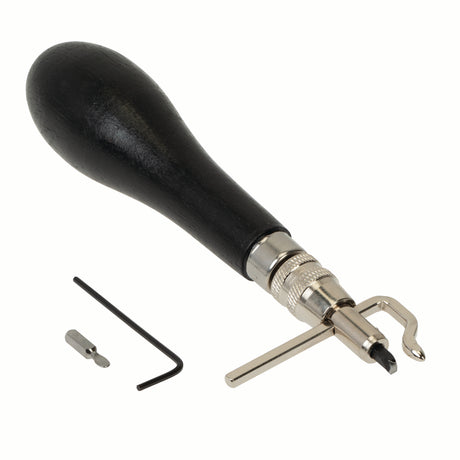
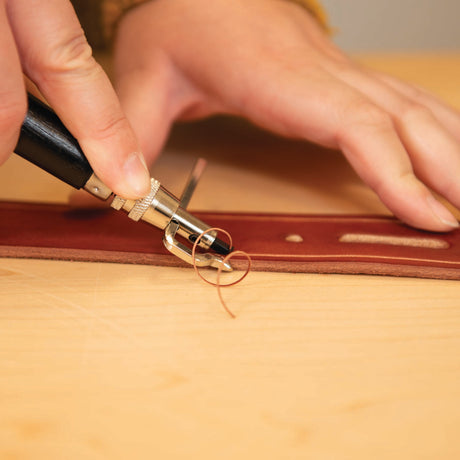
Stitch Groover
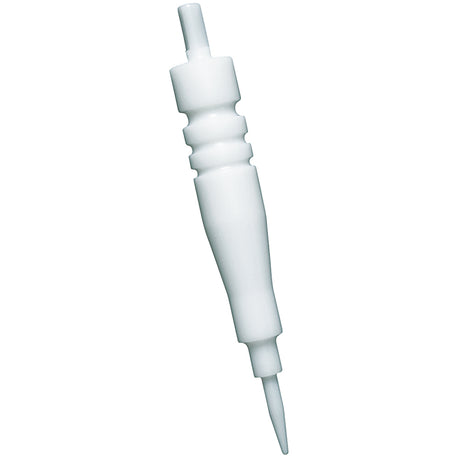
Quick Change Edge Beveler
Round Punch Set
Plastic Leather Slicker
Work Surface and Striking Tools
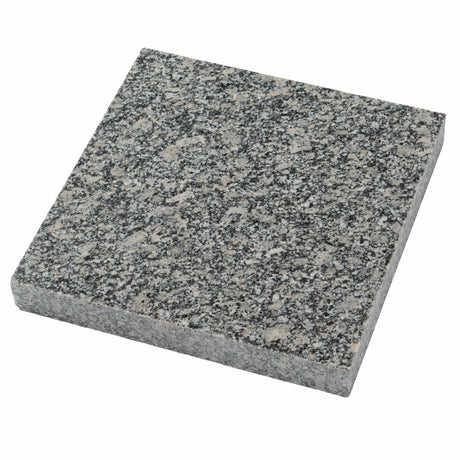
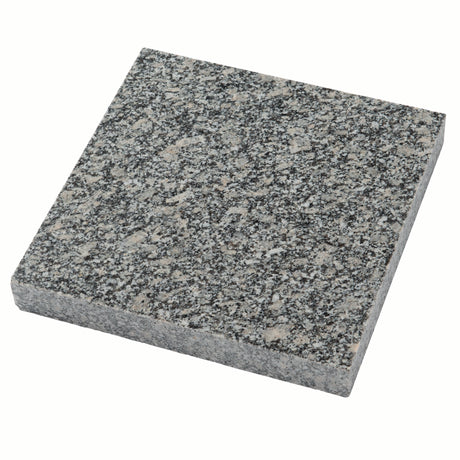
Tooling Slab
Poly Cutting Board
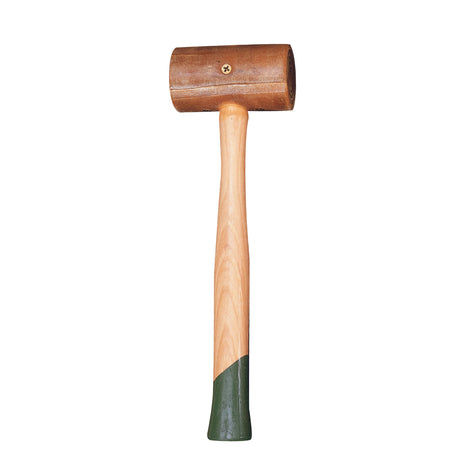
Rawhide Mallet
Dye and Finish
Dressing Sponge
Fiebing’s Pro Dye
Fiebing’s Antique Finish
Bee Natural RTC
Assembly
Double-Sided Adhesive Tape
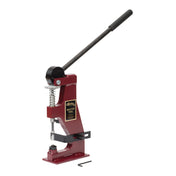
Master Tool Cub Manual Leather Sewing Machine
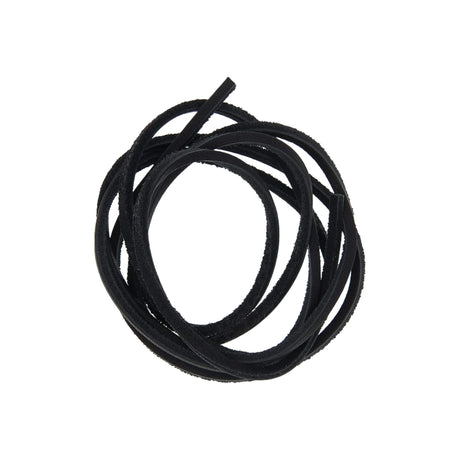
1/8” Black Chrome Tanned Leather Lace
Step 1: Cut the Wet Forming Leather
For the formed overlays, Chuck uses lighter 3 to 4 oz. vegetable-tanned leather. The lighter weight allows the leather to conform more closely to the custom form and capture the smaller details of the design.
Cut the overlay pieces with enough extra leather around the perimeter to give yourself room to work.
Step 2: Wet Form the Leather
Thoroughly wet the vegetable-tanned leather and let it rest for about 15 minutes so the moisture can move evenly through the fibers.
Place the leather over the form and begin working it into the design with your hands. Take your time. Repeated passes help build definition while reducing the chance of unwanted tool marks.
A bone folder, rounded strip of leather or smooth dowel can help work the leather into tighter areas.
Step 3: Let the Formed Leather Dry
Once you’ve developed the shape, leave the leather in place and allow it to dry completely.
Chuck recommends at least 12 hours.
The leather will retain the dimensional shape as it dries.
Step 4: Prepare the Arm Guard Bodies
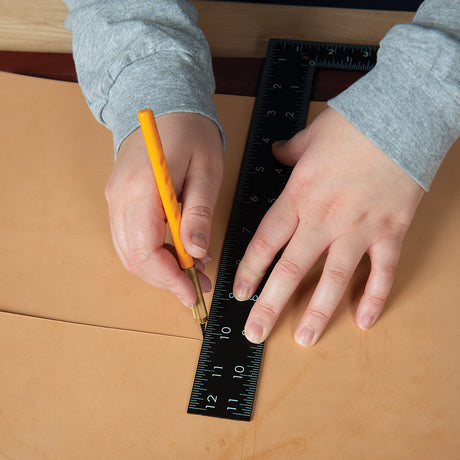
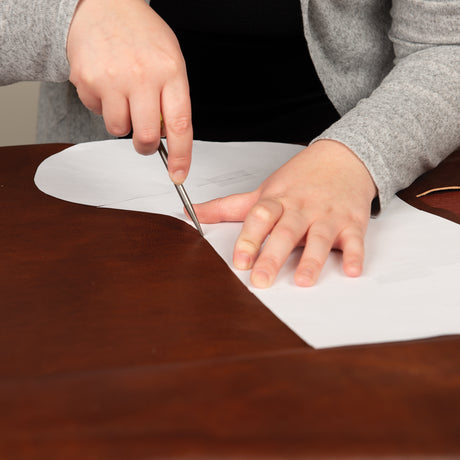
Transfer the arm guard pattern to the heavier vegetable-tanned leather.
Cut the pieces, round the corners and mark the lace holes.
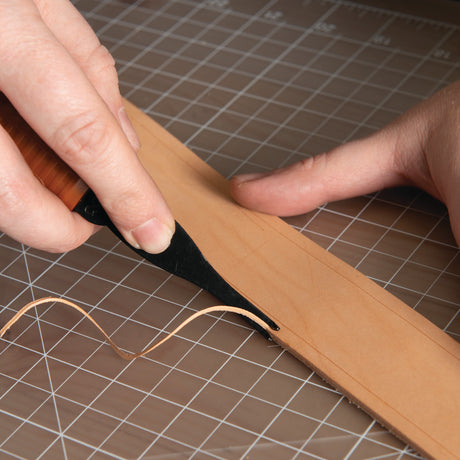
Add a decorative groove around the perimeter, then bevel both sides of the edge to begin creating a smooth, rounded profile.
Step 5: Punch and Burnish
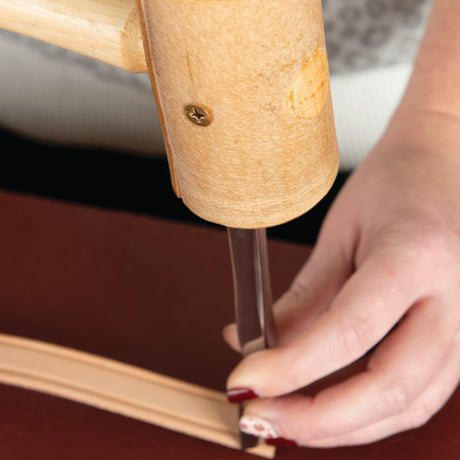
Punch the lace holes with a round drive punch.
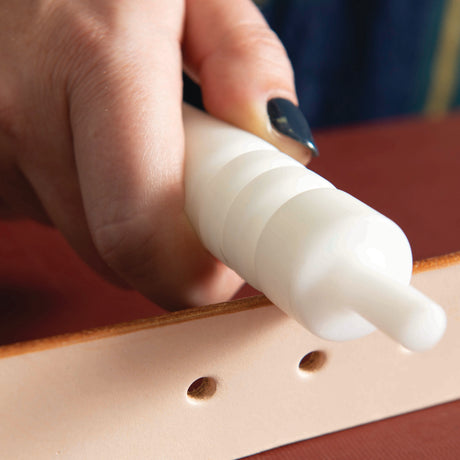
Lightly dampen the beveled edges and work them with a leather slicker. This begins rounding and smoothing the edge before dye and finish are applied.
Step 6: Trim the Formed Overlays
Once dry, remove the wet-formed leather from the forms.
Trim each overlay to its final size, round the corners and add a decorative groove around the edge.
Lightly bevel the edges to clean up the finished piece.
Step 7: Dye the Leather
Chuck uses red Fiebing’s Pro Dye on the dimensional overlays and black Pro Dye on the main arm guard bodies.
Apply the dye evenly and allow the pieces to dry thoroughly before moving on to the finish.
Step 8: Apply the Finish
Apply Bee Natural RTC with a clean cloth.
The finish helps bring out the color and gives the leather a more complete, polished appearance.
Buff with a clean cloth after the finish begins to dry.
Step 9: Finish the Edges
Return to the edges of the main arm guard bodies with the leather slicker.
A few additional passes help refine the rounded edge and create a smoother finished surface.
Step 10: Attach and Sew the Overlays
Use narrow double-sided adhesive tape to hold each formed overlay in position.
The overlays can be hand sewn, or you can use a leather sewing machine such as the Master Tool Cub.
Follow the groove around the overlay for a clean, consistent stitch line.
Step 11: Lace the Arm Guards
Start lacing at the wrist and work upward.
This keeps any extra lace toward the top of the arm rather than near the hand. Tie off the ends, adjust the fit and your wet-formed leather arm guards are ready to wear.
Take the Technique Further
The arm guards are only one way to use custom wet forming.
Once you’ve learned the technique, experiment with:
- Geometric patterns
- Stamped designs
- Carving
- Paint
- Spots
- Conchos
- Contrasting leather colors
- Custom forms for bags, cases, armor and accessories
Wet forming gives you another way to add depth, texture and dimension to leather projects while making the finished piece completely your own.
Ready to Get Started?
Start with the Arm Guard Project Pack and add the leather and tools you need to create your own version.
Arm Guard Project Pack
Leather Arm Guards - Part 1


















 Regular price $19.20Unit price