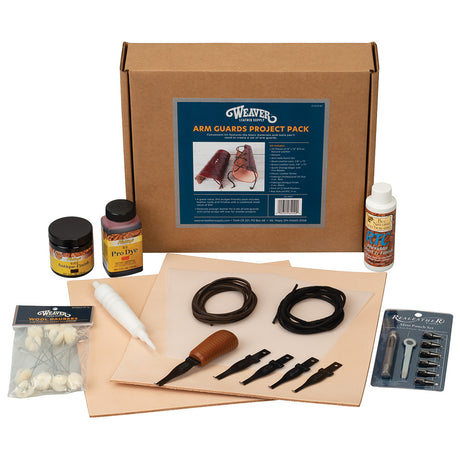
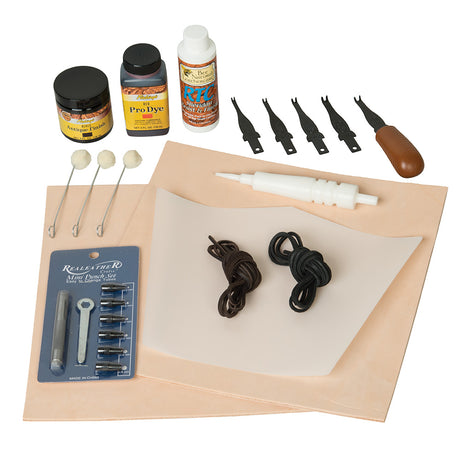
Learn how to create custom forms for wet forming leather and add dimensional designs to your leather projects. Using the Arm Guard Project Pack as a starting point, Chuck Dorsett creates two custom forms, a diamond plate pattern and a Celtic knot, to show how an existing project can be customized with your own design.
Whether you're building your leatherworking skills or looking for new ways to personalize your projects, this tutorial walks through the process of designing and building reusable forms using plywood and leather. You'll learn how to lay out your design, cut and shape the leather pieces and assemble forms that are ready for wet forming.
What You'll Learn
- How to create a custom form for wet forming leather
- How to build and prepare a plywood form base
- How to lay out a consistent diamond pattern
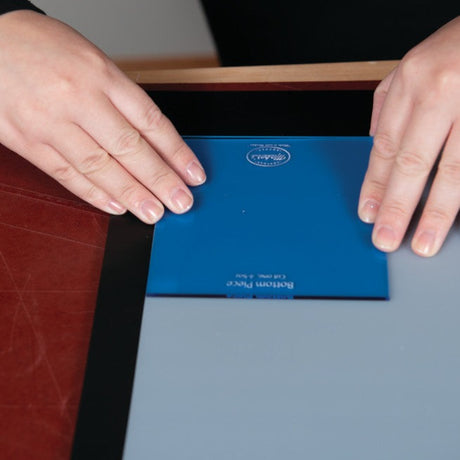
- How to cut and assemble leather shapes for a form
- How to shape leather straps around curves
- How to create forms for different custom designs
Skill Level
Beginner/Intermediate
This project is ideal for beginner and intermediate leathercrafters interested in exploring wet forming and project customization. Starting with the Arm Guard Project Pack provides a foundation for the project while introducing techniques for creating your own forms and adding custom dimensional designs.
Tools & Materials Overview
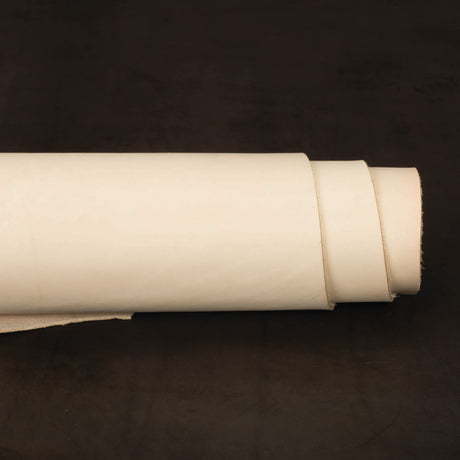
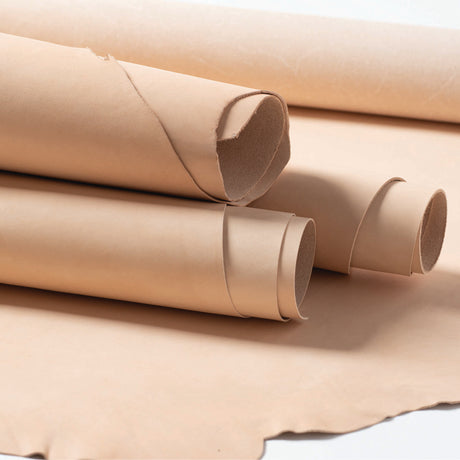
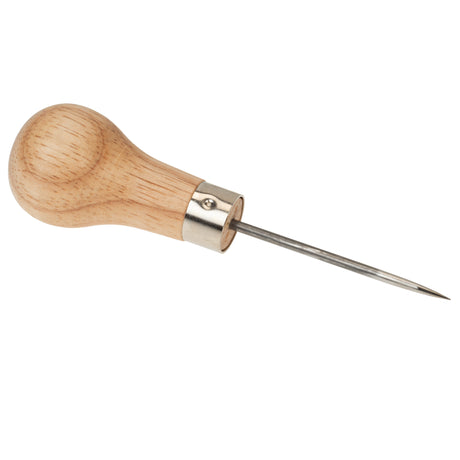
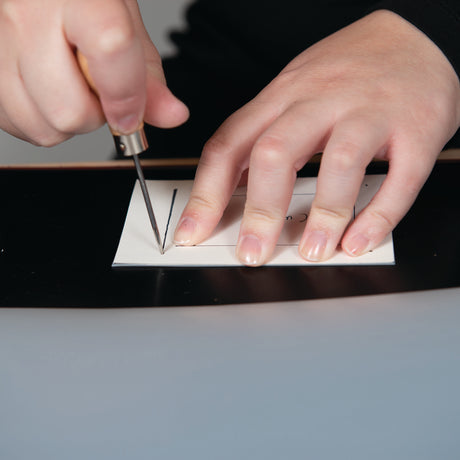
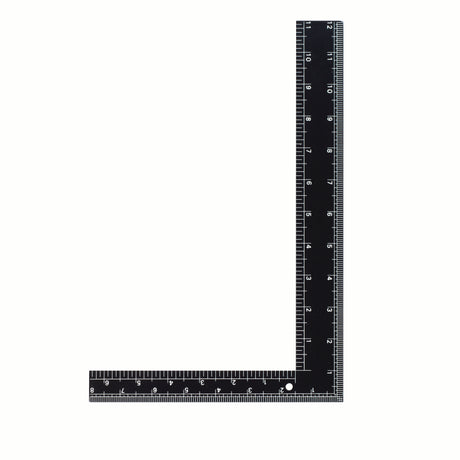
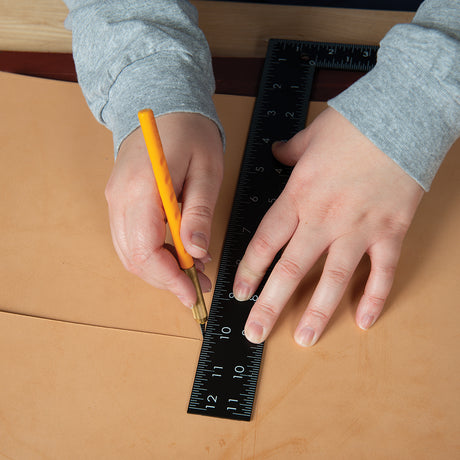
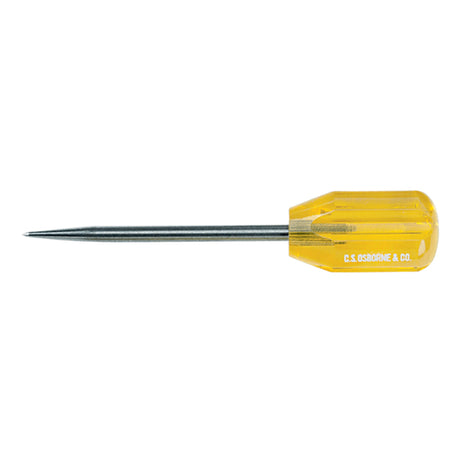
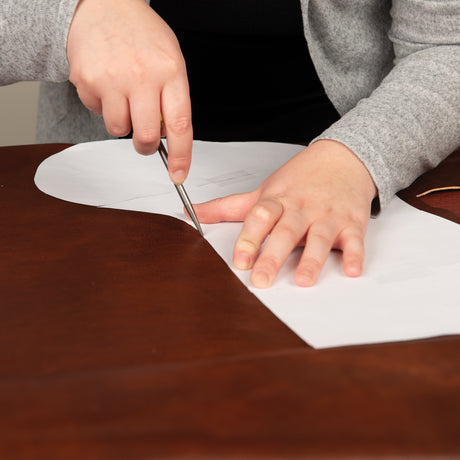
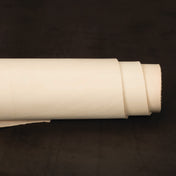
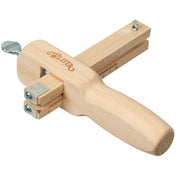
This project uses the Arm Guard Project Pack as a starting point for creating custom wet formed designs. Chuck demonstrates how to build diamond plate and Celtic knot forms using Vegetable Tanned Single Shoulders, Pattern Sheet, S-18 All Purpose Cement and Fiebing’s Leathercrafters Cement. Tools including the Steel Square with Non-Slip Tape, Scratch Awl, Heavy Duty Scratch Awl and Wooden Strap Cutter help with measuring, marking, cutting and shaping the pieces used to build each form. Together, these tools and materials demonstrate how an existing project pack can become a starting point for creating your own custom leatherwork.
Wet Formed Leather Arm Guards - Part 2