Tools and Materials Used in This Project

 Digital Download
Leather Purse Downloadable Pattern
Regular price $0.00Unit price


 Chuck's Pick


 Up to 34% off


 Up to 37% off


 Chuck's Pick
John James Saddler's Harness Needles
Regular priceFrom $9.80 Sold by 25 packUnit price


 Regular price $33.50Unit price


 Up to 30% off


 39% offSale price $8.25 Sold per 5 pack Regular price $13.50Unit price

 Regular price $38.50Unit price


 Regular price $25.75Unit price
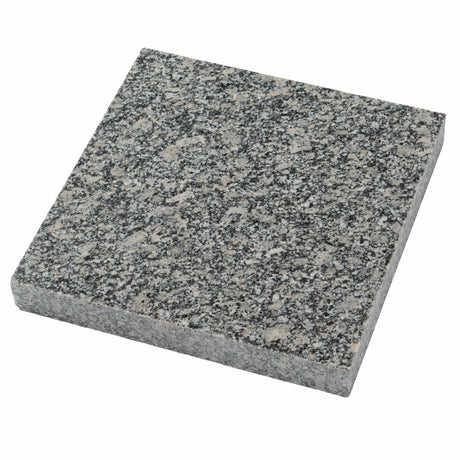


Granite Tooling Slab for Leather Tooling & Carving
Regular priceFrom $23.25Unit price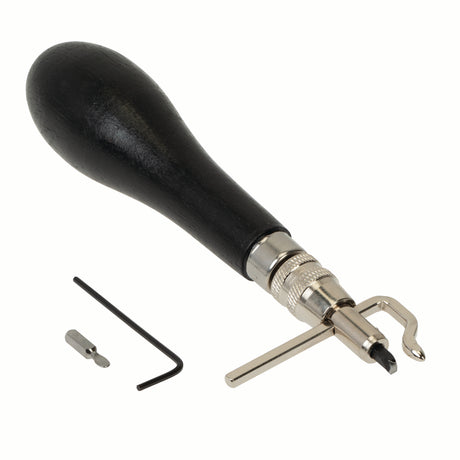

 Chuck's PickRegular price $38.00Unit price
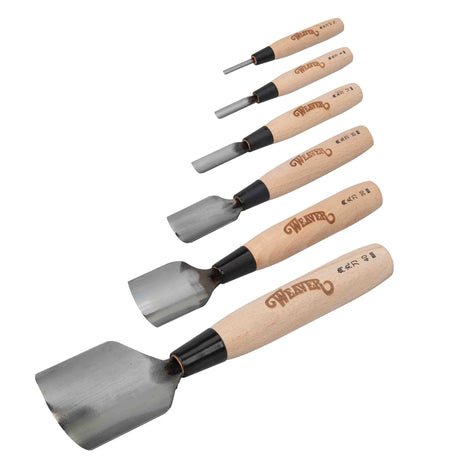


 Regular priceFrom $65.00Unit price


 Regular priceFrom $4.00Unit price
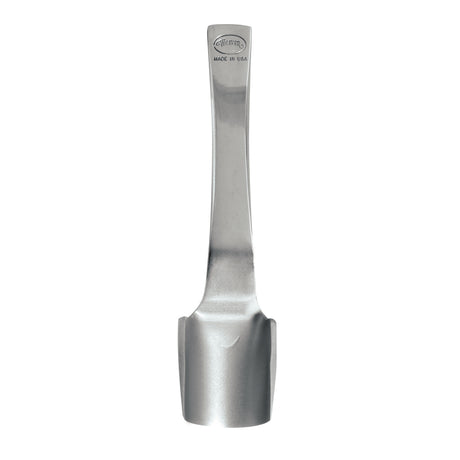


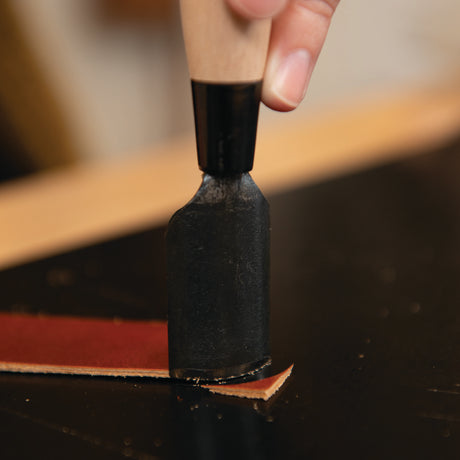
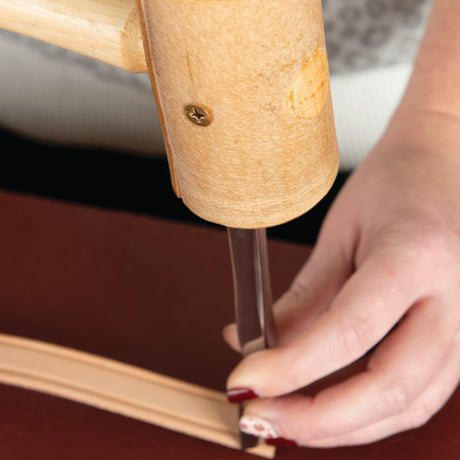
Master Tool Round Strap End Punch
Regular priceFrom $78.10Unit price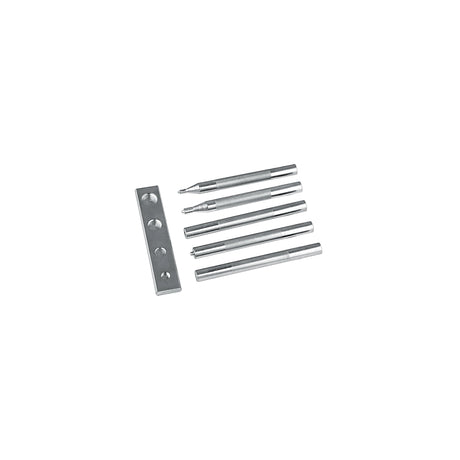


 Regular price $60.00Unit price


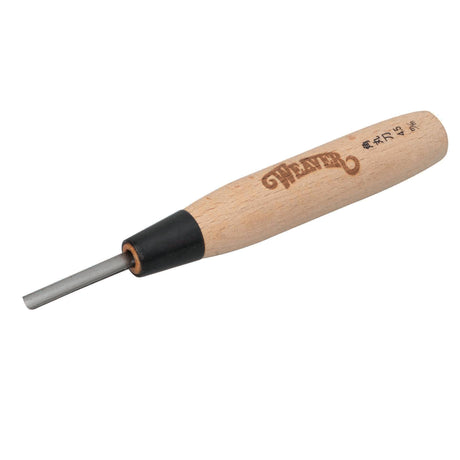
Master Tool English Point Punch
Regular priceFrom $78.10Unit price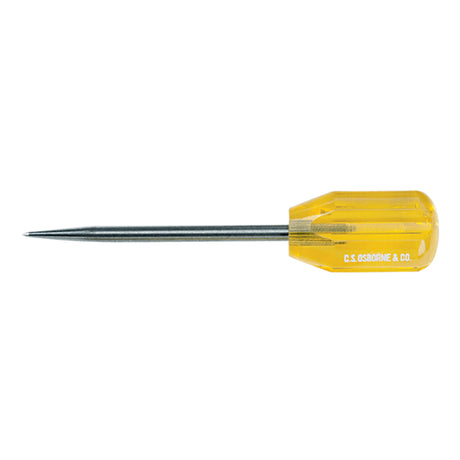


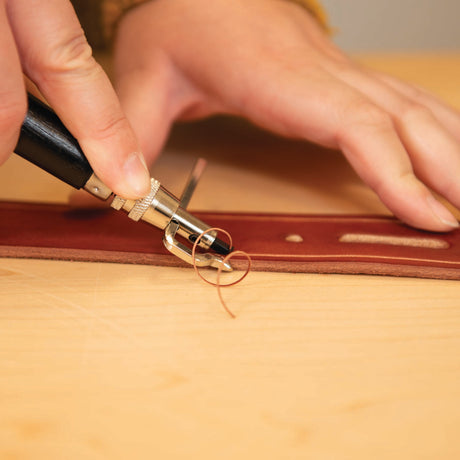
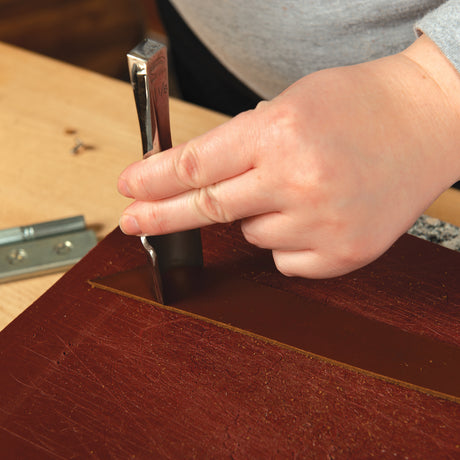
#4 Heavy-Duty Scratch Awl 3-1/2"
Regular price $8.70Unit price Regular price $19.20Unit price

 15% OFF PROMO CODE : FLASHSALERegular priceFrom $85.00Unit price
 Regular price $24.75Unit price


 Regular priceFrom $52.00Unit price


 10% off
Weaver 303 Leather Sewing Machine, Complete with Stand & Servo Motor
Sale price $1,440.00 Regular price $1,600.00Unit price Digital Download
Leather Box Downloadable Pattern
Regular price $0.00Unit price


