I had so much fun taking one of the Weaver Leathercraft Journal Cover Kits and adding some fun details to make it the perfect gift for Valentine’s Day!
What you will need:
Journal Cover Kit
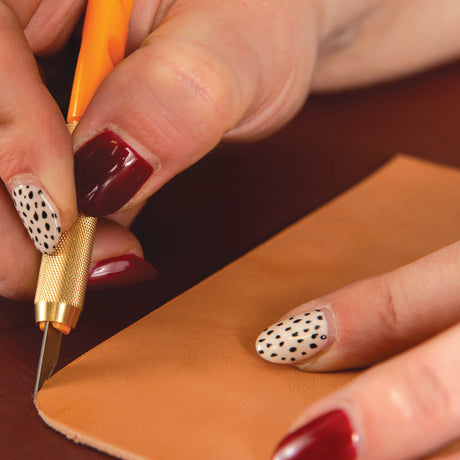
Knife
Angelus Paint
Contact Cement
Red Ritza Tiger Thread
Stitching Chisels
Tracing Film or paper
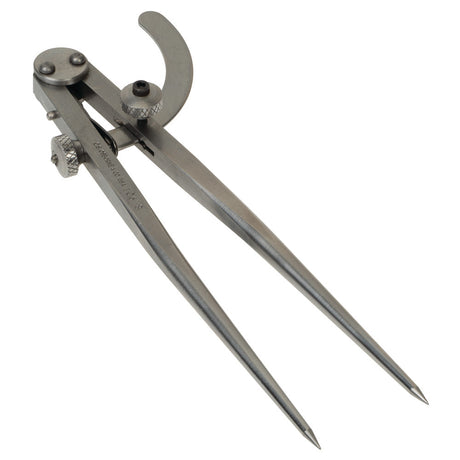
Wing Divider or Stich Groover
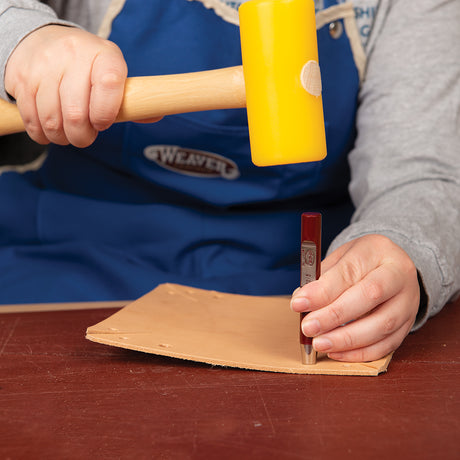
Mallet
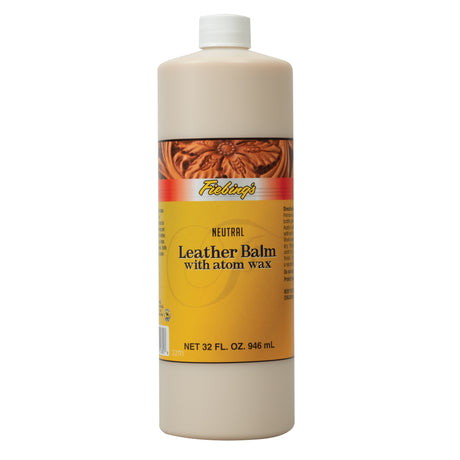
Top coat of your choice, some of our favorites: Angelus Satin Finish, Leather Balm, Saddle Lac
Assorted pencils with erasers
To make the heart, I took some tracing film and cut it roughly the size of the face of the journal. (I cut mine too small the first time and ended up having to tape it to my leather, which isn’t ideal.) Draw a heart shape, making sure it is at least half an inch in from the edge. The heart does not have to be perfect, rustic works well for this. I also tilted mine so the point of the heart is on the front of the journal when closed. Take your art knife and cut out the heart. You’ll use the outline as a guide for the painting.
Tape the tracing film with the cut-out heart onto your journal, positioning it where you want the heart to be. You can see I didn’t make my tracing film large enough the first time so I had to tape it to my leather.

Time to paint! This is where you can get as creative as you want. There really is no way to mess this up. Take the Angelus paints of your choice; I used quite a few colors: Pink, Red, Autumn Red, Magenta, & Light Grey in the Acrylic Paint and Riot Red in the Pearlescent Paint. Using the tip of the pencil eraser, dip it into the paint and start making paint dots or circles in random order. I put some lighter pinks, grays and magenta dots around the edge of the heart first and then filled it in with the Riot Red, Red, and Autumn Red. You can mix the paints as you want to get some lighter reds and darker reds. For larger circles, swirl the eraser in a circular motion.


After the paint is dry, remove the pattern from your journal and add the top coat of your choice.
The rest of the journal is assembled just like the video states:
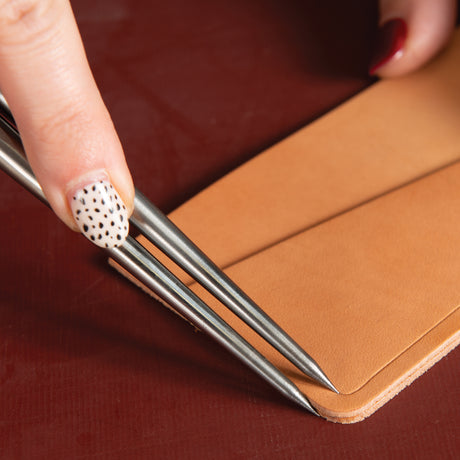
1. Mark your stitch line using a wing divider or stitch groover

2. Glue the inside panels to the journal cover

3. Punch Your Stitch Holes using stitching chisels and a mallet

4. Stitch your journal together using a saddle stitch. Instead of using the white thread that came with the kit, I used red to bring out the paint colors and bring the whole look together.

5. Finish your edges using an edge beveler and slick with Gum Tragacanth or water and an edge slicker.
6. Add the button stud to the front panel

7. Attach the closure tab using the provided rivets and setter

Insert the journal and your journal cover is complete! You can customize these covers any way you want with paint, tooling & stamping, and dying.


