In this project, Chuck Dorsett demonstrates how to create a simple wet formed leather box using vegetable-tanned leather. This beginner-friendly tutorial focuses on the fundamentals of wet forming, including creating a pattern, cutting leather accurately, punching holes for hardware, and shaping leather using water and pressure. This project is designed to help new leatherworkers understand how moisture changes the structure of leather and allows it to be molded into a clean, structured shape. Once you learn the basics of wet forming, the same technique can be applied to many different leathercraft projects and designs.
What You’ll Learn
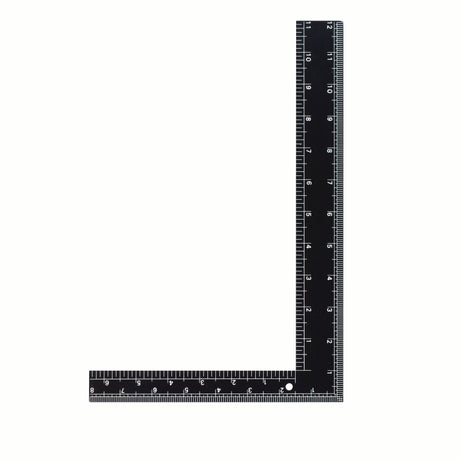
- How to create and understand a simple box pattern with straight dimensions
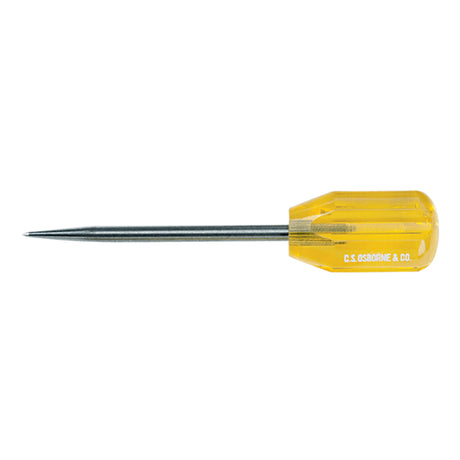
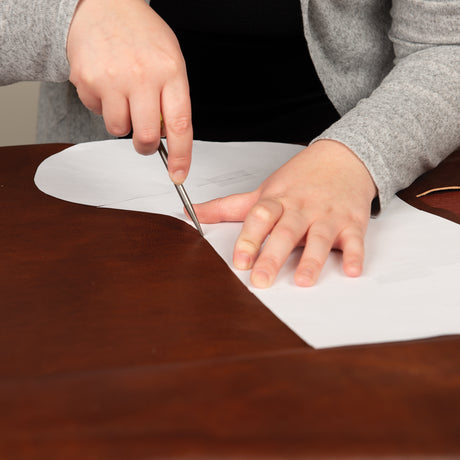
- How to transfer a pattern onto leather using an awl
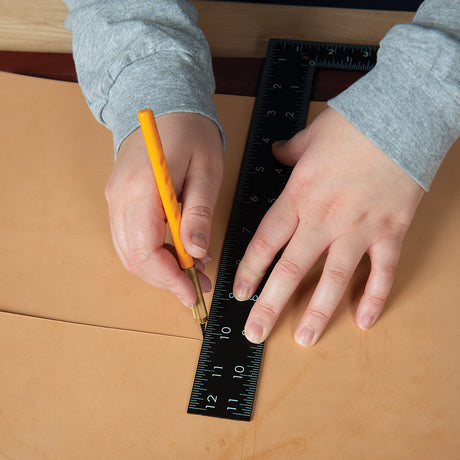
- Techniques for cutting clean, straight lines in leather
- How to round corners and create decorative cutouts
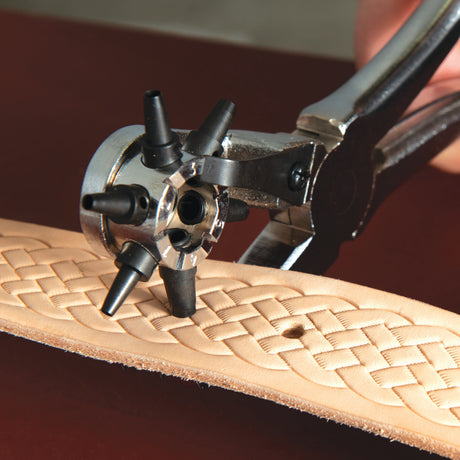
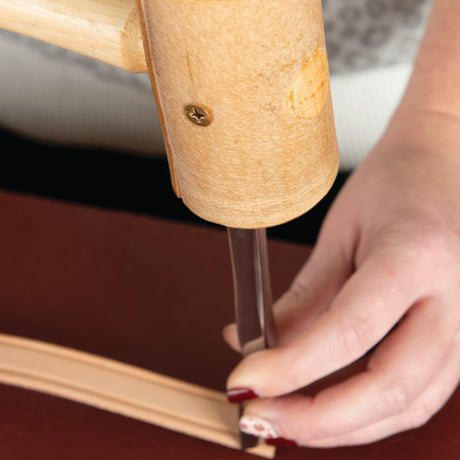
- How to punch holes for hardware using both revolving and drive punches
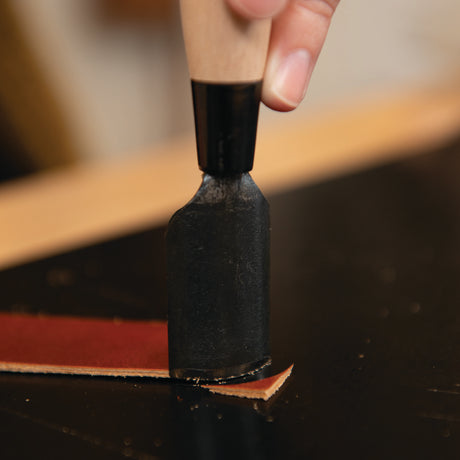
- How to properly wet leather and prepare it for forming
- How to shape and fold leather to create structured corners and edges
- How drying locks leather into its formed shape
- How to assemble the box using conchos
Skill Level
Beginner
This project is ideal for leatherworkers who are new to wet forming or looking for a simple project to practice shaping leather. The design uses straightforward measurements, basic cuts, and simple forming techniques to help build confidence with the wet forming process.
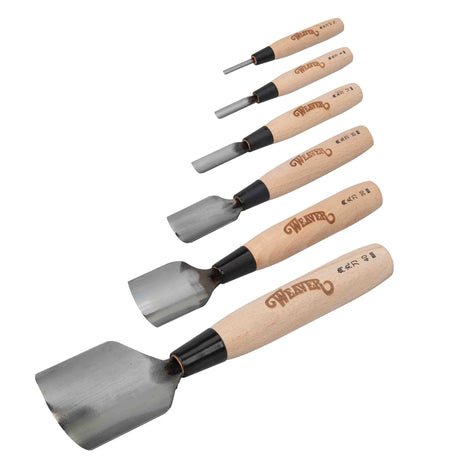
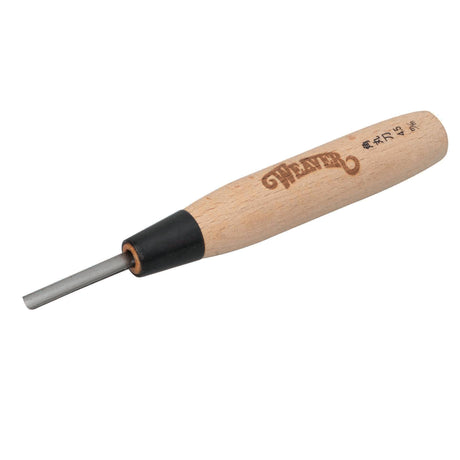
Tools & Materials
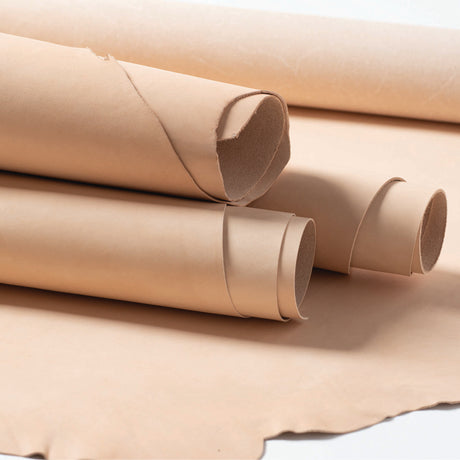
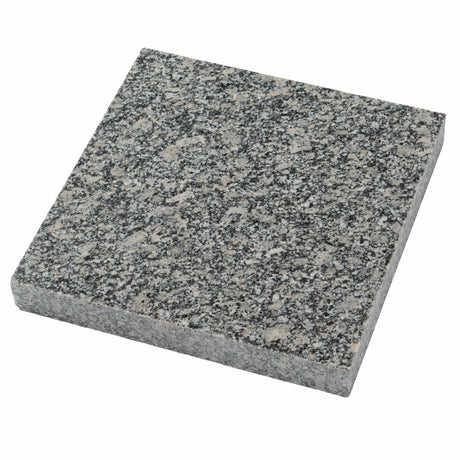
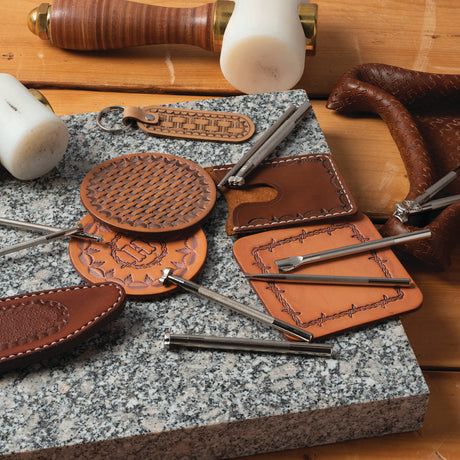
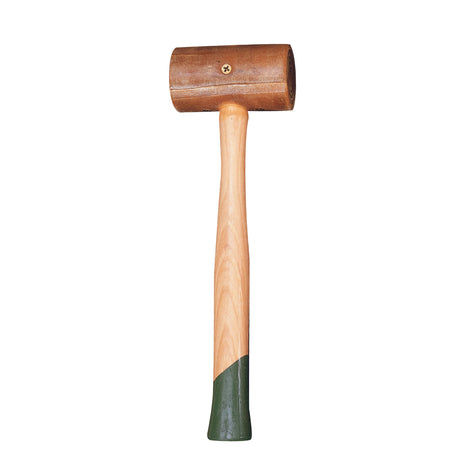
This project uses a piece of 4–5 oz. vegetable-tanned leather along with a few basic leatherworking tools for marking, cutting, and punching holes. Hardware is added using berry conchos, and the leather is shaped through wet forming using water and hand pressure. A cutting surface, mallet, punches, and simple layout tools help ensure accurate cuts and clean assembly.
 Digital Download
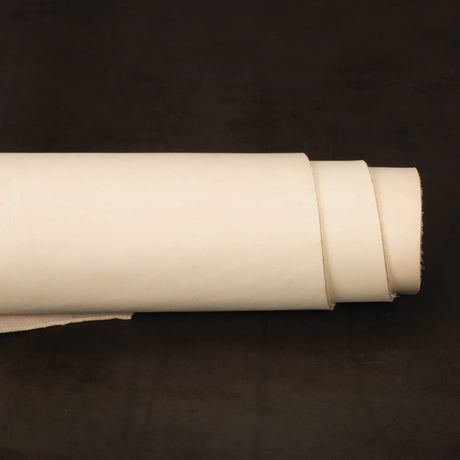


 Regular price $19.20Unit price
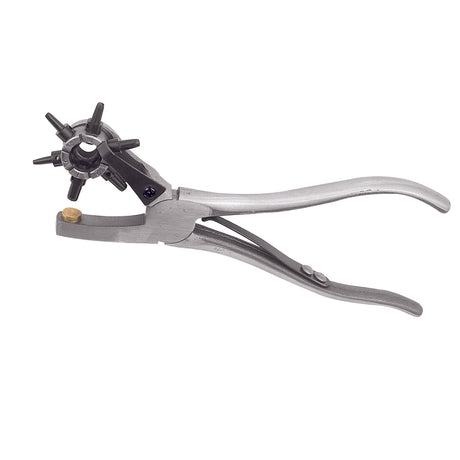
 Regular priceFrom $2.70Unit price


 Regular price $590.00Unit price


