Leather Purse
Leather Bag Patterns - Intro
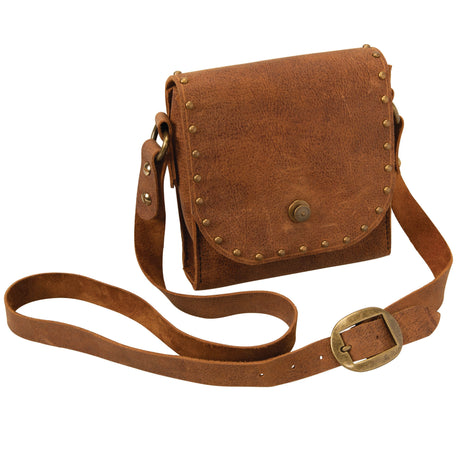
Join us as we create a beautiful rustic leather purse and learn leather crafting skills needed to create our own patterns for different styles of leather bags. These lessons are not about recreating the specific purse in the video, but learning how to make patterns and the basic leather crafting techniques needed to make leather purses, bags, totes, pouches, and more. With these skills, you’ll be able to build a leather bag that’s perfect for you.
We will learn how to draw our patterns from scratch, how to make gussets, how to add hardware to our bag, and how to easily hand sew our leather for results that look just like a machine stitch. The takeaway from this project is how to create a custom leather bag pattern, and common elements that can be incorporated into a variety of bag styles. Once you know the basic techniques, the sky is the limit with creative possibilities.
Chapter 1: - Creating a Pattern for a Leather Purse
When we start almost any leather project, we need to begin by creating a pattern.
Creating a Leather Bag Pattern
- First, choose your dimensions. It’s your purse and your call on the size. For this tutorial, we are going to make a 7" x 7" purse with a 2" gusset. The body consists of one leather panel that goes all the way around, making it easy to construct.
- It’s best to use a plastic pattern sheet for the final draft of your leather bag pattern. You can sketch out a rough draft on copy paper, and then transfer it over to the pattern sheet when you’re satisfied with your design. This finished pattern can be reused for future projects. For this example, we are going to need a pattern sheet that is 7" wide and at least 28" long.
- Fold the pattern in half to create a center line down the 28" length.
- Use scotch tape to secure the ends against a straight edge, measuring the pattern lengthwise. Make sure that one end is lined up at the 0" mark.
- Draw a line at the 7" mark. Run your pen over that line twice to score it. We will fold our pattern along this line later, to get an idea of how our bag will be shaped. This 7" x 7" square will be the front of our leather purse.
- Since our design has a 2" gusset, we need to account for this in our measurements. Measure 2" beyond our 7" line and draw a second line at the 9" mark. Run your pen over it twice to score. This 2" length indicates the bottom of the bag.
- Measure 7" past your second marked line, and draw another line at the 16" mark. Go over it twice to score. This 7" x 7" square will be the back of our bag.
- We need to allow another 2" for our flap to fold over the top of our bag. Draw a line at the 18" mark. Go over the line twice to score.
- Our purse’s flap is the next thing we need to figure. Let’s begin by making it 7" to keep things simple. Draw a line at the 25" mark. Note: When you make your own leather bag, you can make any adjustments that you want on the flap measurements.
- Let’s continue with the front flap size. Our front flap for this tutorial is going to be 1-1/2" shorter than the front panel of our bag’s pouch. Come in 1-1/2" from your 25" line and draw another line at the 23-1/2" mark. To avoid confusion, you can go ahead and cut the pattern at 23-1/2". We figured out steps 5-10 like this: 7" (for front) + 2” (for the gusset) + 7" (for back) + 2" (for top fold over) + 5-1/2" (for flap) = 23-1/2".
- Next, we need to mark where our Loxx® Fastener will be placed on our flap. On your pattern, measure 1-1/2" up from the bottom edge of your flap (at 22"). Mark this point on the center line and circle it.
- The back of your fastener is going to be placed on the front panel of your bag—the first 7" x 7" panel you marked on your pattern. Find the line you marked at 7" to denote the bottom bend of the bag. Because the bag’s flap is 1-1/2" shorter than the body of the bag, and the fastener will be placed 1-1/2" above the bottom edge of the flap, the back of the fastener needs to be placed 3" up from the bottom bend on the bag’s front panel. Move back 3" from the 7" line, and your fastener should fall at 4". Mark this point on the center line and circle it.
- Cut the pattern loose where it was taped down, and then fold along the scored lines. Fold the pattern into a purse shape so we can get an idea of how our leather bag will look when finished.
- Next, we need to add our round corners and mark for our spots. Lay the pattern out flat again. Fold the pattern lengthwise in half (along the same center line we created in step 3) so we can cut the corners and mark where our spots will be placed. This ensures that everything will be symmetrical.
- On the front flap, we are going to round the corners on the bottom edge. Don’t worry if you don’t have a circular stencil. Our kitchens are full of items we can use to mark a corner. For this example we used a round pitcher lid. Trace your item to round the corners of your flap. Cut the rounded corners out on your pattern.
Marking for Spots on the Pattern
- On the front flap of your pattern, drop a mark on the center line about 1/4" infrom the edge. This is where the center spot will be placed.
- Set your wing divider at 3/4". Place one point on the center mark, and use the other leg to mark one spot out, staying about 1/4" from the edge. Note: It doesn’t matter if your second mark is to the left or right of the center. We are going to fold the pattern to keep the spots symmetrical on each side of the flap.
- Fold the pattern in half, with the mark you just made facing up. Place one leg of the wing divider on this mark again. Spin the wing divider so that the other leg marks the next hole out, keeping it 1/4" from the edge. Continue marking for spots around the edge of the flap, and then up and over the 2" panel that folds over the top of the bag. Stop before you reach the back panel.
Labeling the Pattern
- Let’s mark our pattern so we can clearly see all of the details. Circle the marks where our Loxx® Fastener is going to be placed with a black permanent marker. This indicates places where we need to punch holes in our leather.
- Circle the spot marks along the edge of our flap with a red permanent marker. We will not punch holes in these.
- Take a pen and write any relevant information on the pattern. This includes dimensions and the number of pieces needed for your project. For this pattern, write 23-1/2" x 7", and then CUT 1. Set the pattern aside.
Making the Gusset Pattern
- Grab another pattern sheet to use for your gusset. This piece should be at least 8" long and 3" wide.
- Fold the pattern sheet in half lengthwise. Unfold it, then trace the center line with a pen so you can see it clearly
- Measure 7" for the length of your gusset, and square and mark this point.
- Come out 1" on either side of the center line, and mark lengthwise. We should now have a 7" x 2" box marked on the paper.
- We’re going to sew our gussets to the main body, so we need room for the stitch line and the bend (about 1/8" for each). Add 1/4" to each of the three sides that will be sewn on the gussets. This gives us the actual cut size. The top edge of our gusset will not be sewn, so we don’t need to add length to it.
- Cut out your gusset pattern.
- Write 7-1/4" x 2-1/2" and CUT 2 on your pattern. Set the gusset pattern aside.
Making the Billet Pattern
- Our pattern for our billets is going to be 1" x 5".
- Starting at one end, come in 1/2" and drop a mark on your billet, roughly centered.
- Measure 1" in from your first mark, and mark again.
- Next, we’re going to take our bend into account, where the billet will bend around the dee. We want the dee to have a little bit of movement, but not enough room that it falls through. Allow 2" for this bend. Measure 2" in from your second mark, and mark again.
- Add another mark, 1" from the last.
- Trim the remaining length of paper, 1/2" away from your last mark.
- Use a black permanent marker to circle your four billet holes.
- On your pattern, write 1" x 5" and CUT 2.
Marking for Rivet Holes
- Jump back over to your gusset pattern.
- We want the top of our dee to hit just a bit below the throat of our bag.
- Take your dee and fold the billet pattern around it, so that the two pairs of holes that you marked line up evenly.
- Place the dee and billet on top of your gusset pattern, making sure that the top of the dee hits about 1/4" down from the bag’s throat.
- On the center line of your gusset, mark the height where the top billet hole hits.
- Measure 1" down from the first point, and make a second mark on the center of your gusset.
- Use a permanent marker your circle the two punch holes on your gusset.
- On the bottom of your gusset, clip the bottom two corners about 1/4" in. Each should appear to have a small square taken out. This will allow you to bend the gusset and create a tight corner on the bottom of the bag when sewing.
Making the Strap Patterns
- Start with two pieces of pattern paper that are both 1" wide. These don’t have to be the exact length that you want your actual straps to be. You can use a shorter length for your patterns, as long as you have enough room to mark for your rivet and punch holes on each end. Then you can cut the leather for your straps to the correct length, and just line your “shortie” pattern up on each end when dropping in your marks.
- On one end of each strap, come in 1/2" and mark.
- Measure 1" in from your first mark on each strap. Mark this point.
- Move 2" in, and mark again.
- Measure 1" in from the last point, and mark each strap again.
- Flip one strap around so that you’re working on the other end. Come in 1/2" from this end, and mark.
- Move 1" in from the first mark, and add another mark.
- Measure 2" from the last mark, and mark the strap again.
- Measure 1" from the last, and add another mark. Since both ends of this strap are the same, choose either end and draw an oblong in the 2" spread between rivet holes. This end is going to attach to our buckle.
- Use your pen to mark a round end on both ends of your buckle billet strap.
- Jump over to your second strap pattern. This will be for the tongue strap, which will thread through our buckle to tighten or loosen it.
- On the unmarked end of the pattern, come in 1-1/2" from the strap end and mark for the first hole.
- You can add as many holes as you’d like for adjusting the size. We’re going to add four more, spaced 1" apart.
- Round both ends of your tongue strap.
Labeling the Strap Patterns
- 1. With a black permanent marker, circle all of the holes you marked on both patterns. Trace around your oblong as well.
- 2. You can adjust the length of your straps however you like. For this tutorial, we made them 20" and 37" long. On your buckle strap (the one with the oblong), write 20" x 1" and CUT 1. On the tongue strap, write 37" x 1" and CUT 1.
2: Cutting the Leather for a Purse
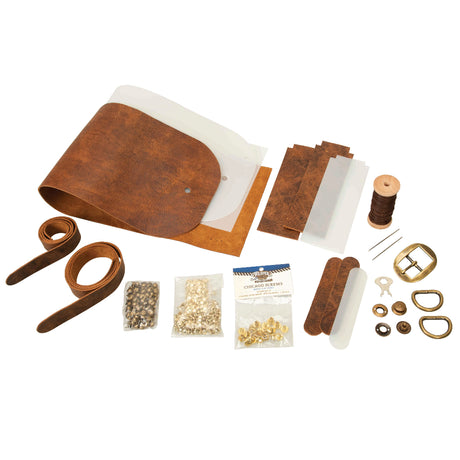
Now that we have our pattern, we can begin cutting our leather. We are using our 5 oz. Crazy Horse Water Buffalo hide for this tutorial. This leather is supple, yet heavy enough to hold our decorations and embellishments.
A helpful tip is to block off your leather before cutting. This means that if you’re working with a full hide or side, you can cut it down into a more manageable piece. It can be tough to manipulate a full hide on your work table. Set aside your scrap leather to use later or for other projects. Pro tip: Chuck recommends that whenever you buy a full hide, side or double shoulder, cut about 5-6 inches off along your longest edge. This ensures that you always have length available if you need it.
Cutting the Main Body Panel
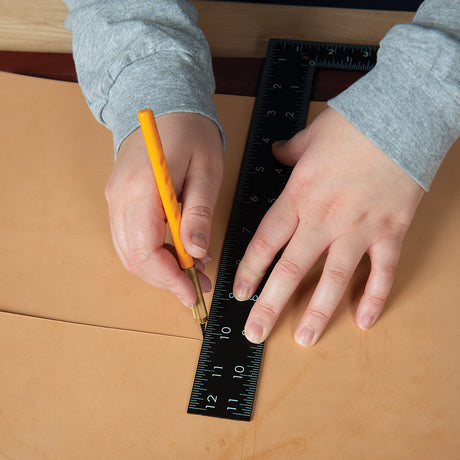
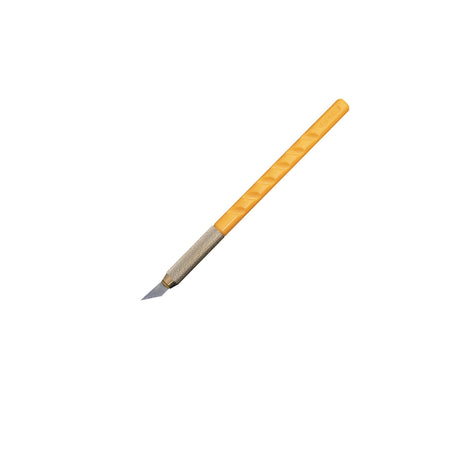
- First, lay your piece of leather out. Using your knife and a straight edge, simply square this piece off. Remember to use a new knife blade every time to ensure a clean cut. Pro tip: Another trick for getting a good cut is to place some non-stick tape on your table, so the leather doesn’t slide around or ripple while cutting.
- Now we’re going to cut the leather we need for our two longest straps. Cut one strap to be 37" x 1". The other should be 20" x 1".
- Cut out your billets the same way. We need to cut two 5" x 1" billets.
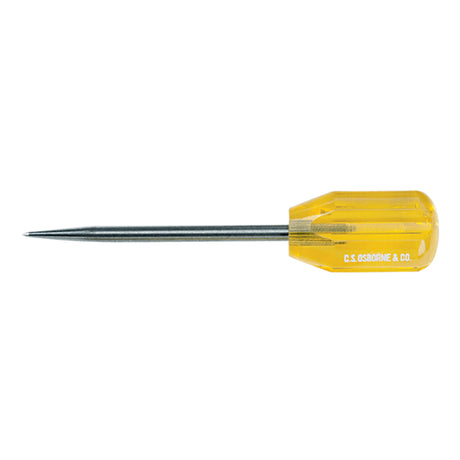
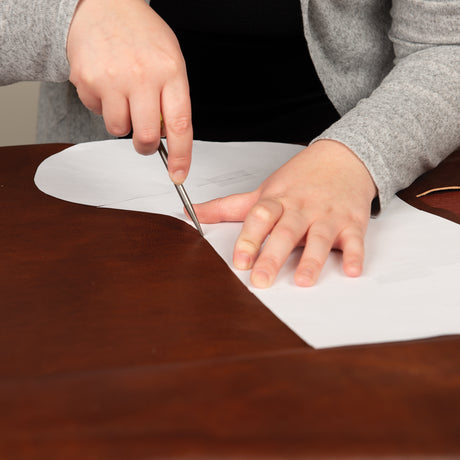
- Use a scratch awl to trace your main body pattern onto another piece of your leather.
- Mark where your rounded corners will be. We are going to trim these freehand once we have the shape of our bag cut out.
- Use your knife and steel square to cut the straight lines of your bag, ignoring the rounded corners for now.
- With a new blade, use your knife to carefully trim the corners. You can do this in one motion if you prefer. If you’re not comfortable with that, you can make a few small, straight cuts around the corner, taking off a little bit at a time.
Cutting the Gussets
- Cut out your two 7-1/4" x 2-1/2" gussets.
- Clip the bottom corners with your knife, as indicated on the pattern.
Grooving the Edges
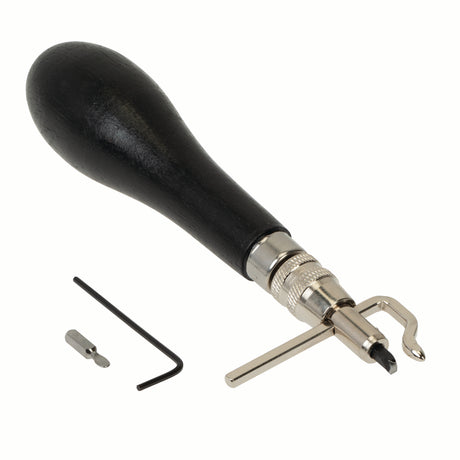
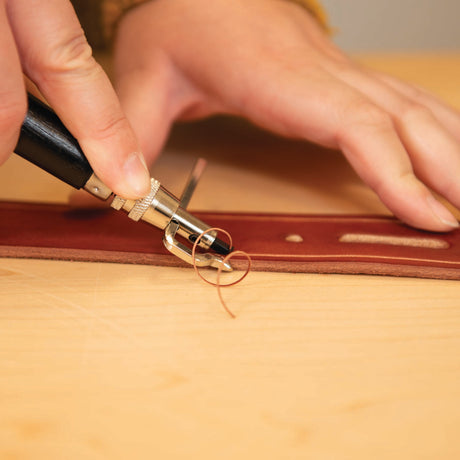
- Set your stitch groover at 1/8" and groove the edges on all of your pieces. You don’t need to do your strap and billet ends, since those will be punched.
Marking for Spots
- Lay your pattern on top of the front panel of your bag. Using your scratch awl, mark the spot where the back of your Loxx® Fastener will go, 3 inches up from the bottom bend.
- Lay your pattern down on top of your bag’s flap to use as a guide. With your awl, drop your spot marks in around the edge of your flap.
Chapter 3: Adding Spots to a Leather Purse
Now we’re going to add our spots for our purse. Spots are inexpensive and super easy to set. All you need is a craft knife and some cardboard. You can use spots to upgrade projects you made years ago, or even personalize something you bought from a store to make it your own.
There are quite a few options when it comes to setting spots. We can use the Little Wonder to set all manner of spots, rivets, grommets, eyelets, and more. Or we can use a hand setter, which is smaller and more affordable than the Little Wonder, but keep in mind that a hand setter is size specific. However, for this tutorial, we’re going to use Chuck’s favorite method for setting spots. All you’ll need is a craft knife and a small pallet made from a few layers of cardboard taped together.
Adding Spots
- Place your leather on your cardboard pallet. Take a spot and place it so that the tines are straddling your first spot mark. Press down just enough to mark your leather.
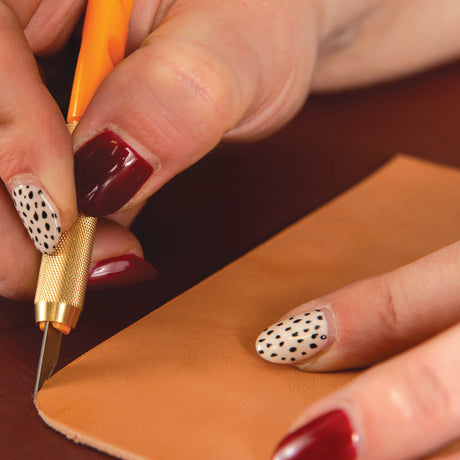
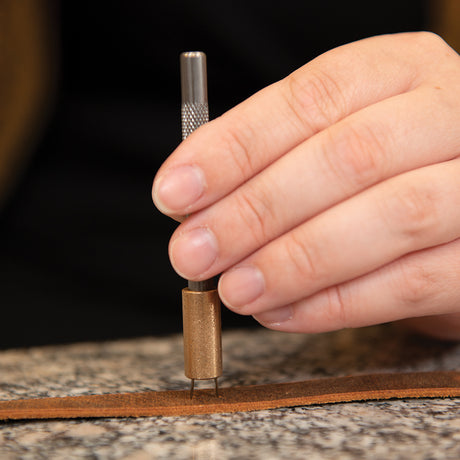
- Next, take your craft knife and make a small hole in each of the tine marks. Make sure that it’s large enough for the tines to slip through, but not large enough that the spot is loose and falls out.
- Drop your spot in place so the tines go through the holes you made.
- Lightly tap the top of your spot with your mallet, so that it sinks down into the leather a bit. Make sure not to hit it hard enough to ding the spot.
- Flip your leather over. Using the bottom of your craft knife, bend the tines of your spot (in or out, it doesn’t matter which direction) so that they’re flush against the back of your leather.
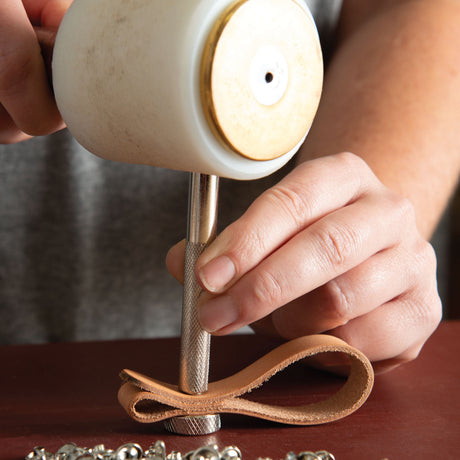
- Move your project onto your marble tooling slab, with the tines facing down. Place the corner of your cardboard pallet on top of the spot, and give it two easy taps with your mallet. This should set your spot so that the tines sink into the leather and won’t catch on anything.
- Repeat steps 1-6 to add spots all around the edge of your main body. Pro tip: To save time, you can mark for all of your spots at once, drop in holes all the way around with your craft knife, and then add all of your spots. Flip your leather over and bend the tines for all of your spots, and then set them all to finish your flap. Remember to move your cardboard palette underneath each spot as you work your way around.
Chapter 4: Hand Sewing a Leather Purse
We are going to hand sew our purse. This can be done easily in around 30 minutes for a stitch line that looks just as good as a machine stitch.
Adding the Stitch Line
- We’re going to start by adding a stitch line to our gussets. We’re going to use a 1/8" flat chisel set. Drop the six-tine chisel onto your groove line, roughly in the center of the gusset. Tap with your mallet, making sure the chisels go all the way through the leather and can be seen on the other side. Gently rock the chisel back and forth to pull it out.
- We need to add one more stitch hole on either side of the 6 holes we already made, for 8 total. To ensure the next hole is spaced evenly, take your two-tine chisel and place the first tine in the last hole on your stitch line, then punch. Repeat on the other end of the stitch line.
- Move on to the long edge of your gusset. Begin with the first tine of your six-tine chisel right off the edge of your leather, as if you’re starting from a preexisting stitch line. Continue the stitch line all the way along the edge, placing your first tine in the last hole made as you go. Repeat on the opposite side.
- Move to your second gusset and repeat the steps, chiseling the bottom and sides.
- Now we’re going to chisel a stitch line for our main body. Move your main body over to your punch table and line up your pattern on top of it. Using the pattern, find the spot where your gusset will be sewn onto the body.
- Line up the bottom edge of your gusset with the edge of the body. We can easily see where our chisel holes should be added to match up with the chisel holes on our gusset.
- Use your chisel and mallet to punch the holes along your main body, dropping into the groove line, making sure they line up with the gusset.
- Now we’re going to chisel a stitch line on the sides of the main body where they will be sewn to the sides of the gusset. Using your pattern, find where your main body will bend to form the bottom of the bag.
- Starting on either side, take a two-tine chisel and place the first tine right next to the bend line. You’re going to start your chisel line where the second tine is laying—one hole out from the bend.
- Using the two-tine chisel as a spacing guide, take your six-tine chisel again and drop it onto your groove line, with the first tine placed one hole out from the bend. Chisel along this line, making sure the number of holes chiseled on your main body matches the stitch line on the long edge of your gusset.
- Repeat this technique to add a chisel line on the other side of the bend, towards the bag’s front flap. Again, make sure to start one hole out from the bend, and chisel the same number of holes to match the stitch line on your gusset.
- Repeat steps 5-11 to add a chisel line on the other side of your main body panel.
Attaching the Billets
Next, we’re going to add our billets to our gussets. These are what will attach our dees and straps to the body of our purse. We’re going to use 5/16" Double Cap Rivets.
- Insert the posts of your rivets through the back side of your gusset, in the two holes punched in the center of the leather.
- Fold one of your billets around your dee, and place it on the gusset. Line up the holes on your billet with the holes on the gusset, making sure the posts go through all three layers of leather. Make sure that the dee is facing outwards and placed near the top of your gusset.
- Snap the rivet caps onto the posts to secure the billet in place.
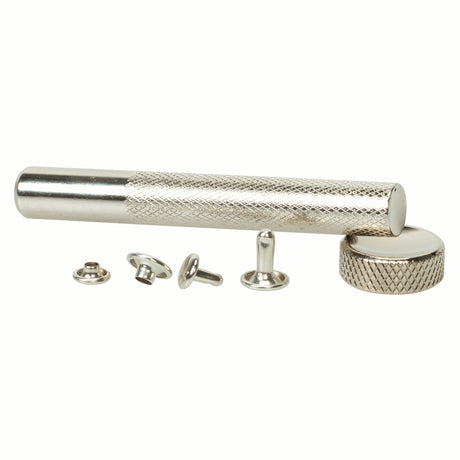
- Set your rivets using your mallet and the concave end of your rivet setter. Repeat these steps to attach the other billet and dee to your remaining gusset.
Hand Sewing the Leather Bag
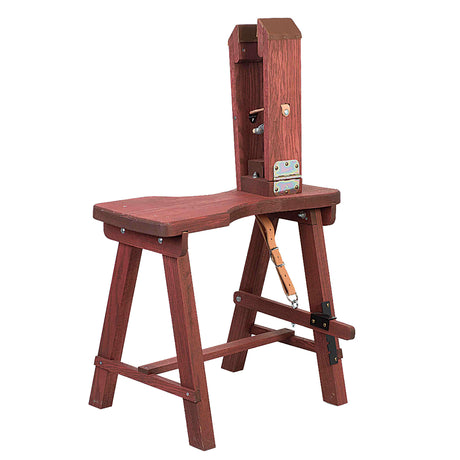
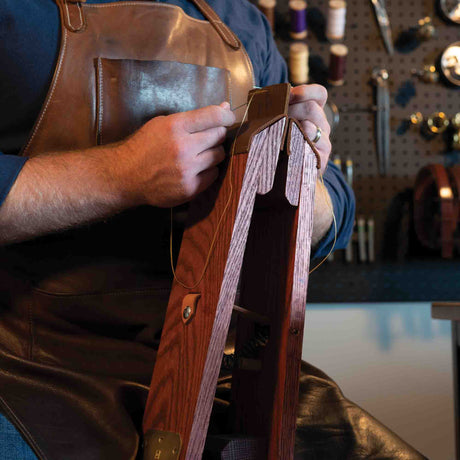
- Now let’s move over to our sewing horse to start stitching our purse together. Place your main body panel and one of your gussets in the horse so that the bottom edge of the gusset is lined up with the edge of the bag, where you placed the matching chisel line. You can place a pin or needle through a set of holes in the layers to pin it in place and ensure the edges don’t move. Make sure the top grain sides of your leather is facing out, and the inside of the pieces are pressed together in the horse.
- We are going to use a Saddler’s Stitch to sew our bag. Thread your needles so that you have a needle in each hand, with a length of thread in between. Your thread should be about four times the length of what you need to sew.
- Starting in the first set of holes, push one needle through both layers and pull it through to the other side. Continue pulling the thread through until the length is equal on each side of your project. Now you should have one needle and half the length of thread on each side of your leather.
- Take one of your needles and push it into the next chisel hole, but don’t pull it completely through. While the first needle is still halfway through the leather, carefully insert your second needle into the same hole, coming from the other direction. Both needles should be halfway through the leather, crossing each other in a sort of X.
- Carefully grab both needles and at the same time, pull them the rest of the way through the leather, pulling the thread until it’s taut. You should now have a neat stitch on the front and back of your project, and again have a needle and half of your thread on each side.
- Continue your Saddler’s stich the rest of the way down your chisel line until you reach your last set of holes.
- Take the needle on the back side of your project and carefully push it through the last hole, but only through one ply of leather. The needle should come out in between your main body and gusset pieces. Do the same thing on the front side, pushing the needle through one ply and pulling it out from in between the layers. Tighten your stitches by pulling the threads taut in the same direction as your stitch line.
- To finish your stitch line, tie a square knot (left over right, then right over left). Tighten the knot close to your leather so that it’s hidden in between the layers.
- Repeat steps 1-8 to attach the bottom edge of your remaining gusset to the other side of your body.
- Rearrange your project so that the front and back of your purse is bent into shape around your gusset. It’s helpful to use clips (simple binder clips work great) to hold the pieces together while you sew.
- Starting on a bottom corner of your bag, begin sewing in the first set of holes. Make sure you start in the first hole on your gusset and the first hole on your main body, so the sides of the bag are sewn together evenly.
- As you sew and pull each stitch taut, work the corner and bend it into the correct shape for your bag. Sew from the bottom of your bag to the top edge with your Saddler’s Stitch.
- Again, like with your gusset, finish the last set of holes on your stitch line by pushing the needles through the first ply of leather, so they emerge from inside the bag.
- Tie your stitch line off with a square knot, pushing the knot down into the top corner of the bag to hide it.
- Repeat steps 10-14 to attach the other side of your gusset, finishing one side of your bag.
- Sew the remaining gusset onto the other side of your bag.
- Move your leather bag over to your marble tooling slab. Place your bag so that the gusset is along the side of your table, and the stitch line on the front of your bag is laying right along the edge of the slab so you can work on it.
- Using a tack hammer, lightly tap along your stitch line. This allows the stitches to sink into the groove line and the chisel holes close up. Hammer the stitch line on the front of the bag on the other side, and then on the two stitch lines on the back of your bag.
Chapter 5: Assembling a Leather Purse
Now that we finally have all of our pieces, we can put them together and assemble our leather bag. Once this is completed, you’ll be able to enjoy your finished leather bag. You’ll also have the knowledge and skills you need to design other leather bag patterns, and build more beautiful leather bags for friends, family, and even yourself!
Attaching the Fastener
- Let’s start by attaching our Loxx® Fastener. Your fastener should have four pieces. First, take the fastener piece with the post and place it inside your bag, so that the post comes out through the hole in the front panel of the body.
- Then place one of your ring pieces on top of the post, from the outside of the bag, and screw it down to attach the fastener to your leather. You can use the key included with your fastener to tighten it even further for a secure closure.
- Move on to the front flap of your purse. Take the release of your fastener, and drop it on the hole on the front of the flap.
- Open the flap up so that you can see the inside, and drop a ring onto the bottom of the release. We’re going to screw it onto the back of the release just like we did with the post, using the key to tighten it completely.
Attaching the Straps
- Take your 20" strap and find the end where your buckle will go. Hold your buckle so that it’s facing up and the tongue is pointing away from the rest of your strap. Load the end of the strap into the buckle from the back.
- Pull the strap end over the buckle’s center bar, letting the prong fall through the oblong punch.
- Pull the end back down through the buckle, around the center bar, and fold it underneath the rest of the strap.
- Place your strap so the buckle hangs off the edge of your table. Make sure the two sets of holes line up where your strap end is folded under.
- Take two 1/4" double cap rivets. Place the posts of the rivets on the back side of your strap, through both layers of leather.
- Add the caps on the front. Set the rivets using the concave end of your rivet setter.
- Using 1/4" Chicago screws, attach your straps to your dees. Make sure the top grain of your leather is facing out, then fold the end of the strap around the dee so that it ends up on the inside of the bag.
- Add a little bit of leathercrafter’s glue to the posts of your screws, and insert them through the two set of holes where the strap end is folded over.
Tools and Materials Used in This Project
- $58.00Unit price /Unavailable
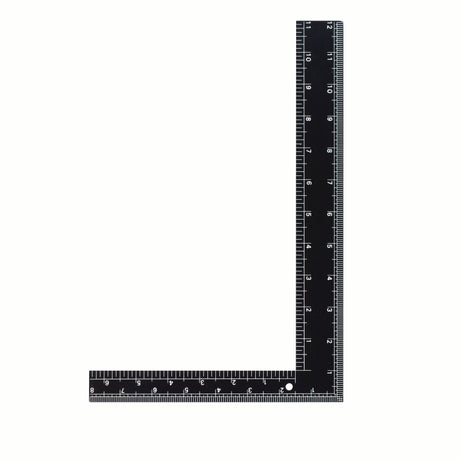
12" x 8" Steel Square with Non-Slip Tape
$15.60Unit price /Unavailable- $21.50Unit price /Unavailable
#4 Heavy-Duty Scratch Awl 3-1/2"
$7.80Unit price /Unavailable- $11.60Unit price /Unavailable
#2200 Double Cap Rivet and Insta-Rivet Setter
$4.70Unit price /Unavailable- $58.00Unit price /Unavailable
Heritage® Individual Spot Setters
$21.75Unit price /Unavailable- From $85.00Unit price /Unavailable
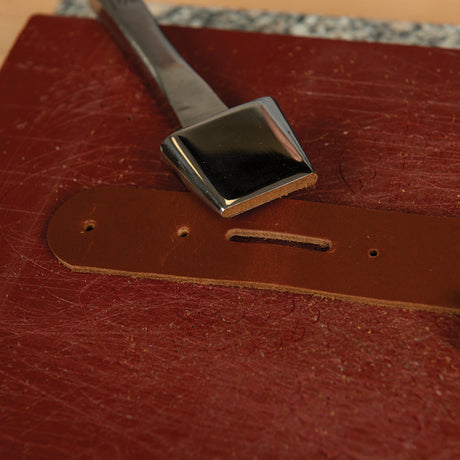
Master Tool Oblong Leather Punch
From $110.00Unit price /Unavailable- From $11.10Unit price /Unavailable
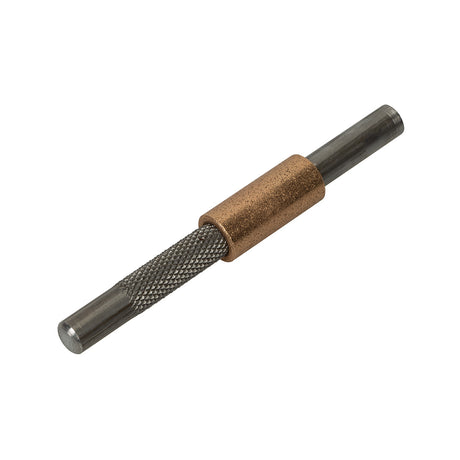
Master Tool English Point Punch
From $78.10Unit price /Unavailable- $17.60Unit price /Unavailable
- $390.00Unit price /Unavailable
- $30.75Unit price /Unavailable
- $35.00Unit price /Unavailable