Tools and Materials Used in This Project
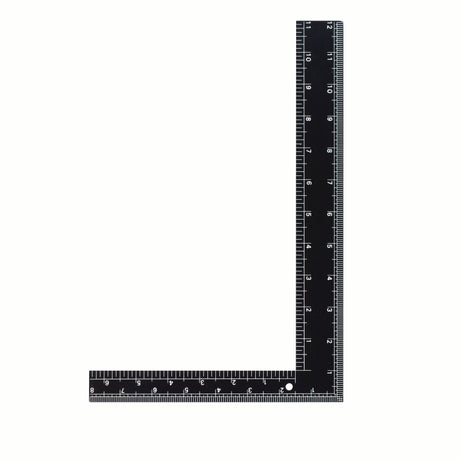
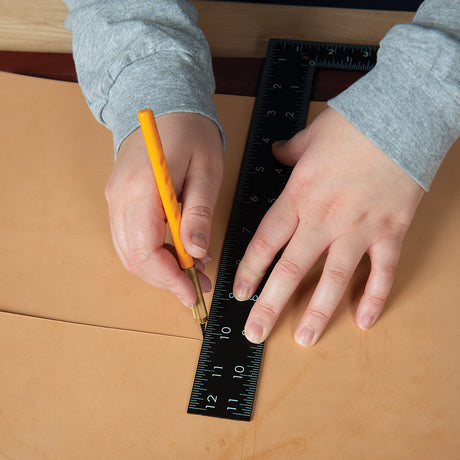


12" x 8" Steel Square with Non-Slip Tape
Regular price $17.00Unit price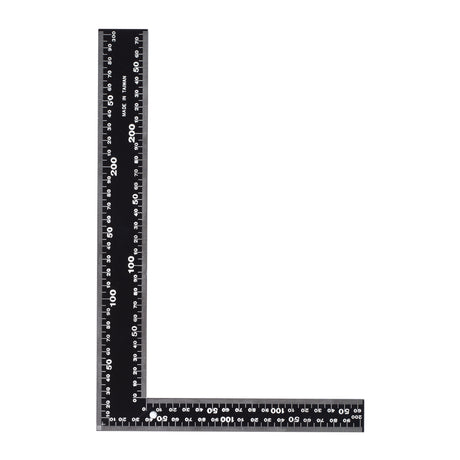
 Regular price $14.10Unit price
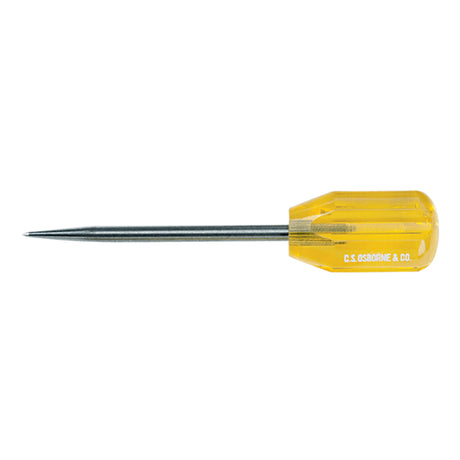
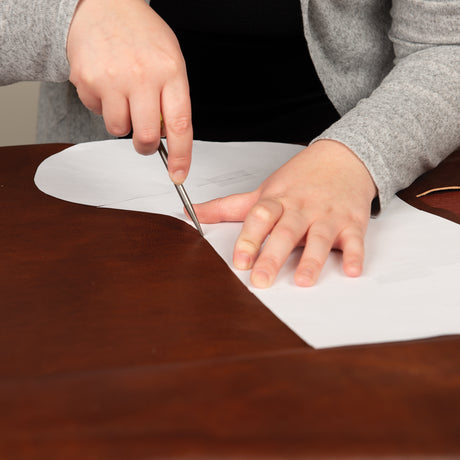


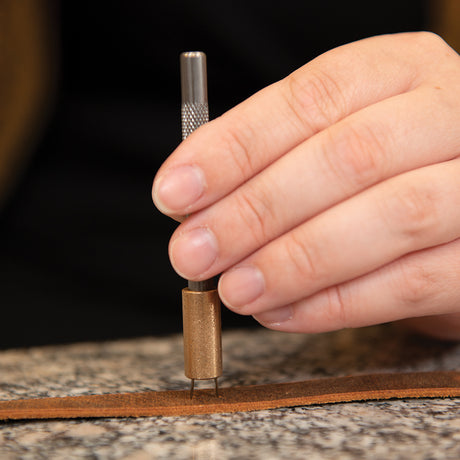
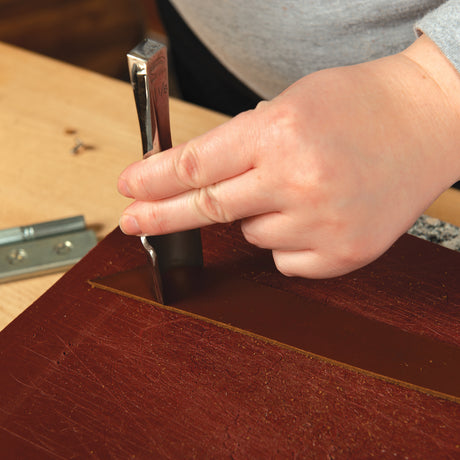
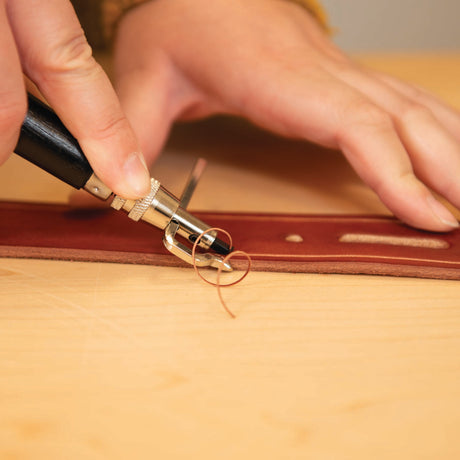
#4 Heavy-Duty Scratch Awl 3-1/2"
Regular price $8.70Unit price


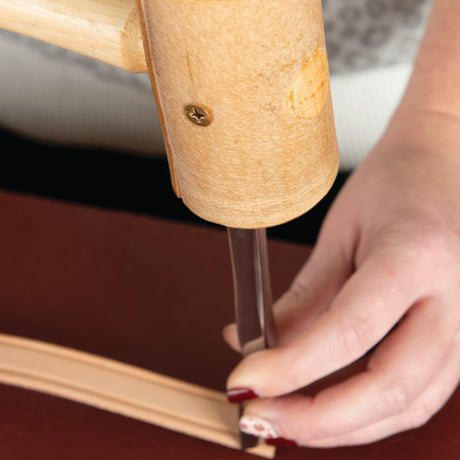
Master Tool English Point Punch
Regular priceFrom $78.10Unit price


 Regular price $4.10 Sold by 12 packUnit price


 Regular price $21.75Unit price
 Regular price $8.80Unit price

 Regular priceFrom $85.00Unit price
 Regular price $14.00Unit price
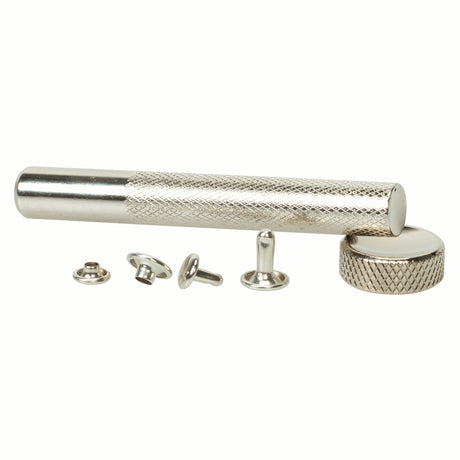
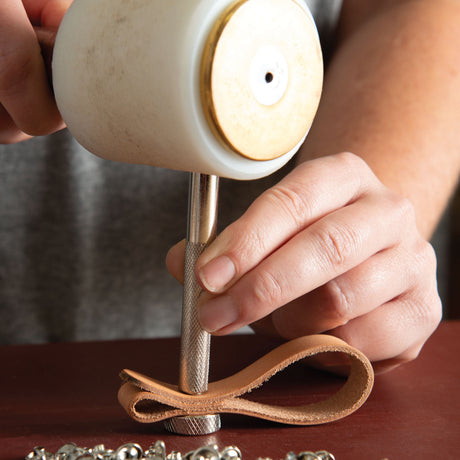

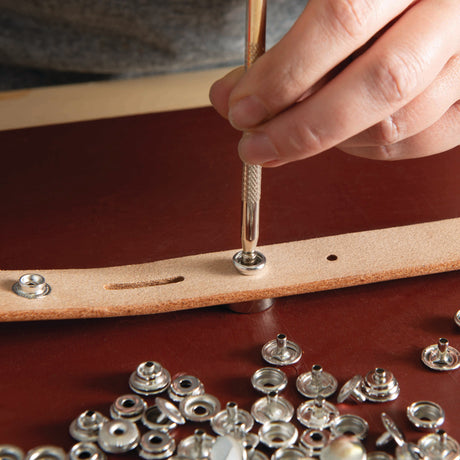
#2200 Double Cap Rivet and Insta-Rivet Setter
Regular price $5.10Unit price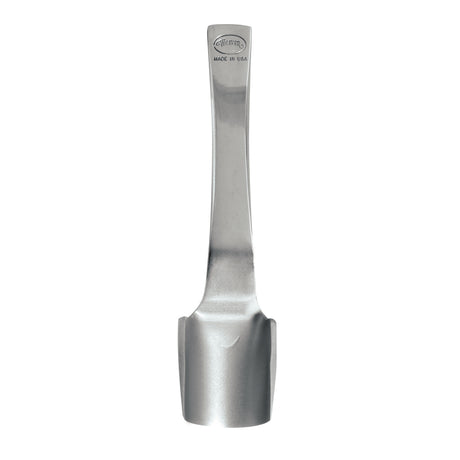

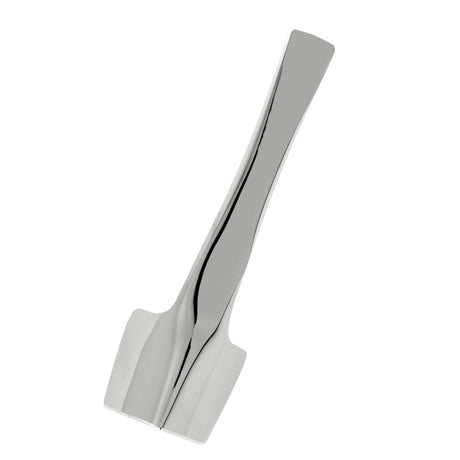


Master Tool Round Strap End Punch
Regular priceFrom $78.10Unit price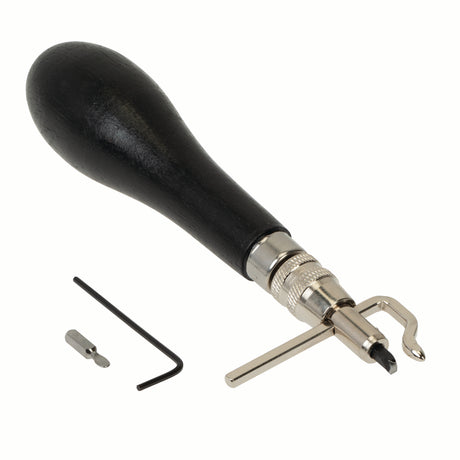

 Chuck's PickRegular price $38.00Unit price


 Regular price $6.50Unit price


Dressing Sponge 1" H x 6" L x 4" W
Regular price $1.60Unit price


 Regular price $57.00Unit price
 Regular price $40.25Unit price
 Regular price $19.20Unit price


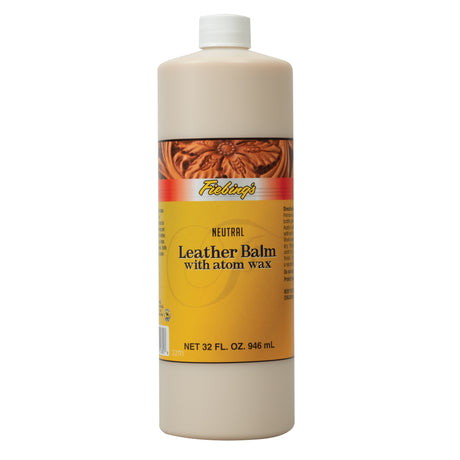
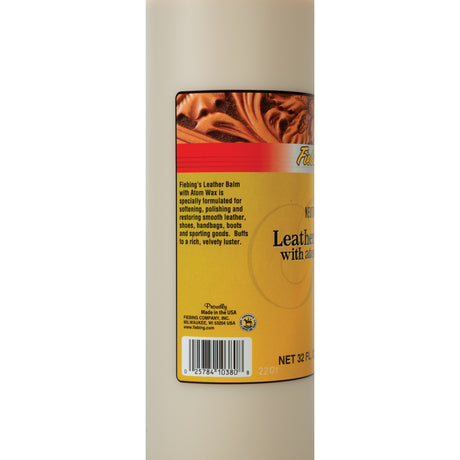

Fiebing's Leather Balm with Atom Wax, Neutral
Regular priceFrom $8.60Unit price


