Keep your hat secure and within reach with this practical leatherworking project. In this tutorial, Leandra Martin walks you through how to build a magnetic cowboy hat clip using vegetable tanned leather, simple hardware, and foundational leathercraft techniques. This project is a great way to practice clean construction while creating a functional accessory for everyday use.
What You’ll Learn
How to cut consistent patterns using a clicker die
Preparing leather for tooling, including casing and backing
Scribing borders and layout lines for clean design
Swivel knife cutting, beveling, and stamping techniques
Applying oil, resist, and antique finishes for depth and contrast
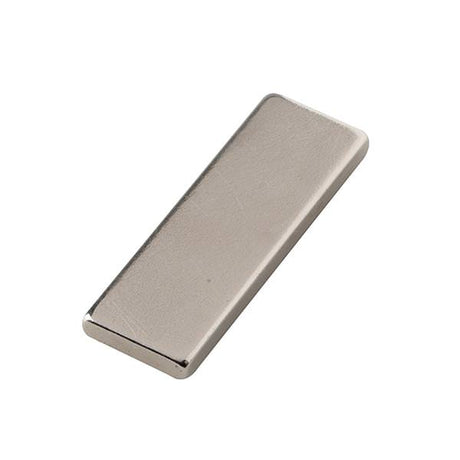
Proper placement and alignment of magnets
Gluing and installing a leather liner with a clean fit
Machine sewing techniques for small leather goods
Trimming, sanding, edging, and burnishing for a finished edge
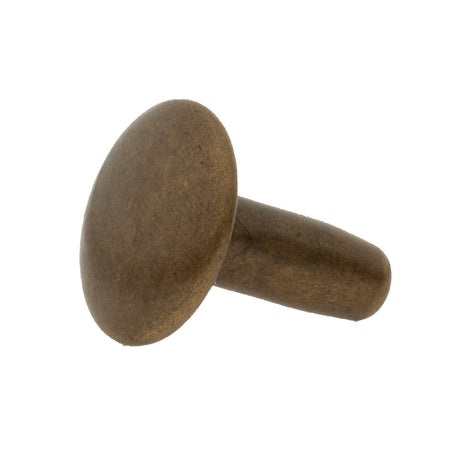
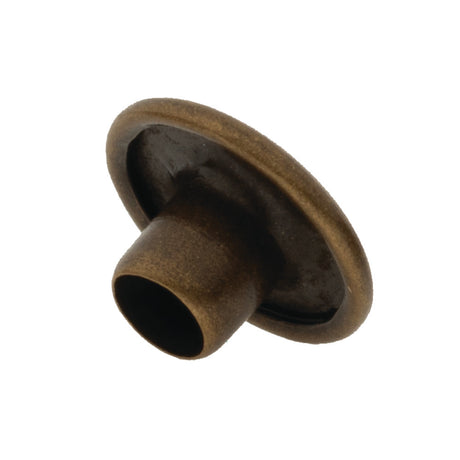
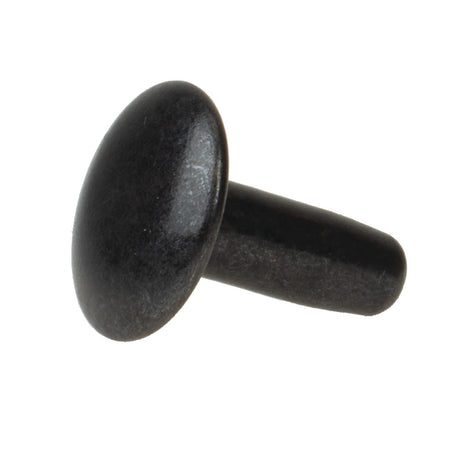
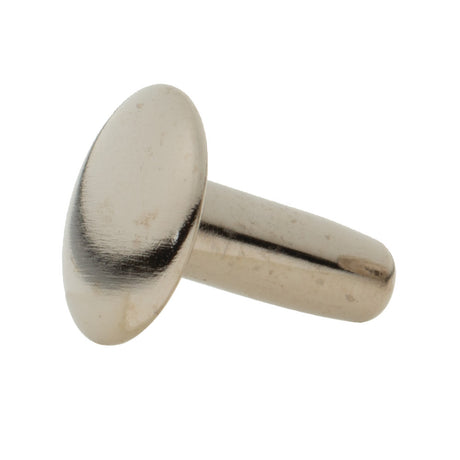
Installing hardware including a D-ring, rivet, and spring hook
Skill Level
Intermediate
This project is best suited for makers with some leatherworking experience, particularly those familiar with tooling, machine sewing, and edge finishing. It’s a strong skill-building project for improving precision and consistency across multiple techniques.
Tools & Materials
This project uses vegetable tanned leather in two weights, 4–5 oz for the outer layer and 2 oz for the liner, paired with hardware like a horseshoe ring, neodymium magnets, and double cap rivets. Construction involves cutting with a clicker die, basic tooling tools for stamping, contact cement for assembly, and a sewing machine for stitching, along with standard edge finishing supplies for a clean, polished result. Use this project to refine your technique and build confidence in combining tooling, finishing, and assembly into one clean, functional piece.


 Regular price $20.75Unit price


