Making your own leather belt is a great introduction to leathercraft because it combines simple techniques with a practical finished project you can use every day. In this project, Chuck Dorsett walks through how to cut a belt blank, create clean tapers, punch holes and install hardware using water buffalo leather and classic western-style hardware.
With only a handful of straightforward steps, this project helps build confidence while teaching foundational strap-making skills that can carry over into future belts, bags and strap projects.
What You’ll Learn
How to cut a straight belt blank from leather using a wooden strap cutter
How to lay out belt sizing, taper locations and buckle placement
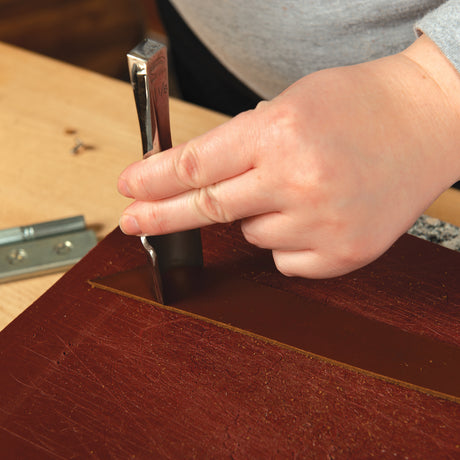
How to create clean tapers for improved buckle fit and functionality
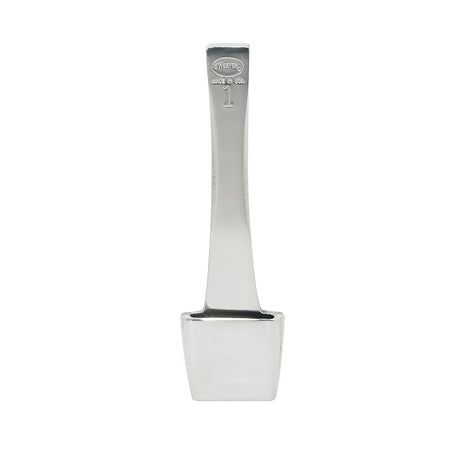
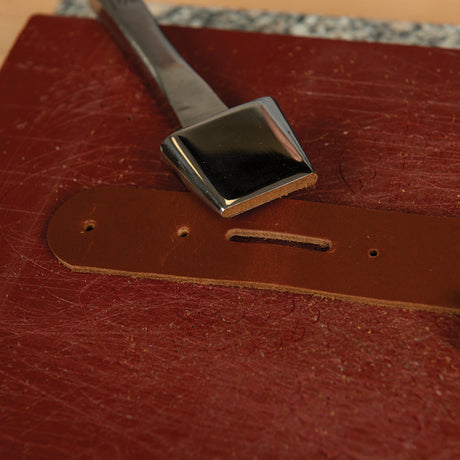
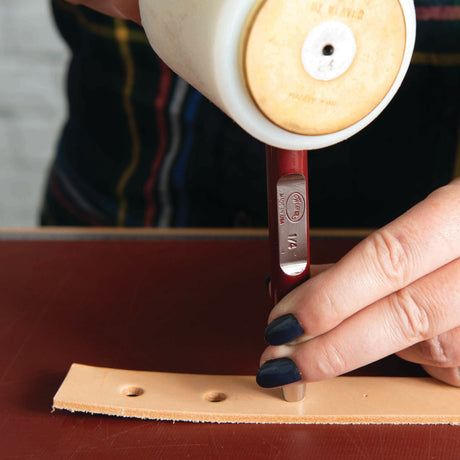
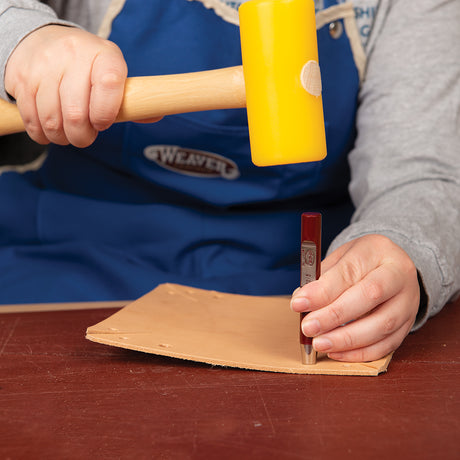
How to punch oblong slots, belt holes and rivet holes
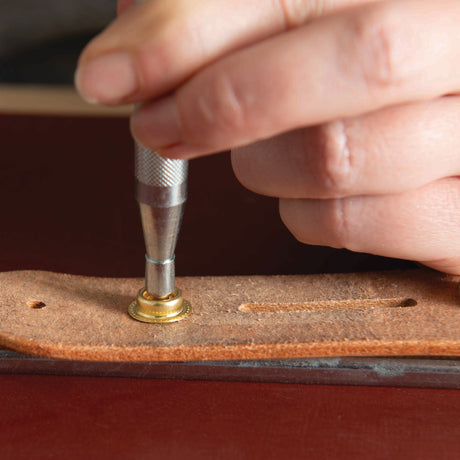
How to install a buckle set, keeper and buckle tip
How tapering techniques can be applied to straps, buckles, d-rings and o-rings in future projects
Skill Level
This project is well suited for beginners who want to step into leathercraft with a useful, approachable project. The process uses foundational tools and techniques while keeping the build manageable and easy to follow. It’s a great starting point for learning strap work, hardware installation and basic leather layout techniques.
Tools & Materials Overview
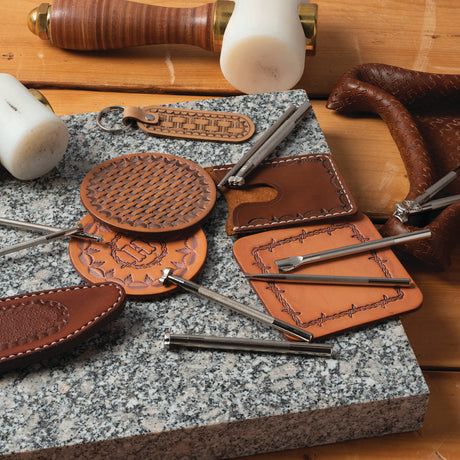
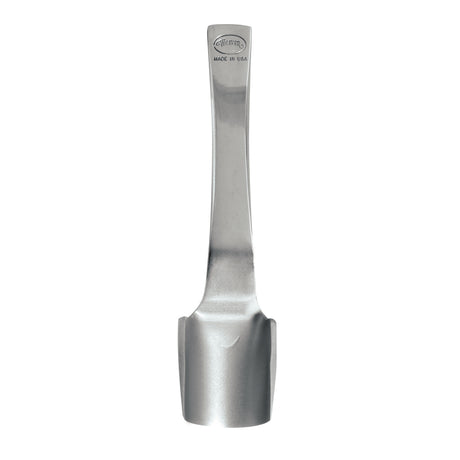
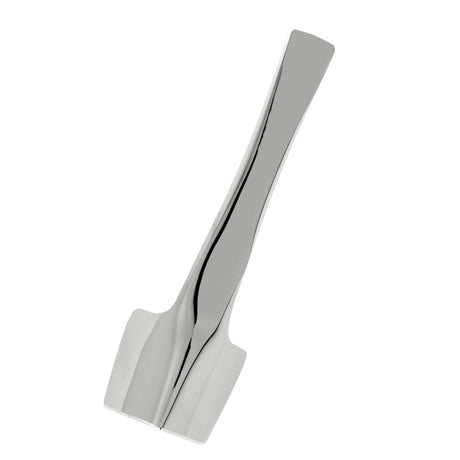
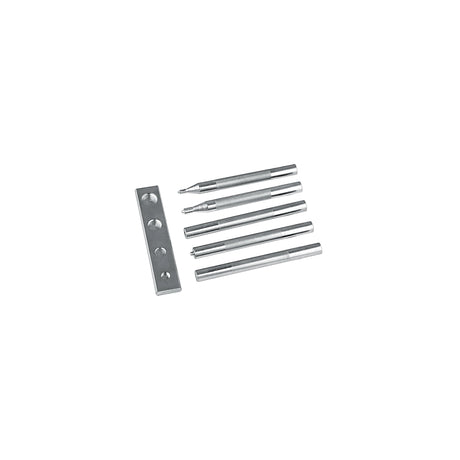
This project uses water buffalo leather, western-style hardware and foundational hand tools to guide you through building a classic tapered belt from start to finish. Materials like the Water Buffalo Single Bend, a Western Floral Buckle Loop & Tip Set and #2200 Double Cap Rivets are paired with tools such as a Wooden Strap Cutter, English Point Strap End Punch, Oblong Punch and Round Punches to support cutting, tapering, punching and assembly.
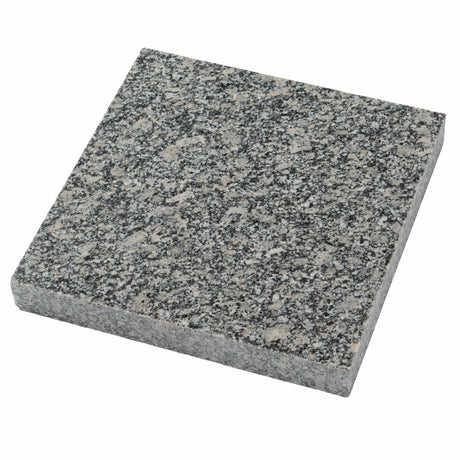
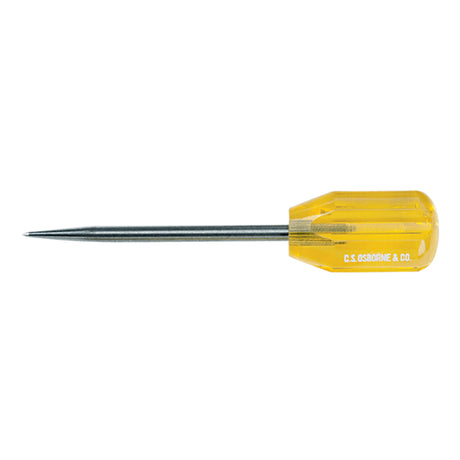
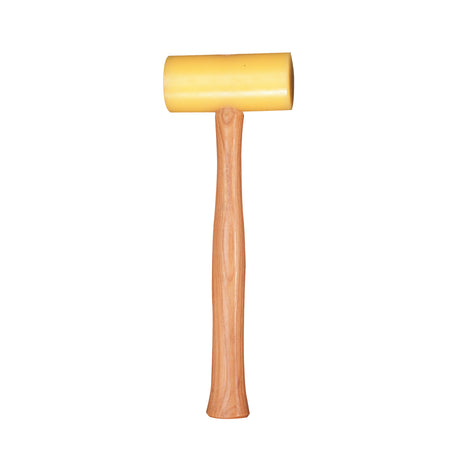
Additional tools including a Polyhead Mallet, Poly Cutting Board, Marble Tooling Slab, Heavy Duty Scratch Awl and Deluxe 4P Snap and Rivet Setter help create clean cuts, accurate hole placement and secure hardware installation throughout the project.


 Regular price $19.20Unit price