How to Hand Sew Leather

How to Hand Sew Leather Using Four Popular Stitches
Learning how to sew leather by hand may seem daunting to any beginner leathercrafter, but once you have the basic techniques down, you'll be able to sew practically anything. Read on for an overview of the saddle stitch, running stitch, cross stitch and baseball stitch — and start planning ways to use these stitches in your leather projects!
First things first though, let's take a look at how to get ready to hand stitch your leather project.
Preparing to Hand Stitch Leather
Step 1. Add a Groove Line
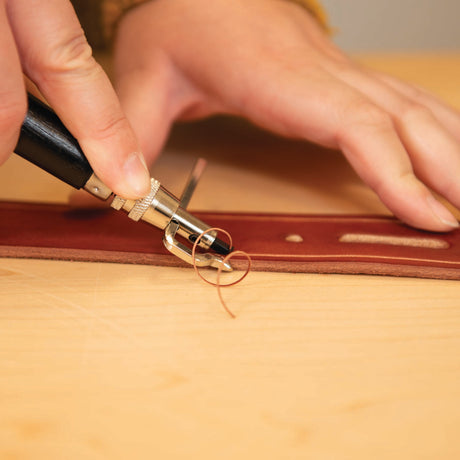
Before we start stitching, we need to add a groove line. Set your leather stitch groover to 1/8" and groove around the edges on the front side of your leather project. This will provide a straight line to follow when adding your chisel line, and it allows your stitch line to sink down into your leather. You can choose to only groove where you want to add your stitch line, or groove all of your edges for a decorative touch.

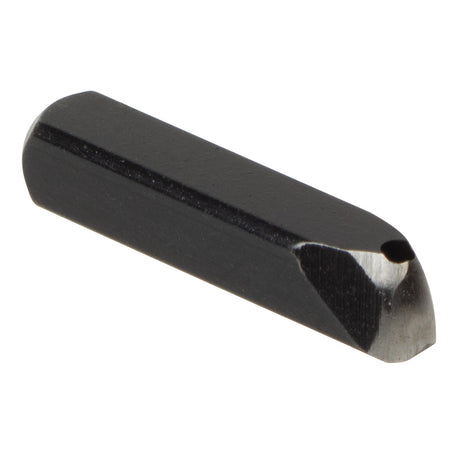
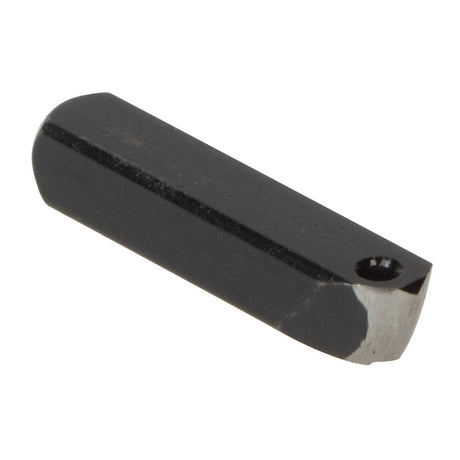
Step 2. Chisel Stitch Holes
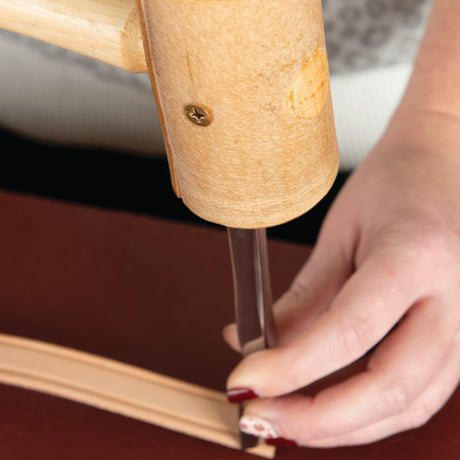
Place your project on a poly cutting board to avoid dinging your stitching chisels. Take a stitching chisel and drop it onto the groove line at the edge of your project. (Depending on the project, you may prefer to start at the center of your groove line and work your way around each side). You can line your stitching chisel up with the edge of your work by letting the first tine hang just off the edge, so the second tine can form your first chisel hole.
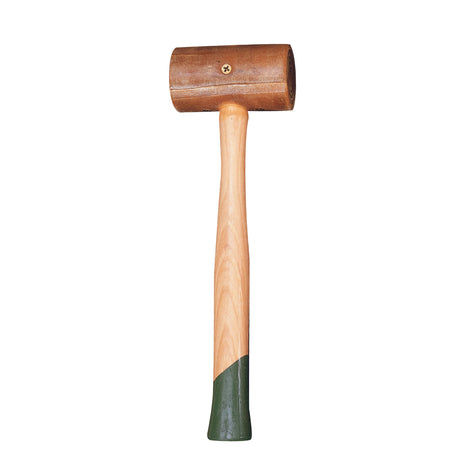
Using your stitching chisel and a rawhide mallet, punch the holes for your stitch line. Try to keep the spacing consistent. An easy way to keep your stitch line straight and evenly spaced is to place the first tine of your stitching chisel in the last hole you made as you move around your project.
To chisel around corners, it's best to use 2-tine and single-tine chisels. Place the first tine of your 2-tine chisel in the last hole you made, and lightly mark where your next hole will be. Then, use your single-tine chisel to punch the hole where you marked. Repeat this process until you reach your next straight edge.
If you get to your last few holes and notice that you're going to have too much or too little space left, you can use your single-tine chisel to gradually spread out or contract your stitch line and keep it looking evenly spaced. Use your 2-tine chisel to measure and lightly mark where your next hole should be, then use your single-tine to chisel your hole on the edge of this mark, just barely pulling it in closer or pushing it farther out. (You want the change in spacing to be so slight that it isn't noticeable.) Repeat this until you can fit your larger chisel evenly in the remaining space, or you reach the end of your stitch line.
Tips for Chiseling:
- Keep your stitching chisels straight up and down when punching your holes
- Gently rock the chisel back and forth to ease it out of the leather
- Apply a bit of beeswax to your chisels so they slide in and out of the leather smoothly
- Lay a piece of scrap leather between your project and the cutting board to help chisels go through the leather easier
Four Popular Leather Stitching Techniques Explained
1. Saddle Stitch

One of the best ways to hand stitch leather is using a saddle stitch. This method is quick and efficient once you get the hang of it, and a saddle stitch is even more secure than a lockstitch you'd get from a sewing machine.
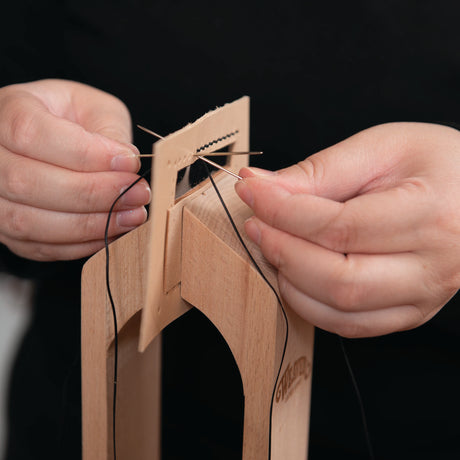
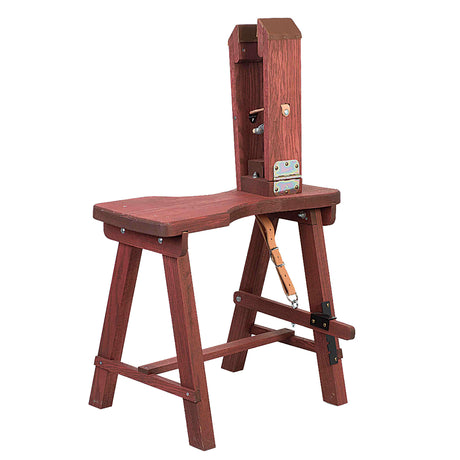
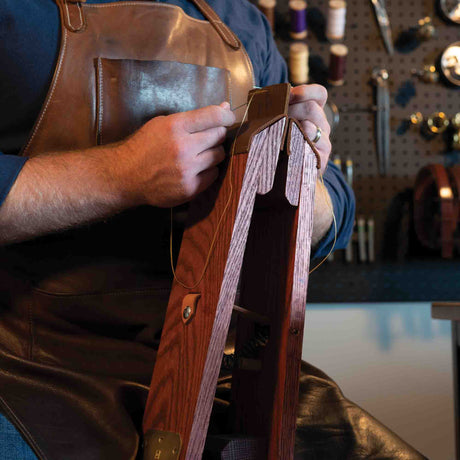
You can use a stitching horse or a stitching pony to clamp onto your material and keep it comfortably in front of you while hand stitching. Cut your thread to be about 4 times the length of your groove line. (If you feel this length is too hard to work with, you can use a shorter length to hand stitch a few inches at a time, then tie off and repeat.) Our team recommends Ritza Tiger Thread for hand stitching.
To begin saddle stitching, thread each end through one of your leather sewing needles. You should have a needle in each hand, with your length of thread pulled in between. Take one needle and push it all the way through your first hole in your groove line. Pull it through so that the thread length is even on the front and back of your project. On the second hole, push your front needle in, but don't pull it completely through the leather yet. Then insert the needle on the back side of your project into the SAME hole. Now, in your second hole you should have two needles threading in opposite directions. Go ahead and pull them completely through, so that they end up on opposite sides from where they started. Once again, you should have one needle on each side of your leather project, with the thread pulled evenly between them. Repeat your saddle stitch on the third hole, and so on. Stop when you reach the last chisel hole.
When you reach your last open hole, come through with your needle and thread from the front of your project only. Now you should have both needles and thread ends on the back of your project. With your thread ends, tie a simple square knot (right over left, then left over right) on the back of your project. (If your project has a pocket, you can hide the square knot inside the pocket for a neater appearance.)
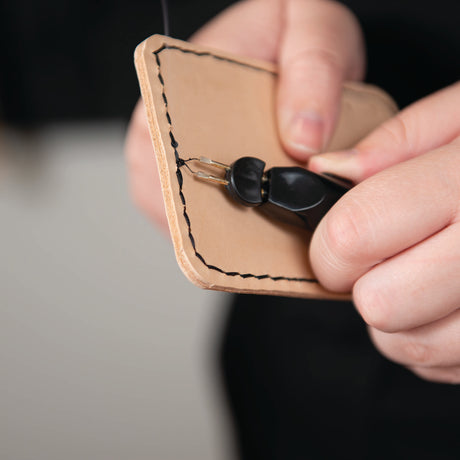
If you prefer not to tie a knot, you can back stitch a few holes instead. Simply use the same stitching method but go back 2-3 holes. For the last back stitch, make sure both thread ends are on the same side of your project (preferably the back side or the most unused side). Trim thread to about 1/8” and use a lighter or Thread Zap to melt the trimmed thread ends.
Thread your loose ends through the holes on either side of your square knot, so they're on the front of your leather project. Hold your knife close to the surface of your leather, and trim your thread by pulling each end (one at a time) across the blade. Make sure to hold the knife still, and only move the thread to avoid cutting yourself or your leather.
2. Running Stitch/Running Stitch Out and Back

To create a running stitch, begin by threading your leather sewing needle and tying a double knot on one end. Starting on the backside of your project, push the needle through your first chisel hole. Pull the thread all the way through until the knot is pulled tight against the leather. Insert your needle back through the second hole, and pull your thread all the way through onto the backside of your project. Thread the needle through the third hole, and so on, continuing this pattern all the way to the end of your stitch line.
The out and back method uses the same running stitch technique explained above, but creates a pattern similar to the saddle stitch. To do this, start with a normal running stitch. Once you reach the end of your stitch line, continue your running stitch in the opposite direction, back along the stitch line you just created.
Say, for example, you end your running stitch with your needle and thread on the back of your project. Take the needle and insert it into the second-to-last hole and pull it through to the front. You should now have a stitch between the last two holes on both sides of your project, like you would if you'd used a saddle stitch. Continue this “reversed” running stitch back along your stitch line, until you reach your first hole. The pattern created will look like a saddle stitch, but will actually be two opposite running stitches along the same stitch line. You can tie off your thread by tying a square knot on the inside or backside of your project.
EXPERT TIP:
While many beginners start out using the running stitch, our experts recommend focusing your efforts on learning to saddle stitch. It can be tricky to maintain consistent tension with a running stitch which many times can result in a less professional-looking end result. Perfecting your saddle stitching technique will reward you with beautiful stitching with every project and is our #1 recommended stitch to learn!

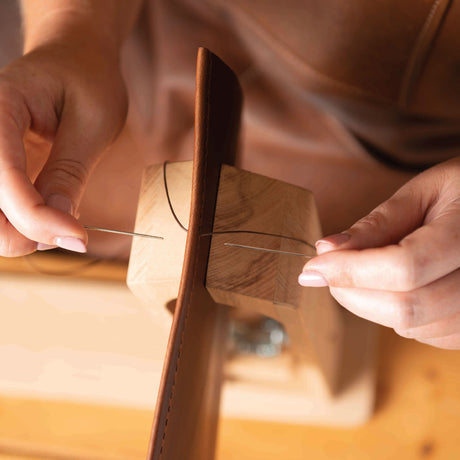
3. Corset Stitch/Cross Stitch

A corset, or cross stitch is extremely useful when you want to wrap something in leather, or connect two separate pieces of leather. The two edges can be lined up and stitched together using a corset stitch.
Begin by chiseling holes for your stitch line along the two edges that will be stitched together. Make sure each pair of chisel holes line up exactly between the edges. Cut a length of thread and secure a leather sewing needle to each end.
Starting in the first set of holes, insert a needle through each from the backside of your leather. Take your left needle, pull it across the front of your leather and insert it into the second hole on the right. Then take your right needle, pull it across and insert it into the second hole on the left. You should now have two stitches forming an “X” connecting the two edges.
Both needles should now be on the backside of your leather project, coming through the second set of holes. Take the needle that's now on the left, pull it across the backside of your project to the right, and insert it up through the SECOND hole, where your other needle just came through. Take the right needle, pull it across, and insert it up through the second hole on the left. You should now have both needles on the front of your project, at the bottom of the “X” you previously created.
Continue stitching in each set of chisel holes so that your thread crosses on the front of your project, and then is stitched straight across the back.
4. Baseball Stitch

A baseball stitch is similar to a corset stitch, but creates a stitch line that looks like the seam of a baseball. This stitch is often used as a decorative detail on a leather project.
Begin by chiseling holes for your stitch line along the two edges that will be stitched together. Make sure each pair of chisel holes line up exactly between the edges. Cut a length of thread and secure a leather sewing needle to each end.
Starting in the first set of holes, insert a needle through each from the backside of your leather. Take your left needle, pull it across and underneath the right layer of leather, and then up through the second chisel hole. Do the same thing with the right needle, bringing it across and up through the second chisel hole on the left.
Both needles should again be on the front side of your project, emerging from the second set of chisel holes. Repeat this stitch in the third set of holes, and so on, all the way down your stitch line, making sure to pull each stitch tight.
Stop when you reach your last set of holes. To finish your stitch line, take each needle and go straight across and through your leather in the last set of holes a few times. Once you feel your stitch line is secure, trim your thread. You can also tie a square knot on the back of your leather for extra security.
Final Note

Now that you've got the lowdown on some different hand stitching techniques for leather, feel free to experiment with some different stitches and discover the ones that work best for your leather projects.
Suggested Products
-


 Chuck's Pick
John James Saddler's Harness Needles
Regular priceFrom $9.80 Sold by 25 packUnit price -


-


 Regular priceFrom $26.50Unit price
 -


 Regular price $25.75Unit price
 -

 Chuck's PickRegular price $38.00Unit price
 -
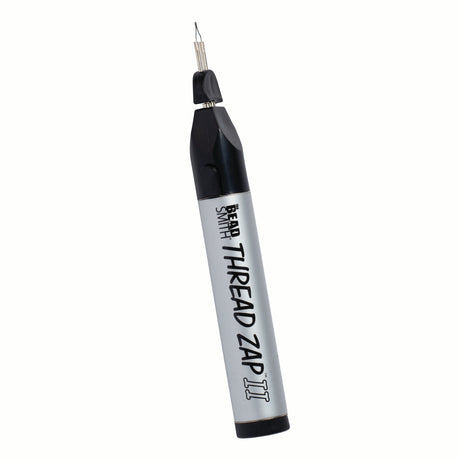


Thread Zap®II Battery-Operated Thread Burner
Regular price $21.00Unit price -
 Regular price $19.20Unit price
 -
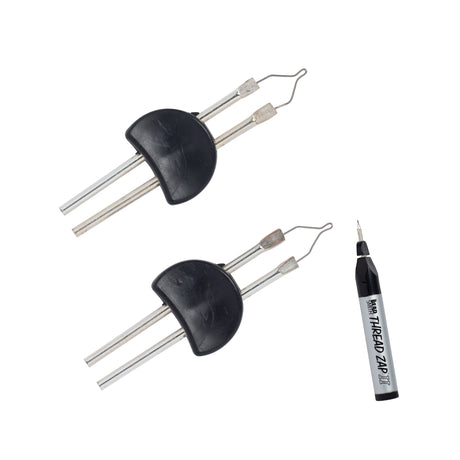
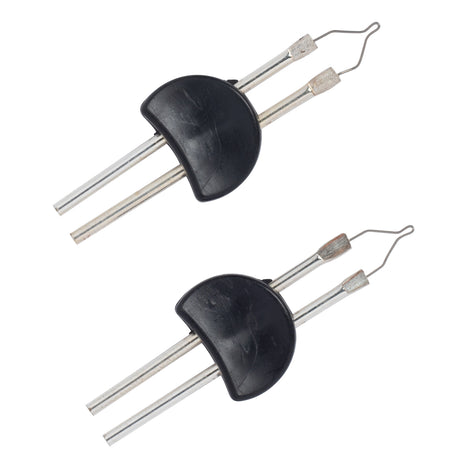
Thread Zap® II Replacement Tips, 2 Pack
Regular price $6.60Unit price -


Replacement Blade for Stitch Groover
Regular price $14.00Unit price -

 Regular priceFrom $85.00Unit price
 -

 Regular price $440.00Unit price


