How to Dye Leather
Learning How to Dye Leather is easy
Chuck Dorsett's 4 tips on how to dye leather:
- Choosing a leather dye
- Benefits of using oil leather dye
- Setting up your leather dye workspace
- Methods for dyeing leather
Sometimes our first thought is, oh no dying leather is going to be expensive or make a mess. No, it does not have to be that way! Chuck Dorsett shows us how to dye leather so that there is no dye on anything but our leather project. With Chuck's guidance, we can be dying leather in small working areas where we will get a consistent, clean dye every time.
Well, who is Chuck Dorsett you may ask? The host of our popular The Leather Element series on YouTube, Chuck shares a wealth of knowledge, tips and techniques perfect for both beginner and advanced leathercrafters alike. He also hosts a wide range of how-to project videos that you'll find on our website. Chuck's step-by-step instructions, helpful guidance, and product recommendations give us everything we need to tackle a project with confidence. Learn more about Chuck Here! Now! Let's find out how to dye leather!
1. Choosing a leather dye
There are many kinds of leather dye out there. Chuck says, "Go straight to Oil Dye." It is his favorite leather dye! See why Chuck favors oil leather dye below.
2. Benefits of using oil leather dye:
Dip Dye
We can dip dye leather using oil leather dye. Dip dying leather is very fast, clean and consistent.
Rich Colors
When we are looking at leather dyes, one of the qualities we want is rich color. Oil Leather Dye provides rich and beautiful colors. We capture beautiful reds, greens, and a full selection of browns when using oil leather dye.
Color Consistency
Another feature we are looking for when dying leather is color consistency. The color consistency as it spans across your leather project is excellent when you are using oil leather dye.
Pliable Leather
We do not want the leather to be stiff after dying it. Oil leather dye allows the leather to feel pliable just like it did before it was dyed.
Leather Dye Not Rubbing Off
Last but most important is, that we don't want our dye rubbing off. We must understand that there is no perfect sealant to dye. The best pair of Italian shoes on a rainy day will bleed but this process will get us so close that leather color bleeding is almost negligible.
3. Setting up your leather dye workspace
Supplies Needed
Not all of us have the luxury of a big worktable or a big shop to work on our leather projects. Sometimes we are working on the kitchen table, the card table or the coffee table.
Plastic Garbage Bag
First thing is to put down a plastic bag perhaps like a folded white garbage bag. We won't be throwing this bag away regularly but using it to roll up the other supplies so we can sit it aside when we are finished and easily unroll it when we want to dye leather again.
Cardboard or Wrapping Paper Needed
Secondly, the plastic bag may get wet, slippery and pool with dye so we don't want our leather project getting spotted when we flip it over, therefore we need to have some inexpensive paper laid down on the plastic bag. Wrapping paper or cardboard works nicely.
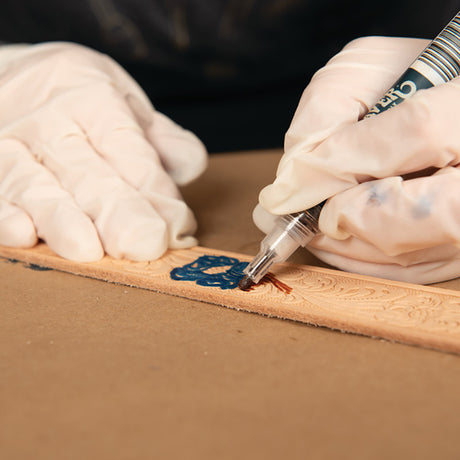
Rubber Gloves
Now we add rubber gloves for the simple reason of preventing our hands from getting dye on them.
Lidded Container
Put our oil leather dye into a lidded container that will accommodate our project so that it may be dipped and slid through the dye.
4. Methods for dying leather
Airbrushing
There are several ways to dye leather. We can use an airbrush which is the top notch best way to go. However, most people don't have air compressors, air brushes or the room to do airbrushing.
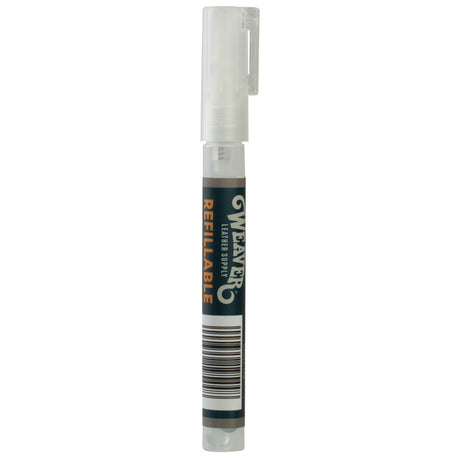
Daubers
Daubers are a great way to dye leather and they will hold a lot of leather dye. If we have ever used foam brushes after putting them into the leather dye we know how they dribble all the way to your project. Well, a dauber will not drip like that. Daubers are made of lamb's wool, are disposable and keep your hand away from the dye.
Dip Dye
We can dip dye because we are using oil leather dye. We don't have to worry about the leather getting stiff or the colors going dark.
How to dip dye leather
- Because most leather projects have a little hole in them somewhere we can make little hooks out of wire coat hangers or bailing wire and use them for dip dying leather. If we don't have a hole in the project we can dip dye with our fingers making sure we put on rubber gloves first.
- By putting the hook in the hole and lowering the leather down into the container of oil dye we can dip the project in the dye and smoothly coat the leather. No need to go real fast or slow just a steady pace.
- When we pull the leather up and out of the dye container with the hook still in the hole we can tap the leather on the side of the container to knock off excess leather dye.
- After that, just lay the leather project on the paper above the plastic with the back side down and let it dry.
- After it dries we will topcoat it. The topcoat adds life to the piece. See our video on Top Coats Here!
Final Note
Once we start working with dyes a world of possibilities will open to us. There are dyes, stains and antiques and particularly oil dyes that give us such rich colors that we can take every leather project to the next level.
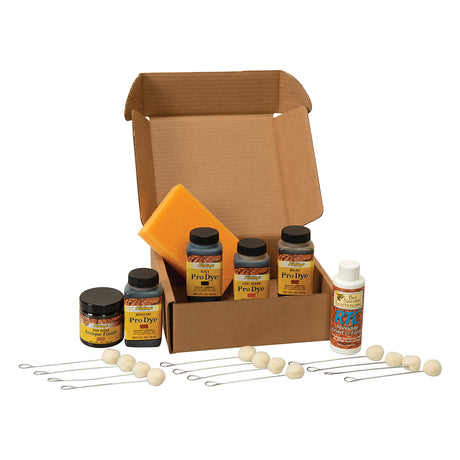
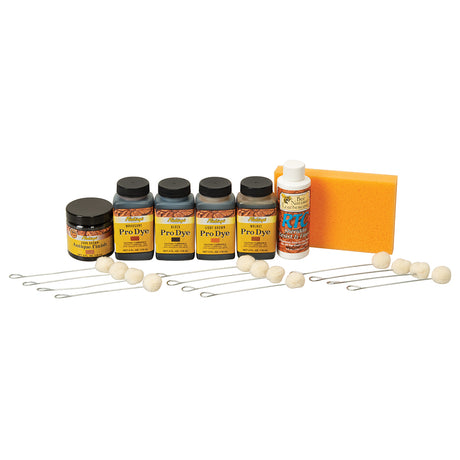
Suggested Products
View all-


-


 Up to 50% off
 -


-


-


-


 Regular priceFrom $2.70Unit price
 -


-
 Regular price $41.50Unit price


