Add a handcrafted touch to your home with decorative leather candle sleeves! In Part 1 of this leathercraft series, Chuck Dorsett walks you through creating two unique designs using veg tanned leather. From decorative cutouts to colorful finishes, you'll learn simple techniques you can use to make these candle sleeves your own. They're a fun project for home decor, handmade gifts or craft shows.
What You'll Learn
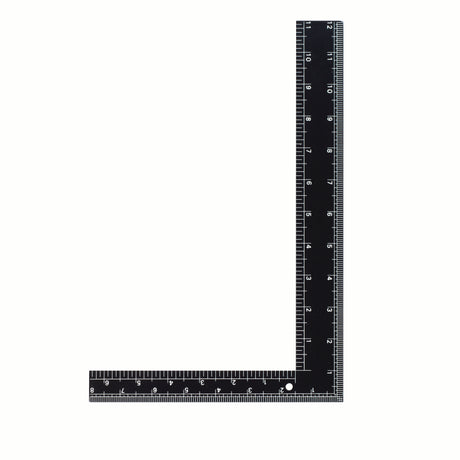
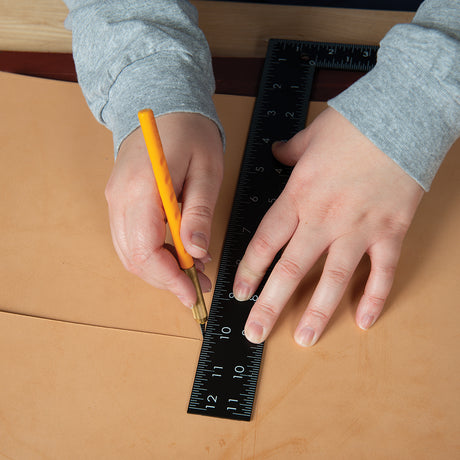
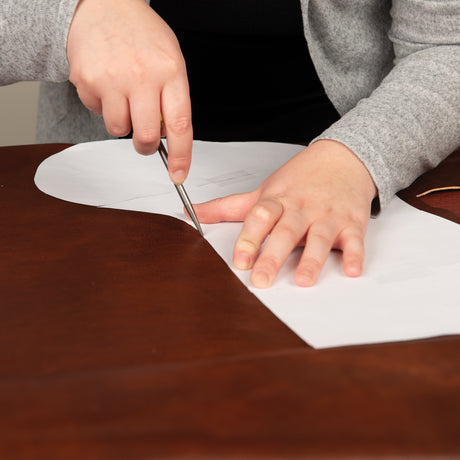
How to measure and cut leather to fit your candle sleeves
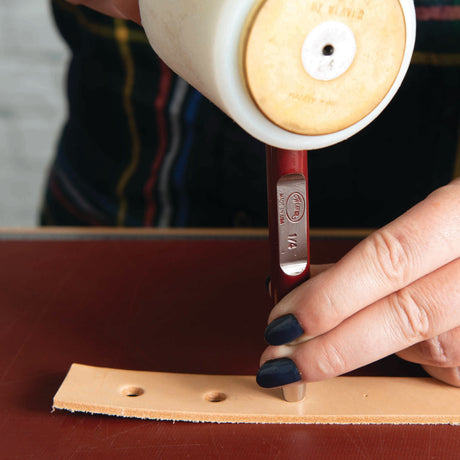
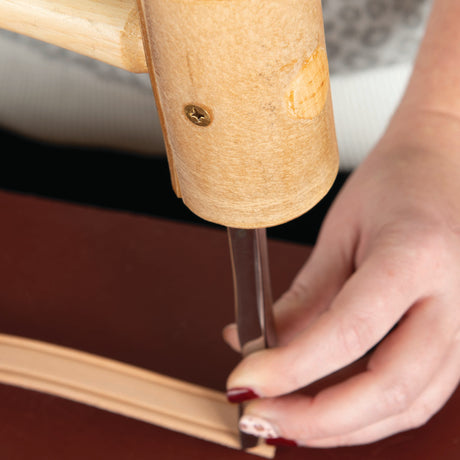
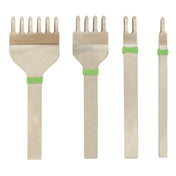
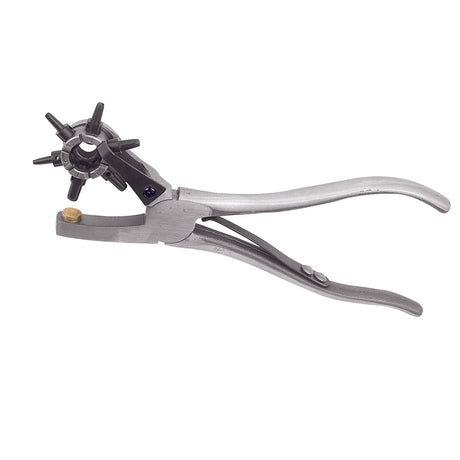
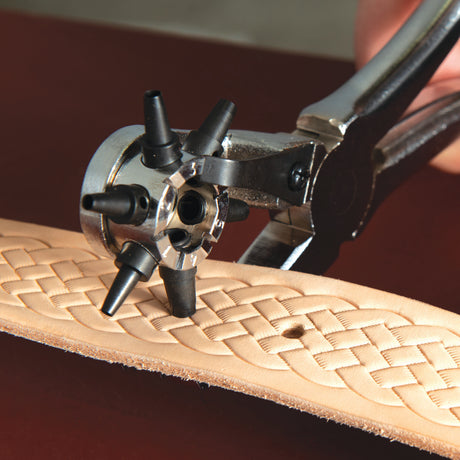
How to create decorative star cutouts and geometric patterns using leather punches
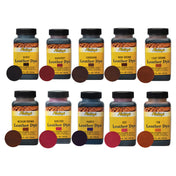
How to dip dye leather for consistent, even color
How to shape leather into a rounded sleeve while it's still wet from dyeing
How to apply Saddle Lac for a subtle, glossy finish
How to join leather edges using deerskin lace and a simple crossover lacing technique
Skill Level: Beginner-Friendly
This project is a great introduction to several leatherworking techniques, including cutting, punching, dyeing and lacing. The straightforward construction makes it approachable for newer leathercrafters, while the freedom to experiment with patterns and colors offers plenty of creative possibilities for experienced makers.
Tools & Materials
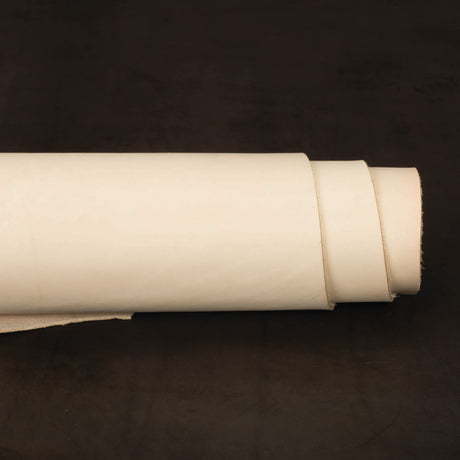
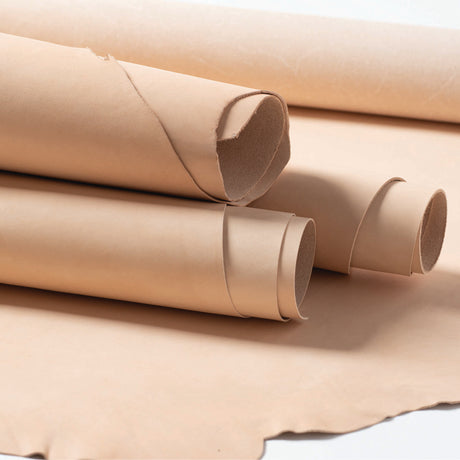
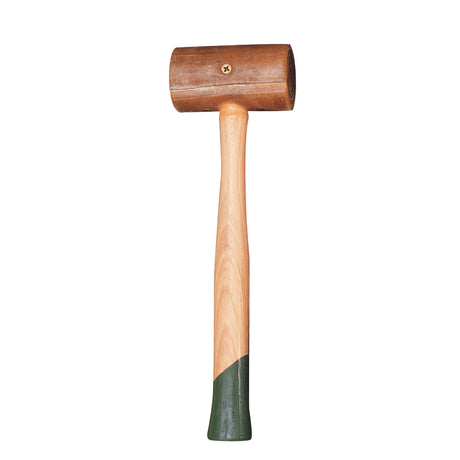
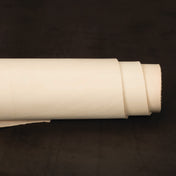
For this project, you'll start with 4/5 oz. veg tanned leather and use a variety of cutting and punching tools to create your decorative designs. Fiebing's Pro Dye adds color, while Saddle Lac provides a protective finish with a subtle gloss. Finish your candle sleeves with deerskin lace and a Perma-lok Lacing Needle for a simple crossover lacing technique that brings everything together.


 Regular price $19.20Unit price




 Regular price $32.25Unit price