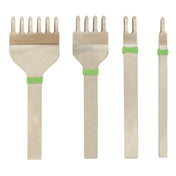
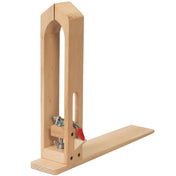
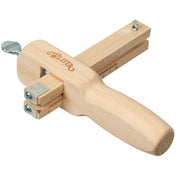
Tools and Materials Used in This Project

Folding Knife Pancake Sheath Pattern
Regular price $0.00Unit price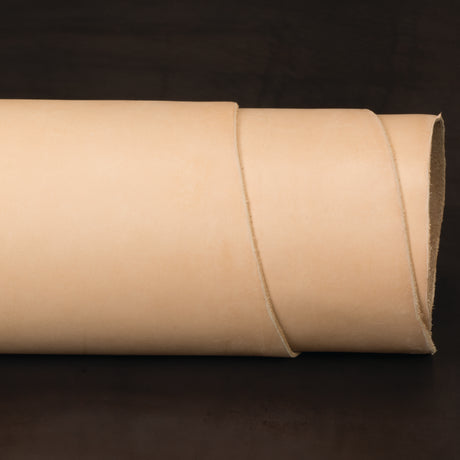
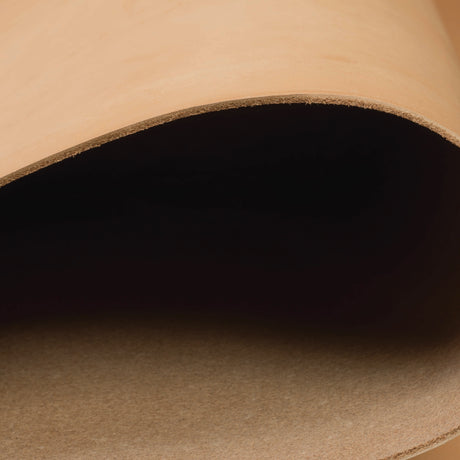


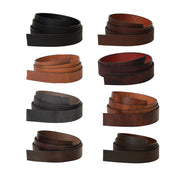
CHAHINLEATHER® Veg Tanned Natural Strap Leather, Sides
Regular priceFrom $290.00Unit price

 Regular priceFrom $45.75Unit price


 Regular priceFrom $26.50Unit price
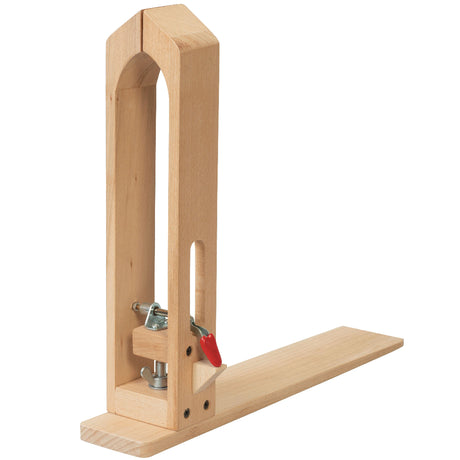
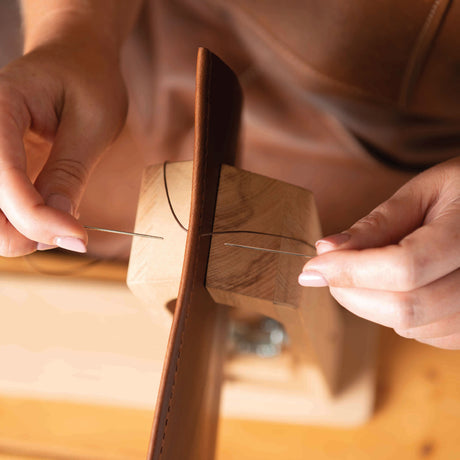
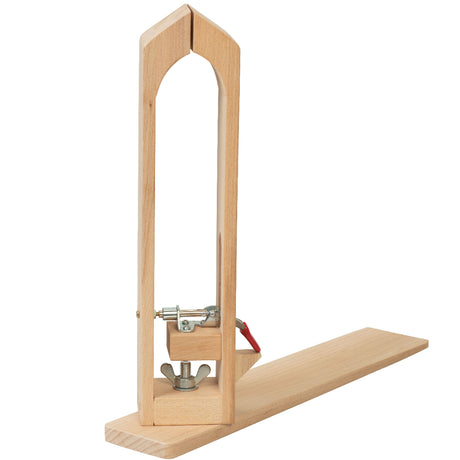
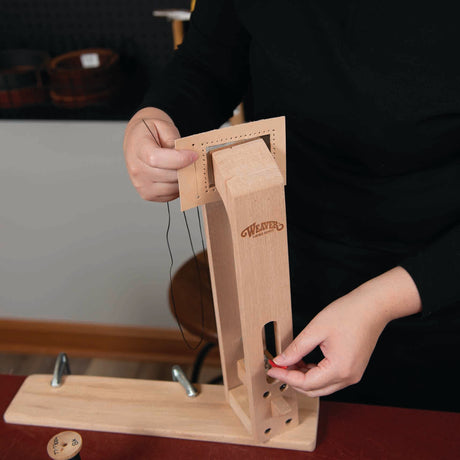

 Regular price $25.75Unit price
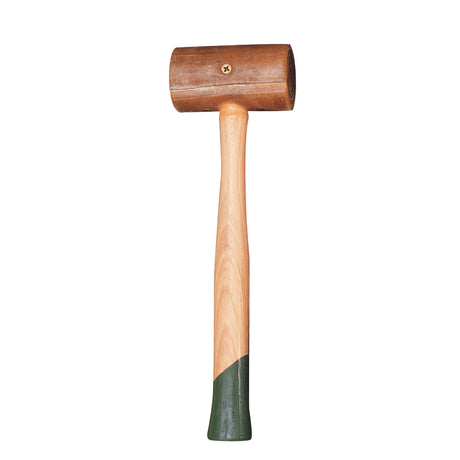
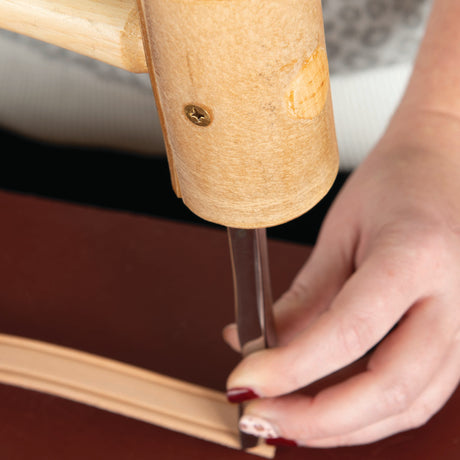

 Regular priceFrom $85.00Unit price


 Chuck's Pick

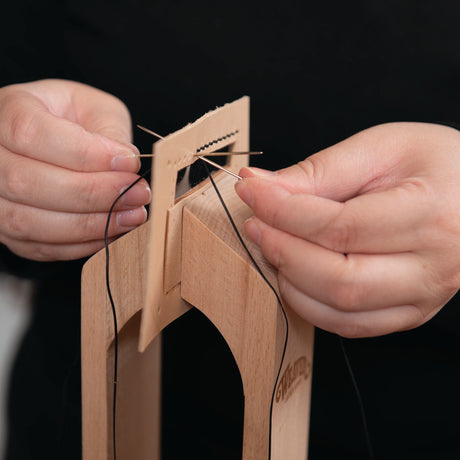


 Chuck's Pick
John James Saddler's Harness Needles
Regular priceFrom $9.80 Sold by 25 packUnit price


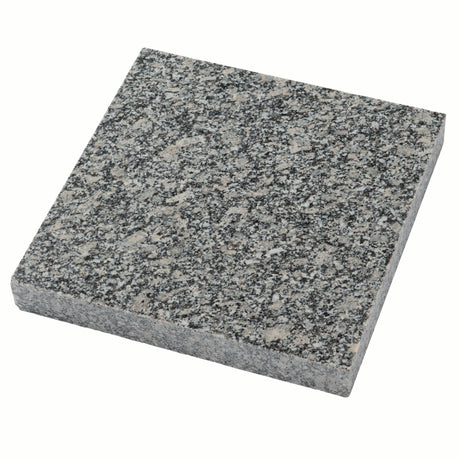
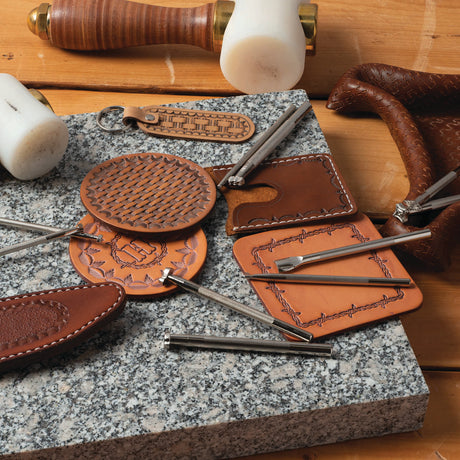


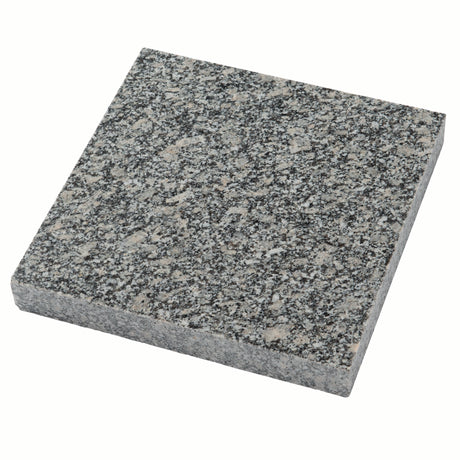


Granite Tooling Slab for Leather Tooling & Carving
Regular priceFrom $23.25Unit price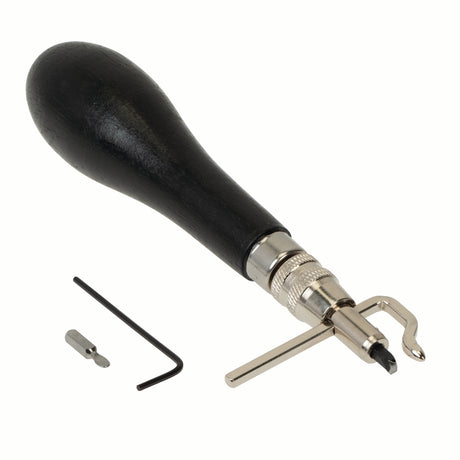
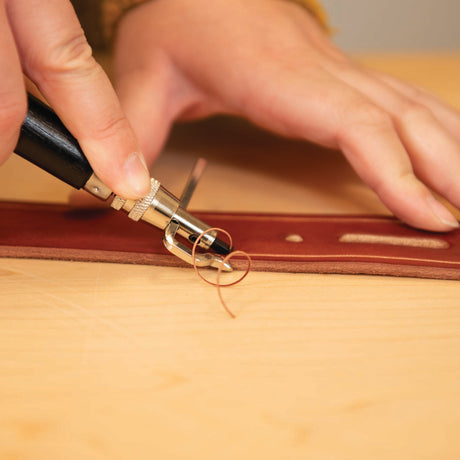

 Chuck's PickRegular price $38.00Unit price
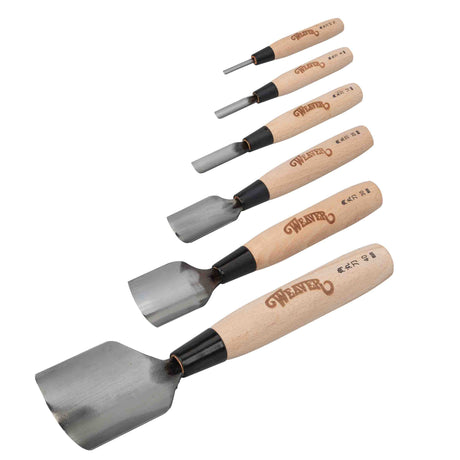
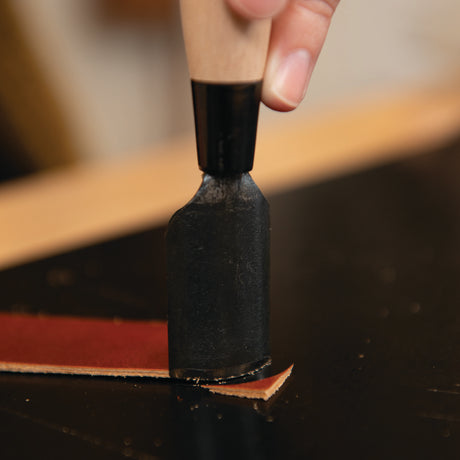

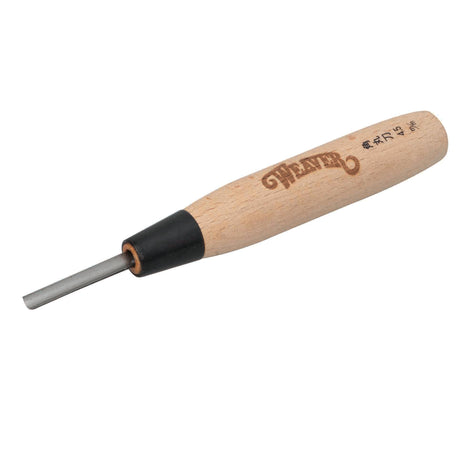


 Regular priceFrom $65.00Unit price
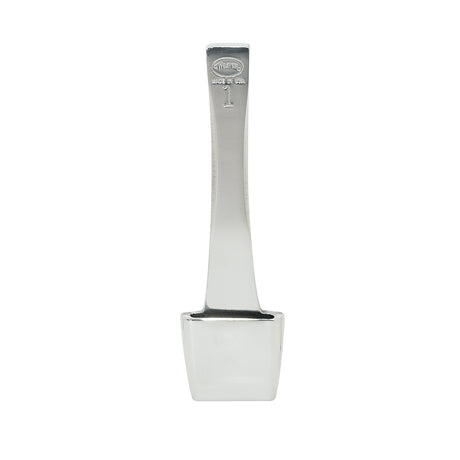
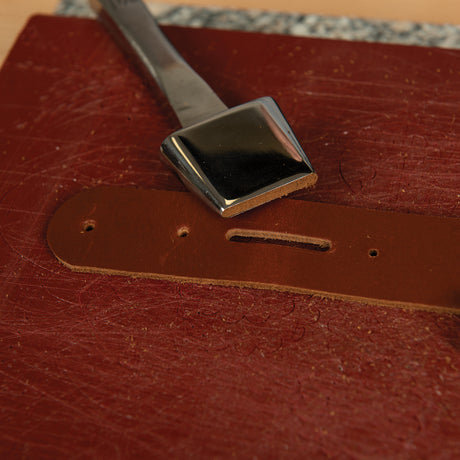


Master Tool Oblong Leather Punch
Regular priceFrom $115.00Unit price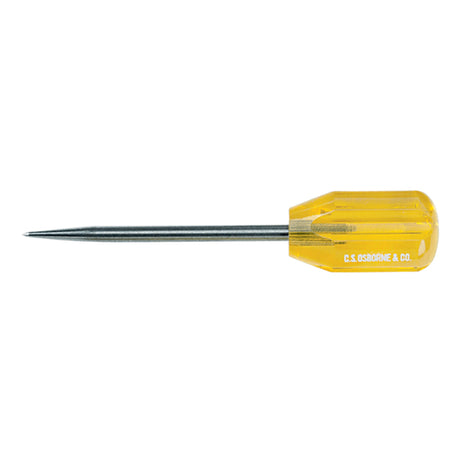
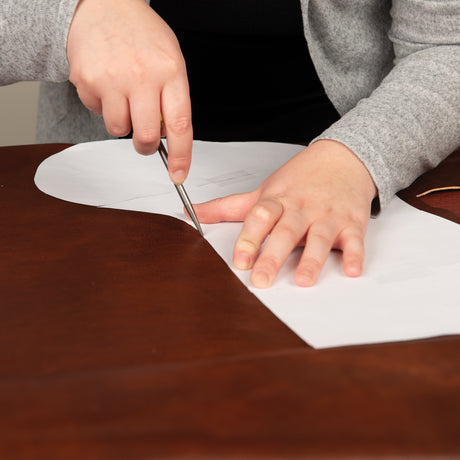


#4 Heavy-Duty Scratch Awl 3-1/2"
Regular price $8.70Unit price Regular price $5.60Unit price
 Regular price $19.20Unit price

 Regular price $39.50Unit price
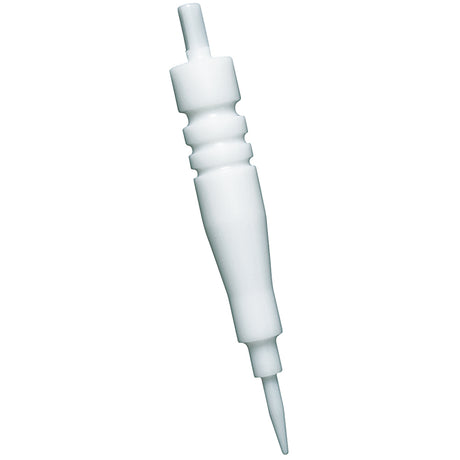
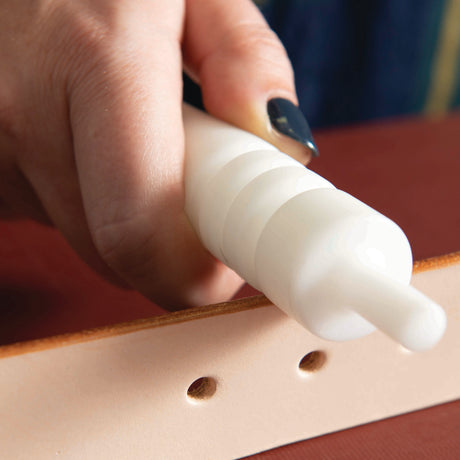
 Regular price $40.25Unit price


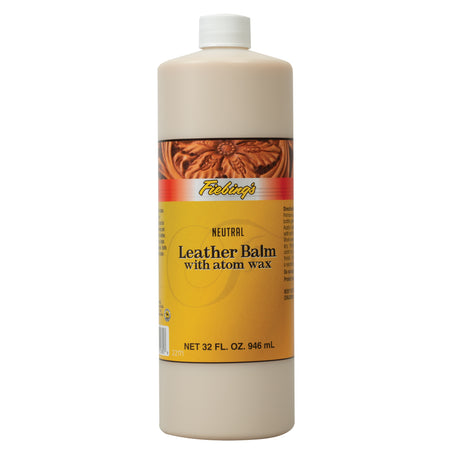
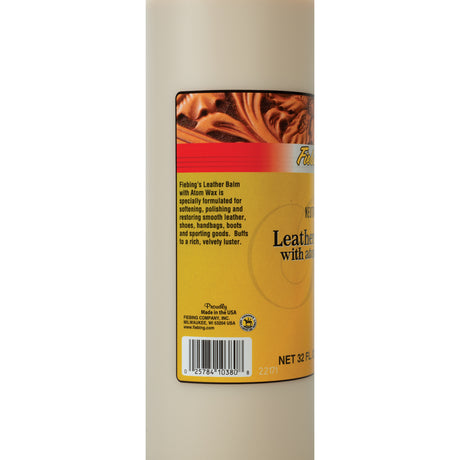

Fiebing's Leather Balm with Atom Wax, Neutral
Regular priceFrom $8.60Unit price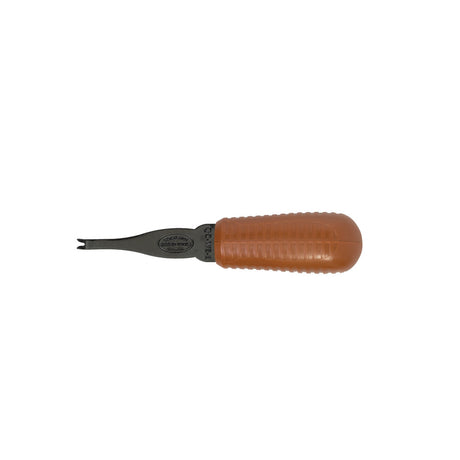
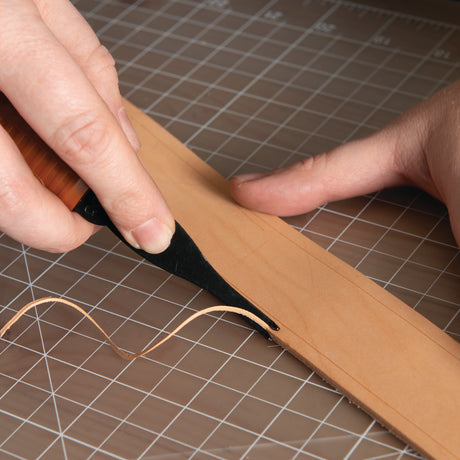


Quick Change Edge Beveler, Handle and 5 Blades (0-4)
Regular price $87.00Unit price
 Regular price $63.00Unit price