I can think of no better way to prepare for Christmas than with handmade leather stockings! I had so much fun with these! We went with a 2-3 oz. upholstery leather with a shearling top for our kits, but you can use the leather of your choice and create your own using the free downloadable pattern. Just make sure to stay within 2-4 oz. leather for the body of the stocking. Otherwise, it will get pretty tough to turn the stocking right side out. These stockings make great gifts that will last a lifetime!
Free Downloadable Stocking Pattern
Cuff Pattern
Stocking Tab Pattern
Step 1: Mark and cut out the leather stocking and tab*
Print out the free downloadable pattern or use an old stocking as a pattern.
I used a scratch awl to mark the pattern onto my leather. If a scratch awl does not work on your leather, you can use a pen or marker. I was able to use leather scissors to cut out all the patterns, but use whatever you are comfortable with.
*Important note– You’ll have to mark one side of the stocking and then flip the pattern over to mark the other side. Otherwise, you’ll have one side grain out and one side flesh out when you go to sew.
Step 2: Mark and cut out the stocking cuff
I used scissors to cut the shearling also but if you’re cutting hair-on-hide or a heavier leather you may need to use a knife.
Step 3: Stitch together your stocking main body
If you are using a sewing machine, go ahead and sew the stocking together.
If you’re hand stitching, use a stitching chisel (I used 5 mm on the whole stocking), punch your stitch holes, and then sew the stocking together using a saddle stitch, leaving about a 1/8” margin. You can do the stitching in sections or, if you’re impatient like me, use a very long piece of thread J You’ll need three times the length of the area you are stitching. If you have questions on how a saddle stitch looks, check out this video: https://www.youtube.com/watch?v=QPHJJcOrRCc starting at 9:26.
Step 4: Sew the cuff
Take the cuff of your stocking and fold it in half so the shearling is facing in. Sew the two short sides together leaving a ½” seam. If hand sewing, mark a ½” stitching line, punch with the stitching chisel, and sew with a saddle stitch.
Sewing Machine:
Hand Sewing:
After stitching, I used a scissor and trimmed the shearling around the top of the seam so it’s easier to see the stitch holes when we get to the next step.
Step 5: This step is for hand stitching only. Punch your stitching holes along the top of the stocking, the shearling, and the tab
Step 6: Sew the cuff and tab to your stocking
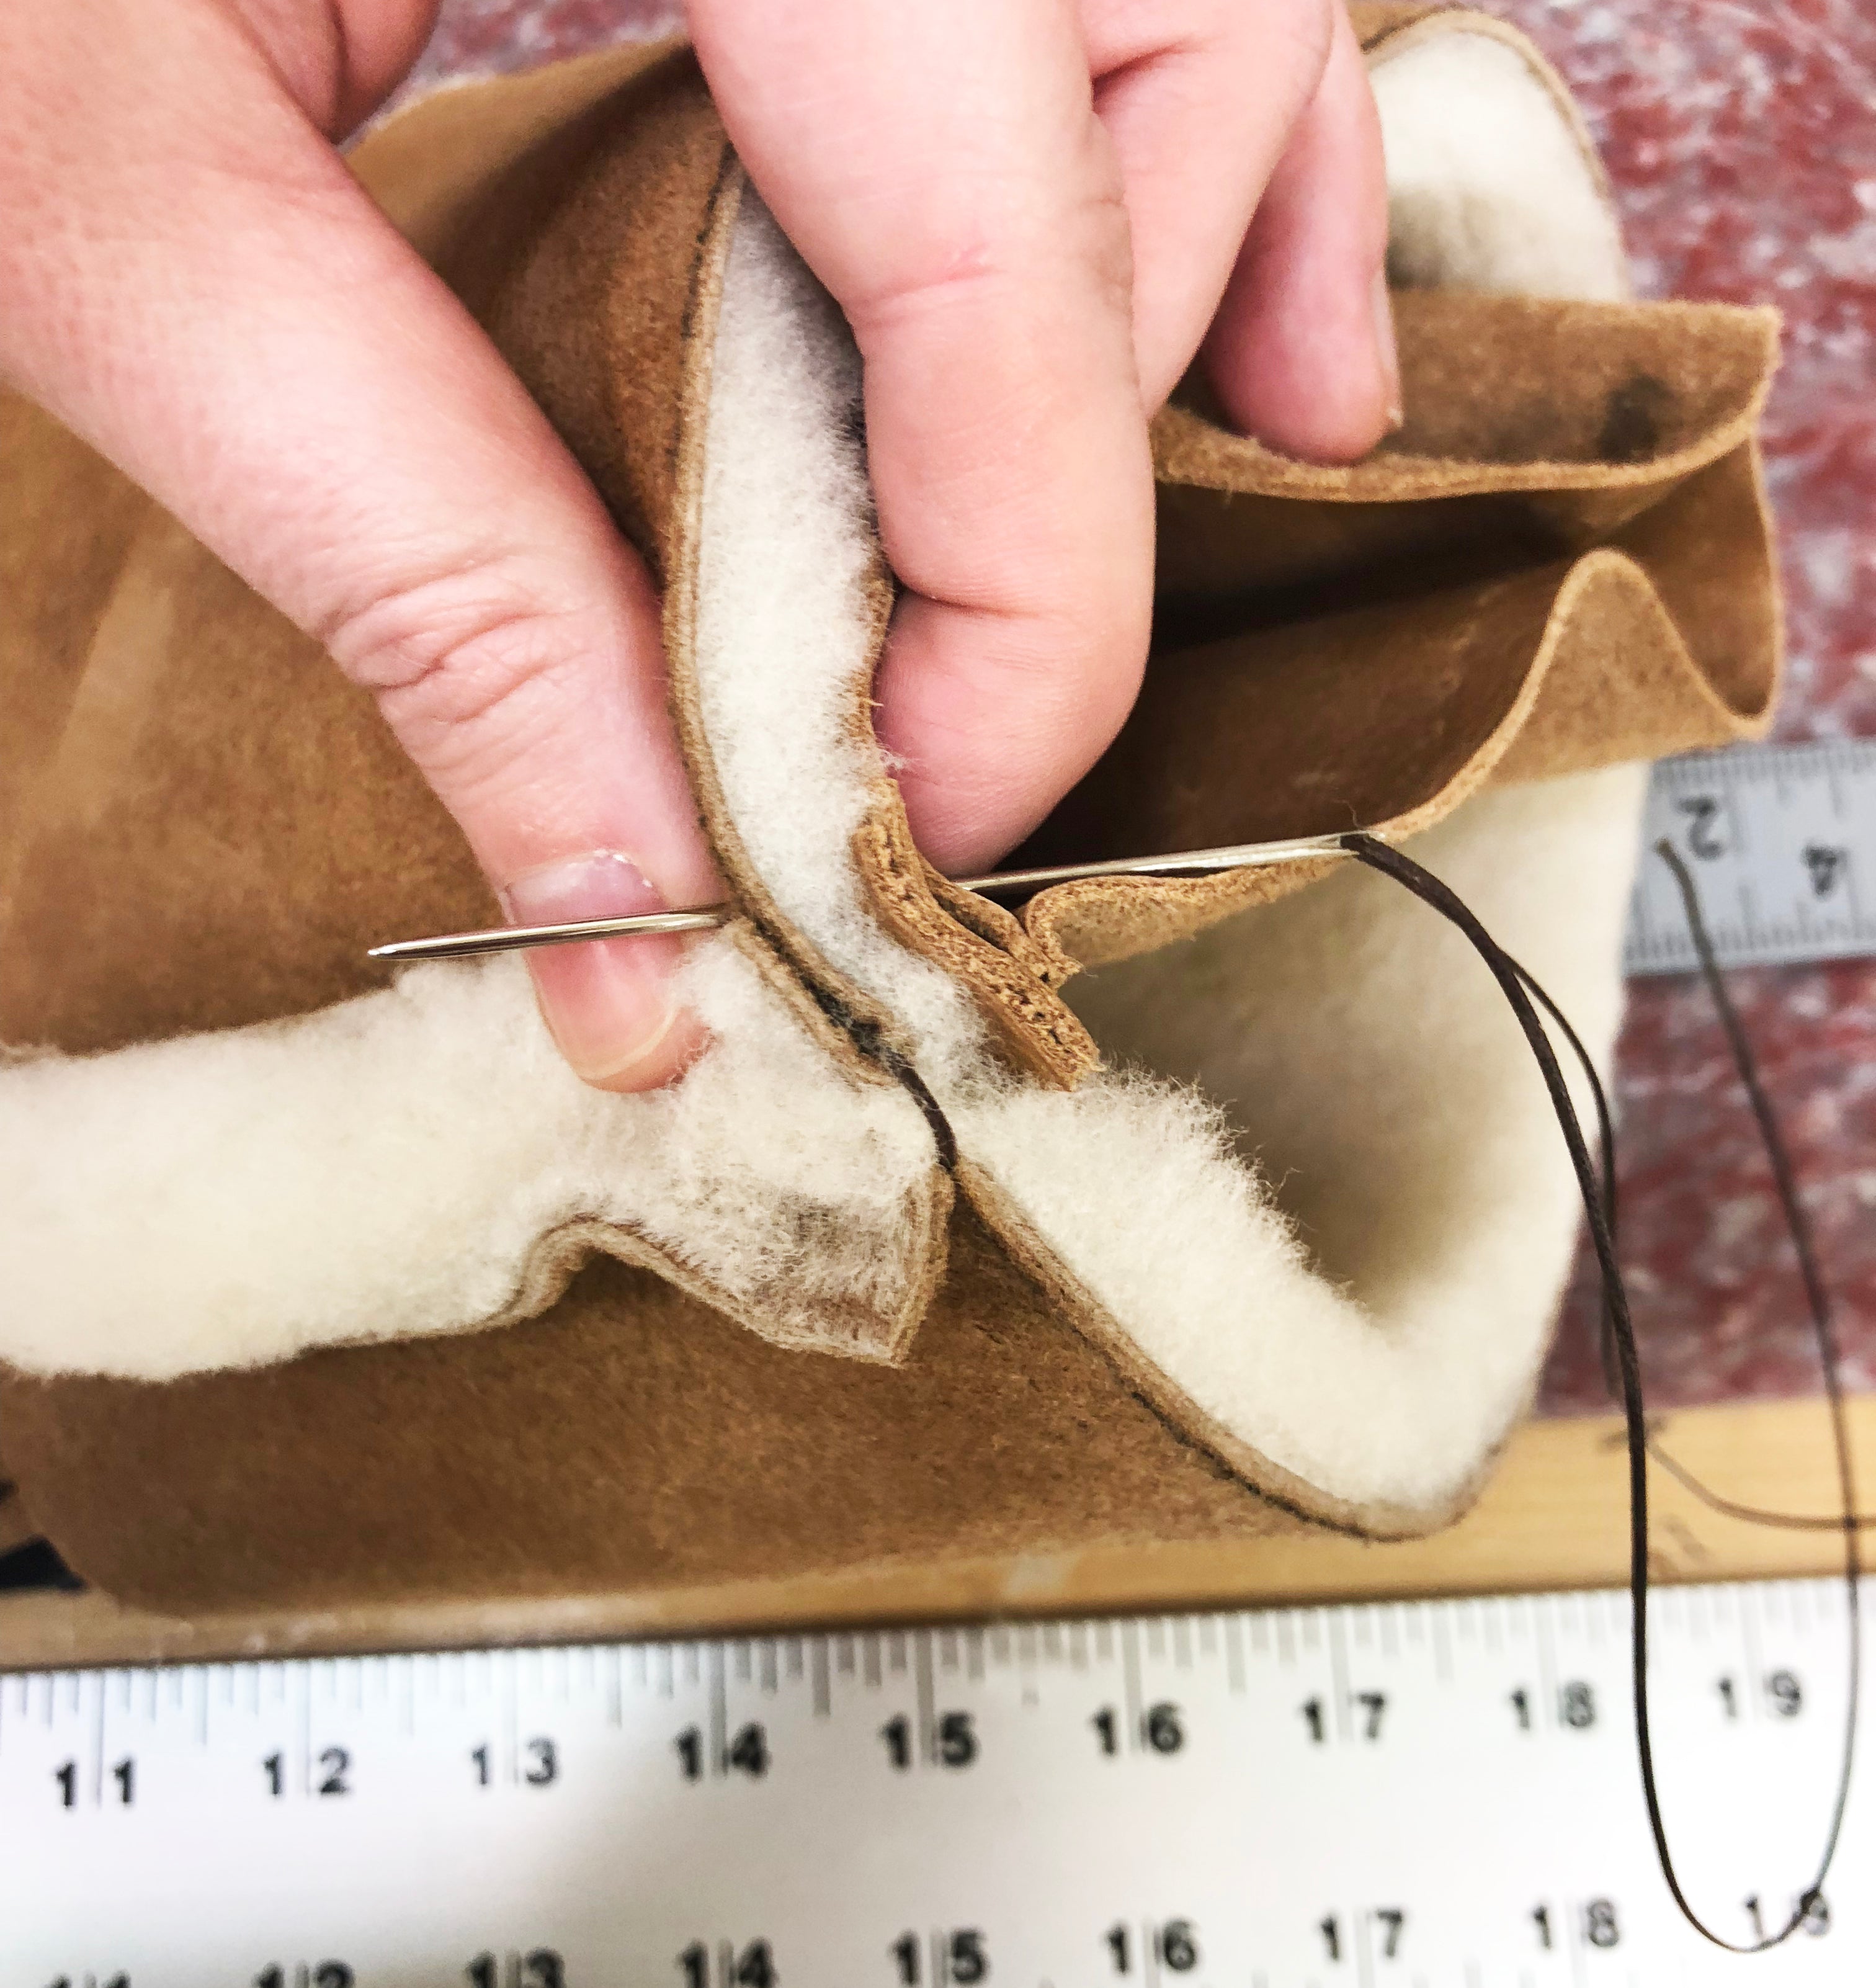
This is going to be the trickiest part of sewing the stocking together. Leave the stocking inside out and wrap the cuff around the top of the stocking (shearling facing in). Make sure the seam of the shearling is at the back seam of the stocking. Fold the stocking tab in half and sandwich between the cuff and the stocking, grain side out. I put my tab right at the seam but if you want the tab a little more towards the back, go for it. If you feel more comfortable gluing the pieces together before stitching, you certainly can. Start sewing at the seam where your tab is layered in and sew all the way around the stocking. If there is extra shearling, just sew a small tuck in as you finish the last stitches. You won’t be able to see this once the stocking is turned right side out.
If you’re hand stitching, getting the needle through all three layers can be a little bit frustrating but there’s only about three stitches for the tab and once you get past that it’s a breeze. I used a saddle stich on all parts so the thread wouldn’t peek through when I turned it right side out.
I had a little bit of extra shearling when I came back around to my starting point, so I just sewed a tuck in and when I turned the stocking out it was not noticeable.
Step 7: Turn your stocking right side out
Start by folding down the top of the stocking once and then push up the toe and heel part of the stocking. Once the stocking is right side out, fold down the cuff and you’re all done. The stocking is complete!
Below are some other stockings I made with a ¾ oz. chap leather main body and a hair-on-hide cuff. I also made a few mini stockings with the same leather. The possibilities are endless. I think a 2-3 oz. natural leather with hair-on-hide cuff would be beautiful too. The leather would patina and you would get a darker color as the years go by.
Items Used For This Project:
Stocking Kit (includes pre-cut stocking main body, cuff and tab, Ritza Tiger Thread and 2 Needles)
If you are making the stocking with your own leather you will also need:


