How To Make Your Own Travel Wallet

Aspiring leather maestros!
Are you drowning in heaps of chrome leather scraps? Fret not, for we've got the perfect solution for you! It's time to go in a whole new direction for your chrome tan leather!
Picture this: a sleek, stylish, and envy-inducing leather travel wallet, handmade by none other than YOU! Yes, you heard that right. Today is your lucky day, beginner leathercrafters, as we're about to spill the secrets that'll have you wielding your leather tools like a pro.
Together, we'll turn those scraps into a swanky accessory that'll make your heart skip a beat. Let's dive in and learn how to make a leather wallet that's as impressive as your travel tales!
Wallet Wonderland:
Designing the Perfect Travel Companion!

Today, we're creating a functional and straightforward design that'll have your travel wallet both looking sharp and serving its purpose.
First things first, we're going to cut out two main bodies—one for your face leather and the other for your liner. Now, brace yourselves, because here comes the magic touch: we're going to glue two pieces of chrome tan leather together using contact cement. Once bonded, these leather pieces will be thicker than thieves and move as one harmonious entity.
Here is what your wallet is going to look like…
On the left side of your main body (6.5" x 9"), we're dropping in six smaller pockets (2" x 4") to stash all those tiny treasures you collect on your journeys. On the right side, behold! One larger pocket (3.5" x 6.5") for the essentials and a smaller pocket (3" x 6.5") specially reserved for your precious passport. We're leaving no stone unturned in crafting the ultimate travel companion.
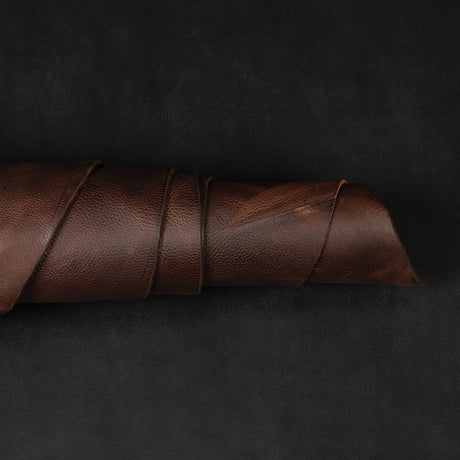
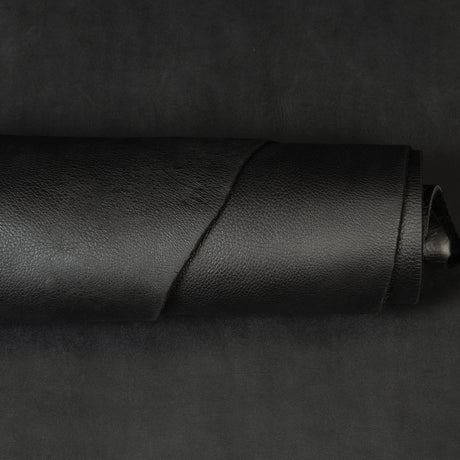
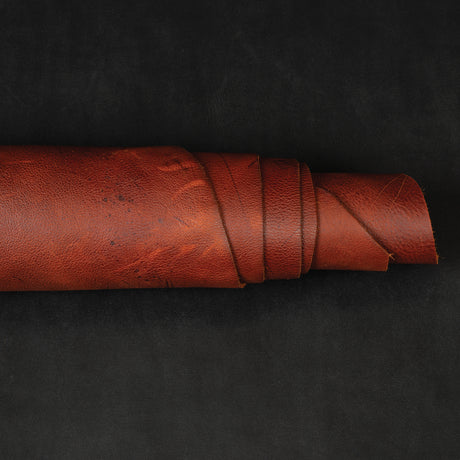
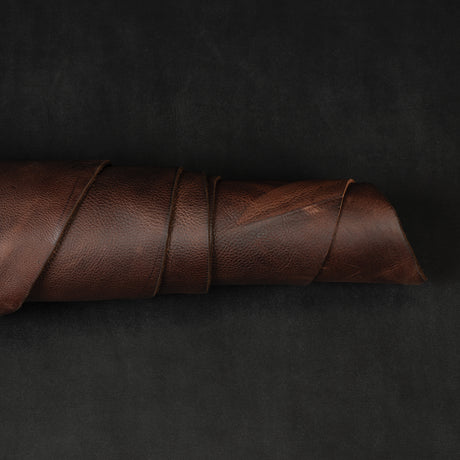
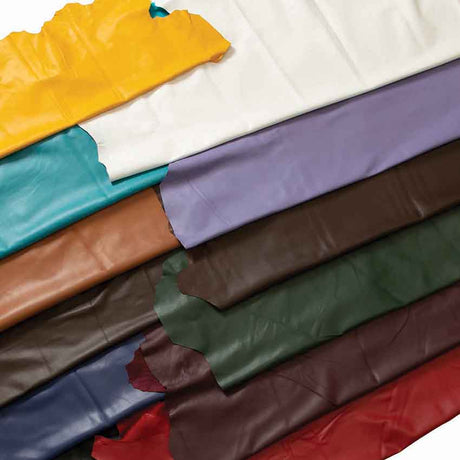
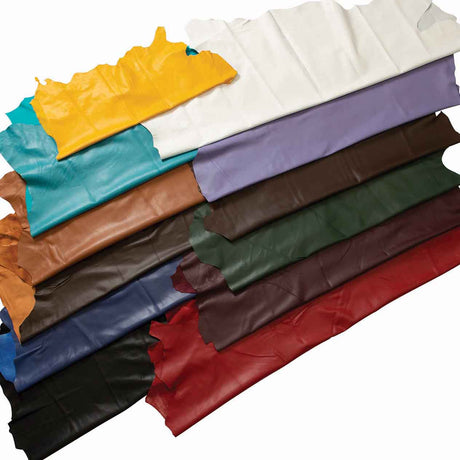
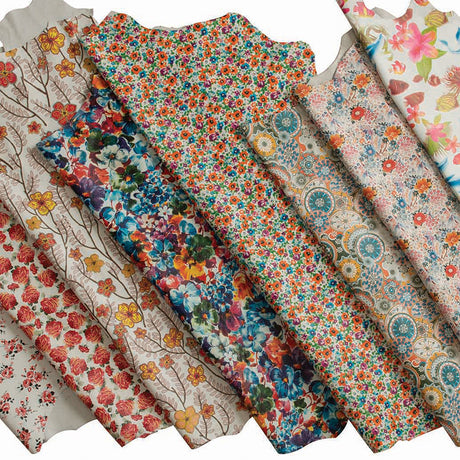
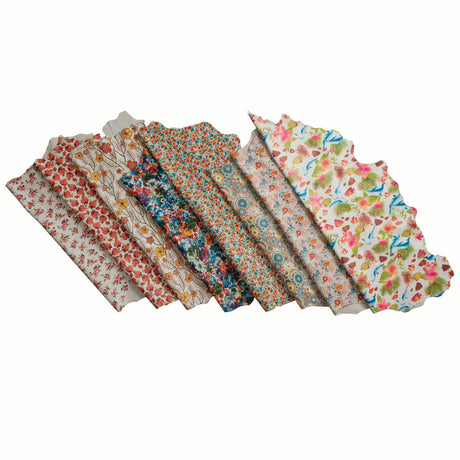
Now, let's turn our attention to our leather options, where a colorful feast awaits! This is YOUR DIY leather wallet, and it's going to be a masterpiece unlike any other!
Choosing Colors That POP!
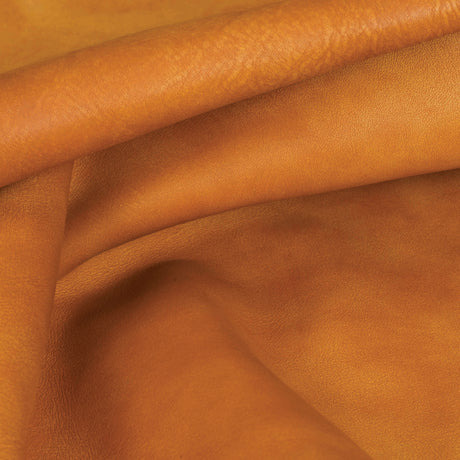
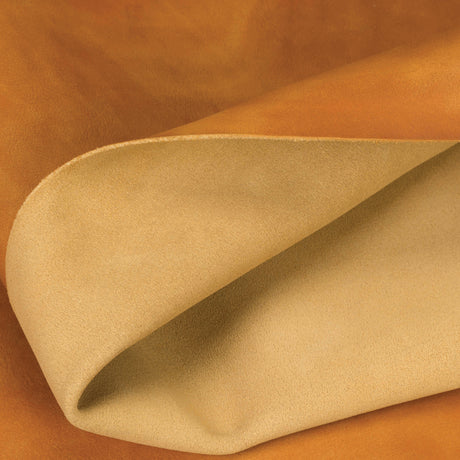
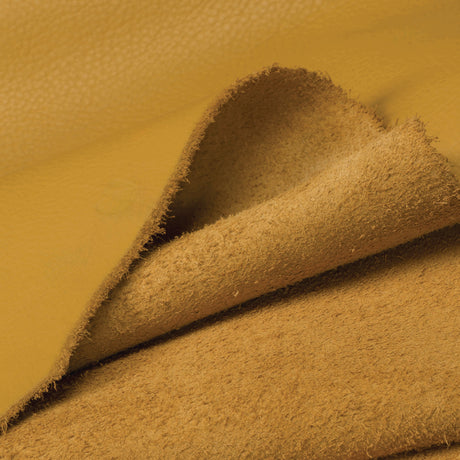
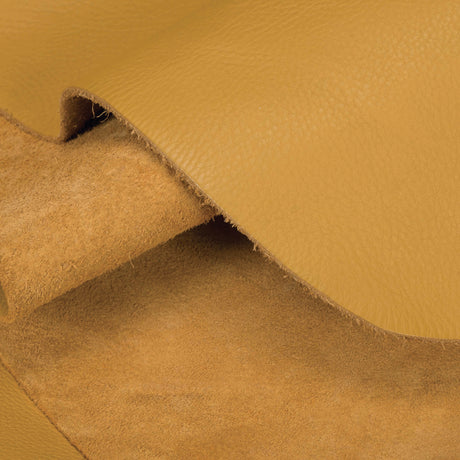
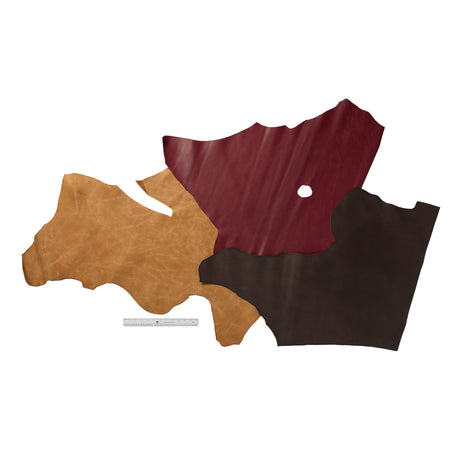
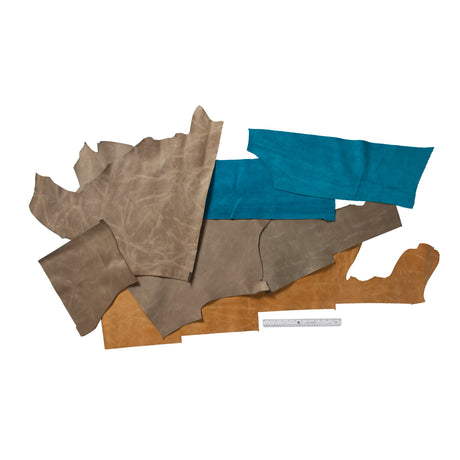
At Weaver Leather Supply, we've got just the thing to ignite your creativity—the Assorted Leather Remnants Chrome Tan Leather Pack. Say goodbye to the struggle of dealing with tiny leather pieces; this pack lets you work with sizable portions on your dreamy leather travel wallet.
To avoid those pesky multiple plys of leather stacking up and turning your sewing step into a headache-inducing ordeal, spread out the pockets by 3/4" each. This makes your job a breeze while still providing room for all your essentials. You have your colors, now it's time to cut!
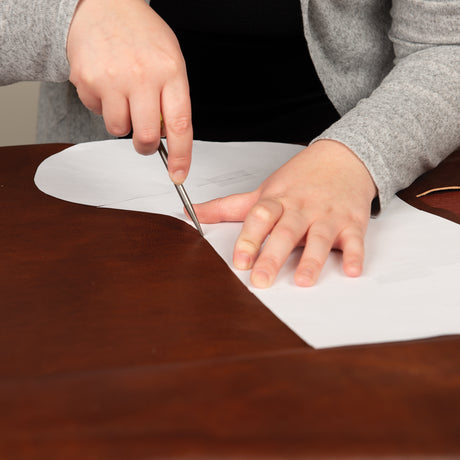
Crafting Magic with Clean Cuts
Always start your projects with a sharp edge to make the cleanest cut. No exceptions!
Once you're all set, let's move on to creating pockets with pinpoint accuracy. Measure out exactly 2" and make sure the pockets line up perfectly on each side. To get that spot-on mark, come in 4" from the edge and make it count. Now, take it a foot down and create another mark.
Ready?
Cut between those two marks, and voila! You've got a nice, neat piece. Square off the top edge, and with finesse, cut six 2" pieces. And here's a pro hack—keep that index finger in place to prevent any leather bowing and ensure those cuts are as straight as an arrow.
Repeat the process for the larger and smaller pocket travel wallet patterns. The precision is real!
To The Punch Table!
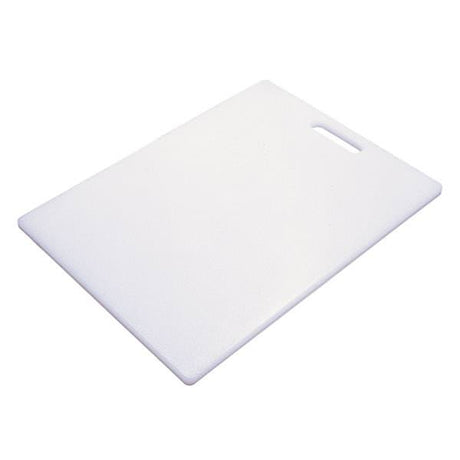
Time to give your DIY leather wallet some flair! First, let's add those nifty thumb grabs to make your wallet even more user-friendly. Place your leather piece on the trusty Poly Cutting Board, find the center, and make your mark using the Heavy-Duty Scratch Awl.
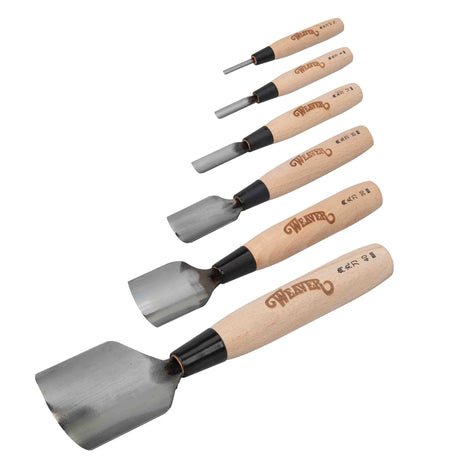
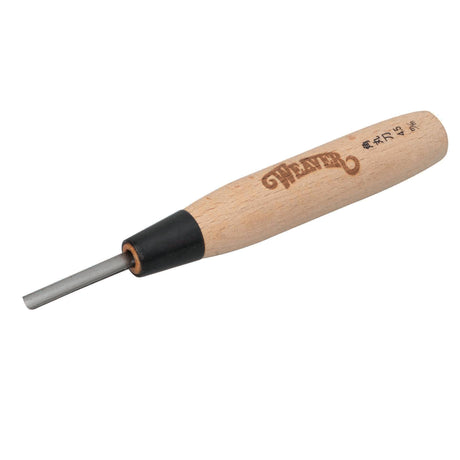
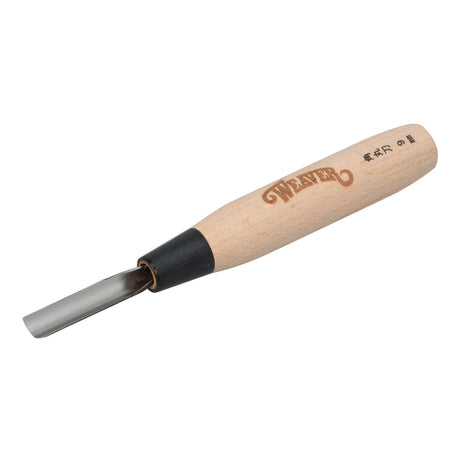
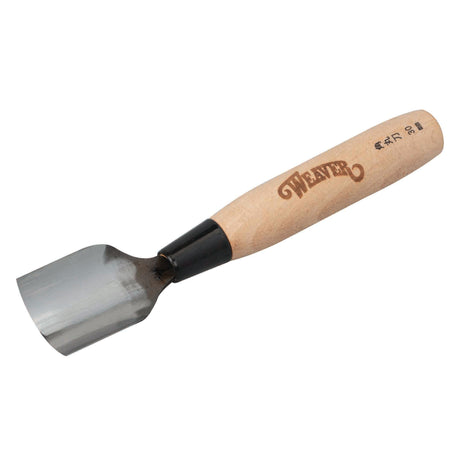
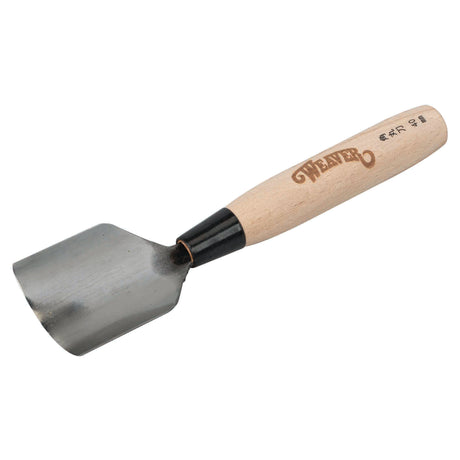
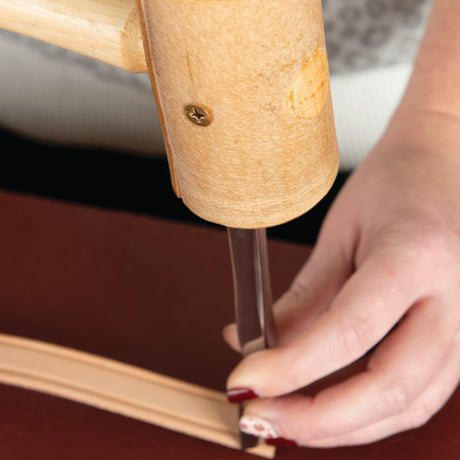
Now, with the Corner Knife, let's add a touch of finesse to each of the six small pockets.
1. Hand Sewing FTW!
Even if you haven't got your hands on the Weaver 303 Sewing Machine just yet, hand sewing is just as effective for this project. So, tape those pockets down, and let's get stitching! There's a certain charm in crafting it by hand, isn't there? Embrace the journey and enjoy the process
2. Mark and Chisel
Drop your pockets into the main body of the wallet at 3/4" intervals. Armed with your trusty Heavy-Duty Scratch Awl, make five marks on the side of your main leather piece. Move your straight edge to the middle, making five more 3/4" marks in a horizontal line. Now, it's time to bring out your scribing prowess!

3. Peeling, Butting, and Scribing
Here comes the fun part! Make sure you butt the first pocket up to the edge on the left side of the main body, and drop it on the line. Secure it with Double-Sided Adhesive Tape and scribe a line at the bottom of the pocket with the small, 4" Quick-Release Wing Divider. Looking good!

4. Punch it!
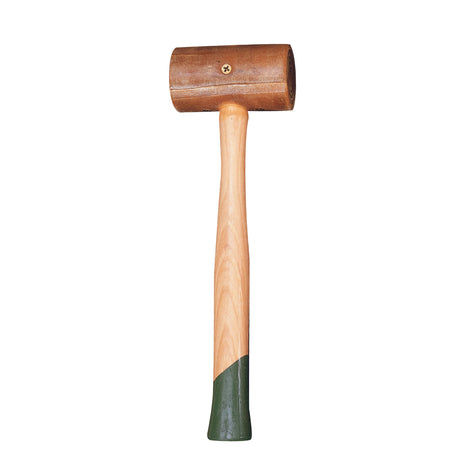
Now, take the 5 mm chisel from your Diamond Stitching Chisel Set, and use the Rawhide Mallet to punch in stitching holes about 1/2" from the left edge. Move the chisel over a few times, creating a neat horizontal line of holes. Repeat this process for the next four pockets.

Look at that, you're becoming a leathercrafting pro!
We're almost there. But before we drop in that last pocket, let's sew in the first four!
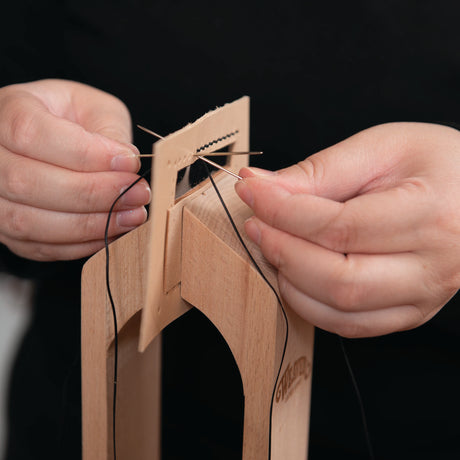
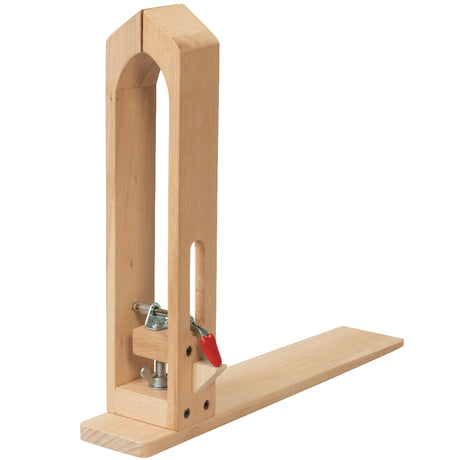
Mastering the Art of Sewing
The Stitching Pony is a must-have for all you DIY enthusiasts out there. For some extra stability, we've C-clamped ours to the table, ensuring our lines are on point every single time.
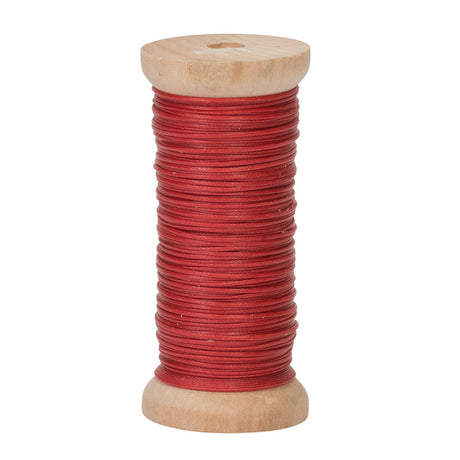
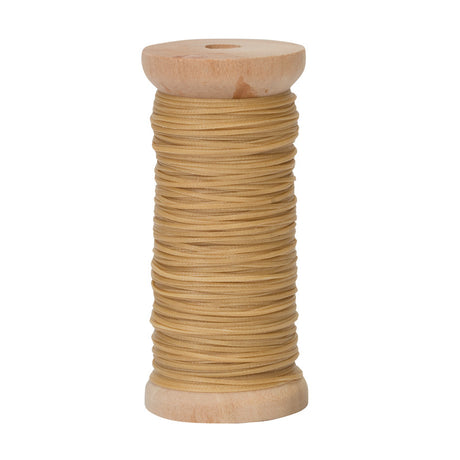
We're going to use the John James Saddler's Harness Needles and couple them with the Ritza Tiger Thread (0.6 mm), and then we're all set for stitching greatness!

Let's go with a classic saddle stitch, shall we?
Make sure you have about four times the length of your pocket when cutting that thread. You don't want to reach the end of a line only to find out there's not enough thread left for a knot! Then, put a needle on both ends of the thread, and we're ready to rock.
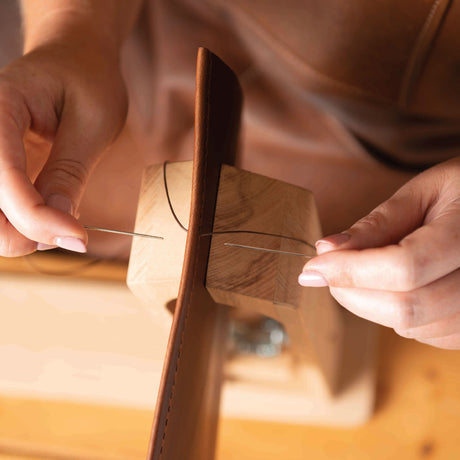
Starting with the right-most hole of your pocket, push your first needle through the face of the leather, and ensure the thread is evenly divided.
Now, here's where the magic happens—come through the same hole again with your first needle from the face side and then come back through from the backside with your second needle, adding just the right amount of tension. Ta-da! We've got ourselves a beautiful zigzag stitch.
As you approach the last hole closest to the left-most edge of your leather, push your needle through the back of your main body leather (just one ply), then push it through the front of the pocket (still only one ply).
Tie a square knot right there, and trust us—you'll never see that knot. Snip the thread close to the leather with your Leather Cutting Scissors, and repeat this process for the other four pockets!
Back to the Punch Table!
Alright, travelers, it's time to punch things up a notch!
Grab that last small pocket and tape it down on the left side. Use the small Wing Divider to scribe a line down the right side of the pockets. Then, with the Rawhide Mallet and chisel, create sewing holes up the entire right side of the pockets. Make sure to punch one chisel hole outside the top of the pockets to fully prep your DIY leather wallet for another round of sewing!
Let's Get Sewing
Back to the sewing table, we go!
To make our leathercrafting efforts a breeze, we've got a top-secret hack for you.
Attach a piece of suede lace to the shop's roof with a slip knot and a plastic clip. Adjust it as needed to clip it to the hanging leather, ensuring the larger flap of leather on the non-pocket side stays out of your way. Now, that your leather is hooked in place, you can sew with ease!
Start from the top of the pockets, one hole out from the pocket, and work your way down to tie the knot at the bottom. We're making magic happen, one stitch at a time!
Gluing It All Together
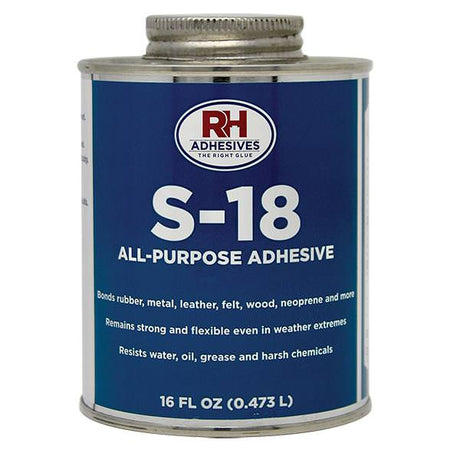
It's time to cement our two main body pieces together, but before that, we need to overcut the face leather by about 1/2" on all sides. To do so, grab your S-18 All Purpose Cement. Apply cement to both pieces, ensuring there are no pesky air pockets.
Lay the leather on the edge of the table and brush glue on the entire piece, pockets down. Repeat this process with the larger piece of leather for solid coverage. After a 10-minute wait, use a sharp blade to trim the excess leather off the larger piece, so both pieces are the same size.
And just like that, they're glued to perfection!
Final Touches at the Punch Table
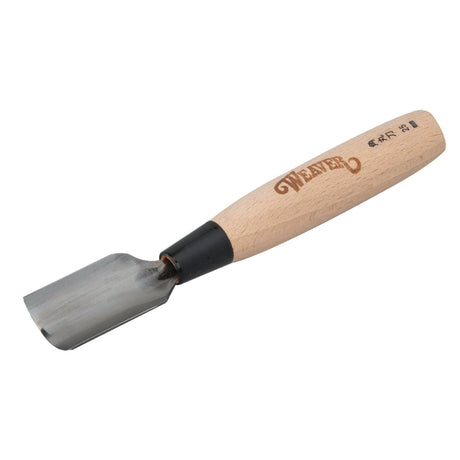
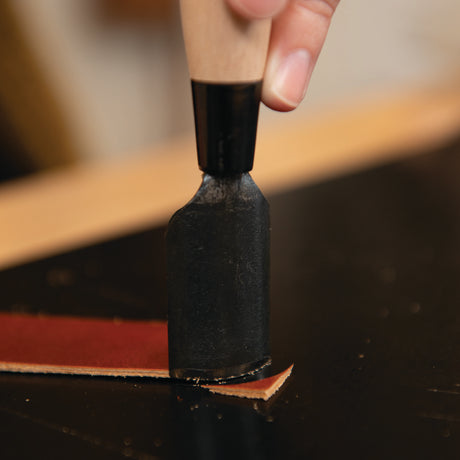
Back to the punch table for some finishing flair! Drop in the two pockets on the right side, taping the larger one first and aligning the smaller one just right. Give the corners a stylish cut with the 25-millimeter Corner Knife. Next, use the small Wing Divider to create a scribed line around the entire piece with the pocket side down.
Now, create stitch holes with the 6-pronged chisel and Rawhide Mallet where there are fewer plys of leather. For the thicker sections, use the 3 or 2-pronged chisel instead. Keep it straight and steady, and you'll have those holes in perfect alignment. Expand or contract your chisel holes for a snug fit. Look at that! You're ready to sew the final stitch around your leather travel wallet!
The Grand Finale: Secure Your Last Stitches Leathercrafter
We've come a long way and it's time for the grand finale!
Use the backside of the leather (where you created those chisel holes) to showcase the beautiful stitch line. Let's thread our trusty 0.8-millimeter Ritza Tiger Thread, ensuring we have enough to go all the way around our precious leather creation.
Start your stitches in the second hole of the larger pocket, and work your way outwards, sewing around the leather. Tie that knot at the initial hole, trim the rest of the thread, and voilà!
If your leather travel wallet's spine feels a bit stiff, don't worry—it's all part of the journey! You started with a free leather wallet pattern and now you have a fully functional and fashionable travel wallet to call your own.
You know how to make a leather wallet, so use it, break it in, and let your creation serve you on all your adventures to come!
Suggested Products ↓
-

![Ritza 25 Tiger Thread, 0.8 mm, 50 Meter Spool]()
![Ritza 25 Tiger Thread, 0.8 mm, 50 Meter Spool]()
![Ritza 25 Tiger Thread, 0.8 mm, 50 Meter Spool]()
![Ritza 25 Tiger Thread, 0.8 mm, 50 Meter Spool]()
![Ritza 25 Tiger Thread, 0.8 mm, 50 Meter Spool]()
![Ritza 25 Tiger Thread, 0.8 mm, 50 Meter Spool]()
![Ritza 25 Tiger Thread, 0.8 mm, 50 Meter Spool]()
![Ritza 25 Tiger Thread, 0.8 mm, 50 Meter Spool]()
![Ritza 25 Tiger Thread, 0.8 mm, 50 Meter Spool]()
![Ritza 25 Tiger Thread, 0.8 mm, 50 Meter Spool]()
![Ritza 25 Tiger Thread, 0.8 mm, 50 Meter Spool]()
![Ritza 25 Tiger Thread, 0.8 mm, 50 Meter Spool]()
![Ritza 25 Tiger Thread, 0.8 mm, 50 Meter Spool]()
![Ritza 25 Tiger Thread, 0.8 mm, 50 Meter Spool]()
![Ritza 25 Tiger Thread, 0.8 mm, 50 Meter Spool]()
![Ritza 25 Tiger Thread, 0.8 mm, 50 Meter Spool]()
![Ritza 25 Tiger Thread, 0.8 mm, 50 Meter Spool]()

Weaver Leather Supply
Ritza 25 Tiger Thread, 0.8 mm, 50 Meter Spool
$9.30Unit price /Unavailable+14 -
![Ritza 25 Tiger Thread, 0.6 mm, 50 meter spool]()
![Ritza 25 Tiger Thread, 0.6 mm, 50 meter spool]()
![Ritza 25 Tiger Thread, 0.6 mm, 50 meter spool]()
![Ritza 25 Tiger Thread, 0.6 mm, 50 meter spool]()
![Ritza 25 Tiger Thread, 0.6 mm, 50 meter spool]()
![Ritza 25 Tiger Thread, 0.6 mm, 50 meter spool]()
![Ritza 25 Tiger Thread, 0.6 mm, 50 meter spool]()
![Ritza 25 Tiger Thread, 0.6 mm, 50 meter spool]()
![Ritza 25 Tiger Thread, 0.6 mm, 50 meter spool]()
![Ritza 25 Tiger Thread, 0.6 mm, 50 meter spool]()
![Ritza 25 Tiger Thread, 0.6 mm, 50 meter spool]()
![Ritza 25 Tiger Thread, 0.6 mm, 50 meter spool]()
![Ritza 25 Tiger Thread, 0.6 mm, 50 meter spool]()
![Ritza 25 Tiger Thread, 0.6 mm, 50 meter spool]()
![Ritza 25 Tiger Thread, 0.6 mm, 50 meter spool]()
![Ritza 25 Tiger Thread, 0.6 mm, 50 meter spool]()
![Ritza 25 Tiger Thread, 0.6 mm, 50 meter spool]()
![Ritza 25 Tiger Thread, 0.6 mm, 50 meter spool]()
Weaver Leather Supply
Ritza 25 Tiger Thread, 0.6 mm, 50 meter spool
$9.30Unit price /Unavailable+14 -
Weaver Leather Supply
John James Saddler's Harness Needles
From $9.40 Sold by 25 packUnit price /Unavailable -

-
![Corner Knife]()
![Corner Knife]()
![Corner Knife]()
![Corner Knife]()
![Corner Knife]()
![Corner Knife]()
-

![Double-Sided Adhesive Tape]()
![Double-Sided Adhesive Tape]()
-
-
-
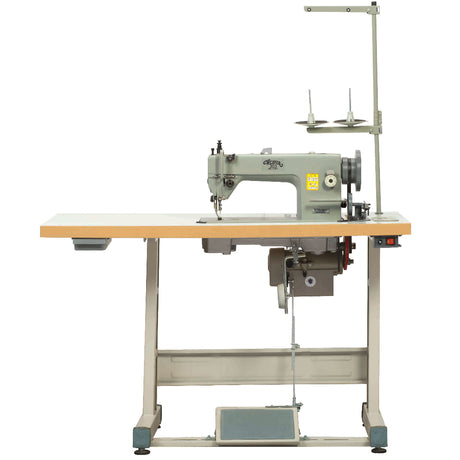
Weaver Leather Supply
Weaver 303 Sewing Machine, Complete Stand & Servo Motor
$1,200.00Unit price /Unavailable -
-
Weaver Leather Supply
Chrome Tanned Leather Remnants, Assorted Colors, 3 lb. Bag
$26.00Unit price /Unavailable -


-

-


Chrome Tanned
View all-
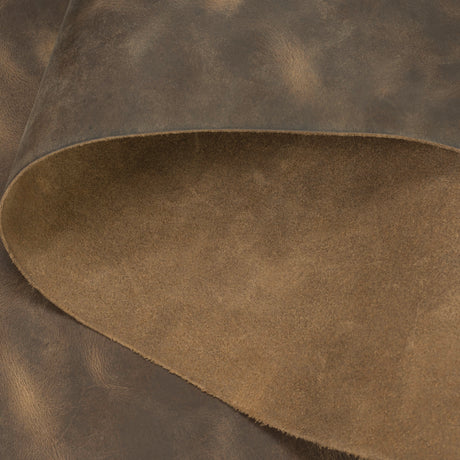
![Cowboy Pull-Up Leather, Side, 5 to 6 oz.]()
![Cowboy Pull-Up Leather, Side, 5 to 6 oz.]()
![Cowboy Pull-Up Leather, Side, 5 to 6 oz.]() New arrival
New arrival -
-
Weaver Leather Supply
Chrome Oil Tanned Top Grain Leather, Doetan, 5-6 oz.
$195.00Unit price /Unavailable -
Up to $20.00 off
-
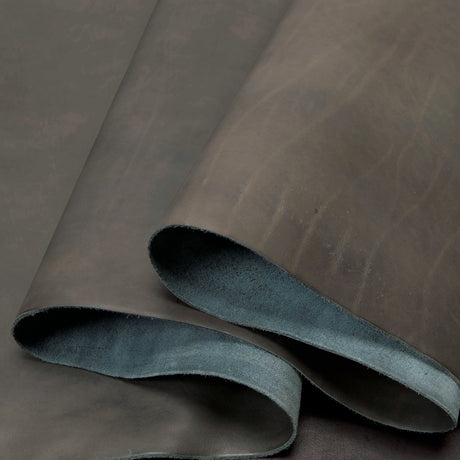
Weaver Leather Supply
Matte Chrome Tanned Water Buffalo Leather, 5-6 oz., Bark Brown
$69.00Unit price /Unavailable -
Weaver Leather Supply
Chrome Tanned Pull Up Leather, 5-6 oz., Brown
$160.00Unit price /Unavailable -
![Lexi Top Grain Leather Sides, 3-4 oz]() Up to $50.00 off
Up to $50.00 off -
Up to $14.50 off