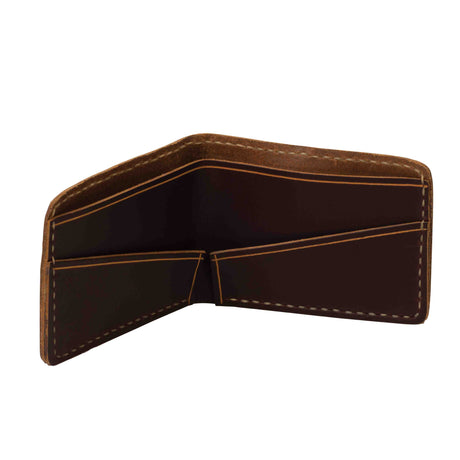
How to Make Your Own Leather Bifold Wallet

Whether you create as a special treat to yourself or give as a heartfelt gift, a handmade leather wallet is a small luxury that makes every day a little brighter. If you want to customize your project with techniques like stamping, antiquing or dyeing, we suggest choosing a veg tan leather. For a beautiful end result in a minimal amount of time, chrome tan leather is the way to go. For step-by-step instructions, check out the Making a Leather Wallet and Cardholder video hosted by our resident leathercrafting expert Chuck Dorsett.
1. Making the Pattern
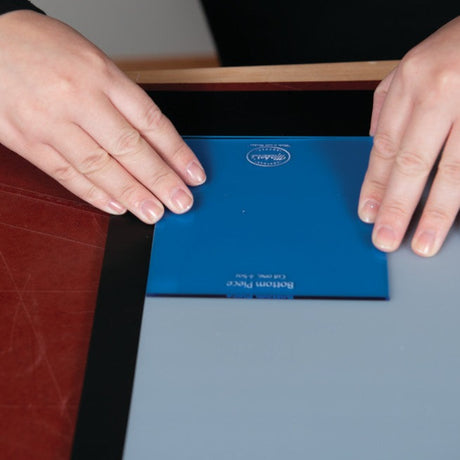
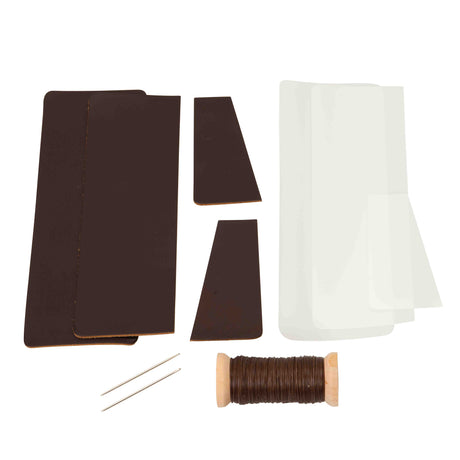
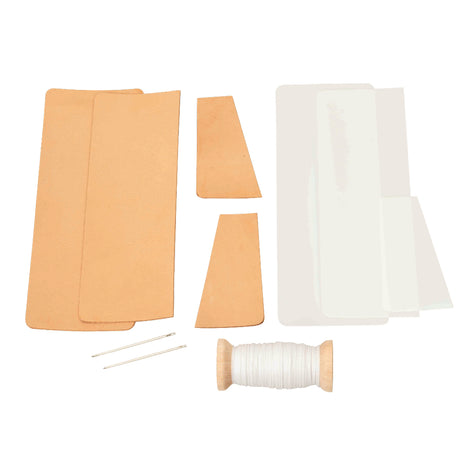
Begin by printing out your leather wallet pattern and transferring it onto pattern paper, or drawing your own pattern from scratch. For a standard bifold wallet, you'll want two main body pieces to glue together to form your main pocket, as well as a few smaller pieces to serve as card pockets. If you want to save time, we recommend using our Leather Wallet Kit that includes all of the precut pieces you need to create a bifold wallet, as well as a simple card holder. It's available in natural veg tan and chrome tan options.
2. Cutting the Leather
Choosing your leather depends on what you envision your final project looking like. If you want to add stamping and tooling to your leather wallet, you'll need to choose a veg tan rather than a chrome tan. Chrome is great if you want to save time with a leather that is pretty much finished, and only needs to be cut and glued together.
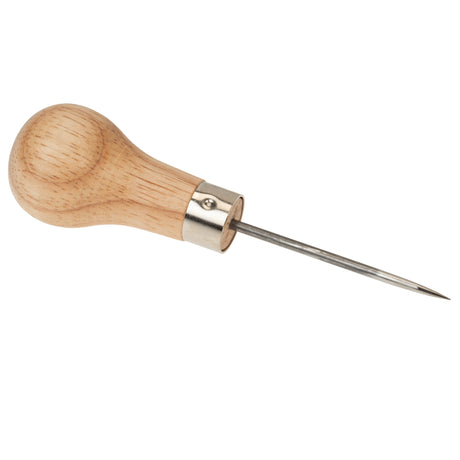
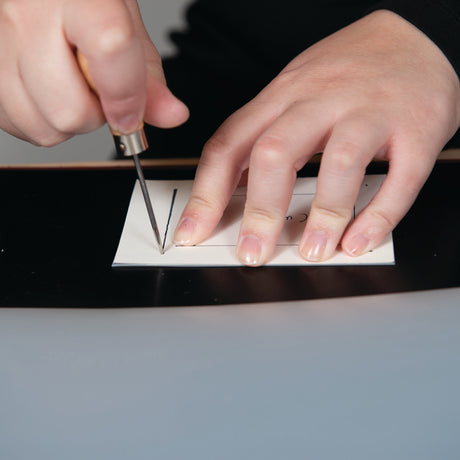
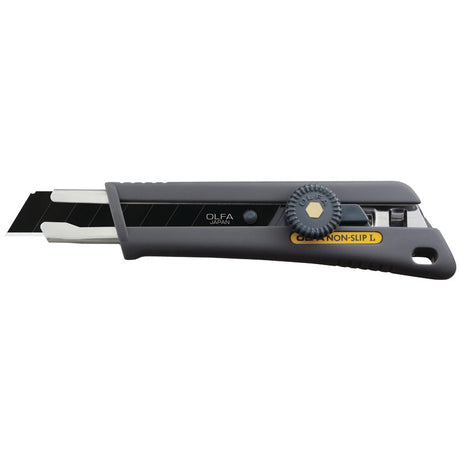
Using a scratch awl, trace your pattern pieces onto your chosen leather. Use a knife with a new blade to carefully cut each piece out.

3. Folding the Wallet
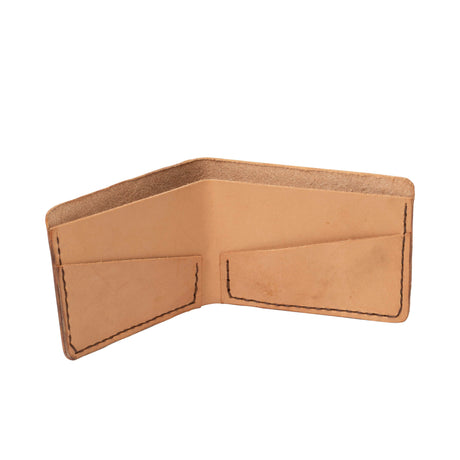
The width of your inside pocket piece should be slightly smaller than the main body piece that forms the outside of your leather bifold wallet, so that the outside layer has room to bend. When assembling your leather wallet, make sure that the edges of the liner are lined up with the edges of the main body piece, allowing the outside piece to have a bit of slack in the middle to accommodate your bend, as well as the contents of your wallet.
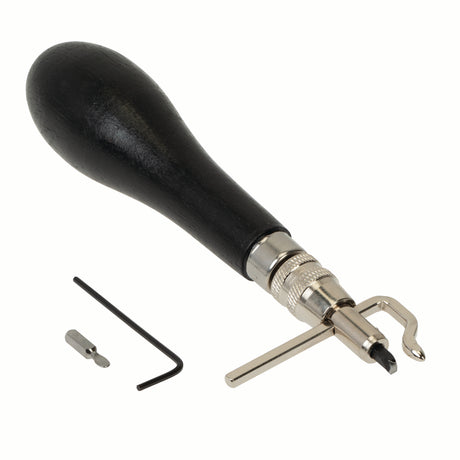
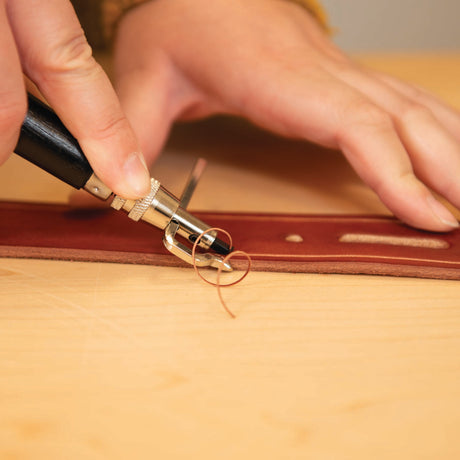
4. Adding the Groove Line
Set your leather stitch groover to 1/8" and groove around all the edges on your main body pieces. A groove line is a great guide for your chisel, and it allows your stitches to sink down into the leather for a more polished appearance and feel. Even if you're not stitching, a groove line adds a nice decorative touch to the edges of your leathercrafting project for a more finished look.
5. Stamping the Leather

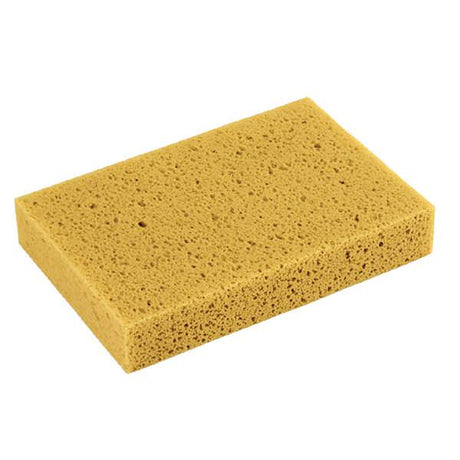
If you plan on stamping, make sure to use veg tan leather. Chrome tan leather will not mold or stamp. Begin by casing, or wetting your veg tan leather. Make sure to wet the entire piece of leather, not just the place you're stamping to avoid water lines. Use a sponge to lightly apply and give it about 5 minutes to dry.
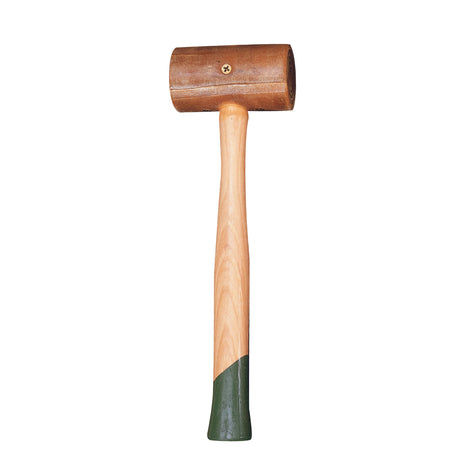
Use any stamp you like, and give it a good tap with a rawhide mallet. Make sure not to tap too hard on thinner leathers. When you're finished stamping, give your leather a few hours to dry.
6. Dyeing the Leather

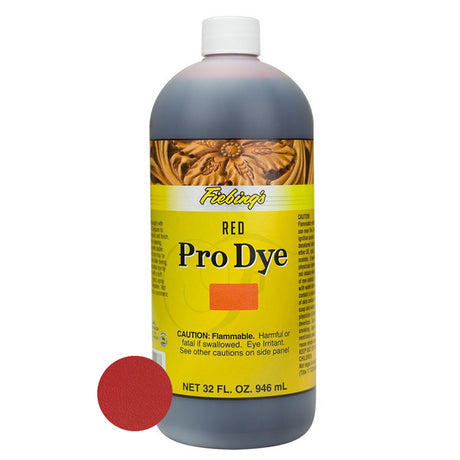
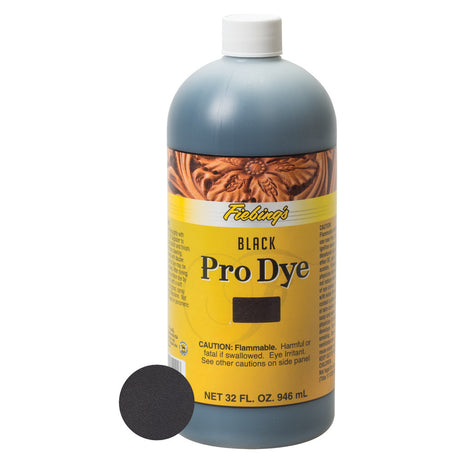
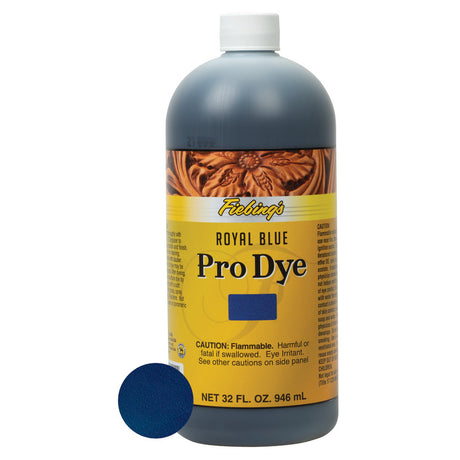
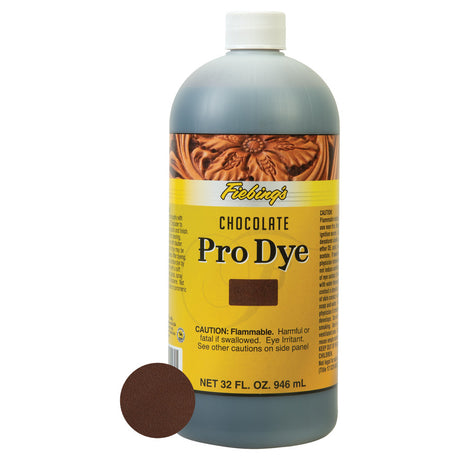
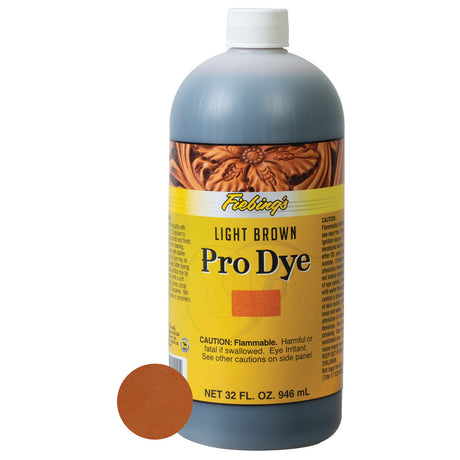
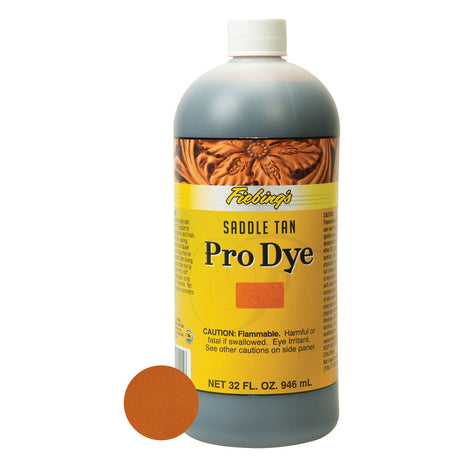
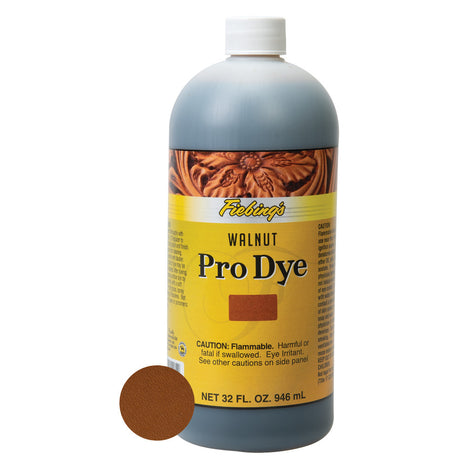
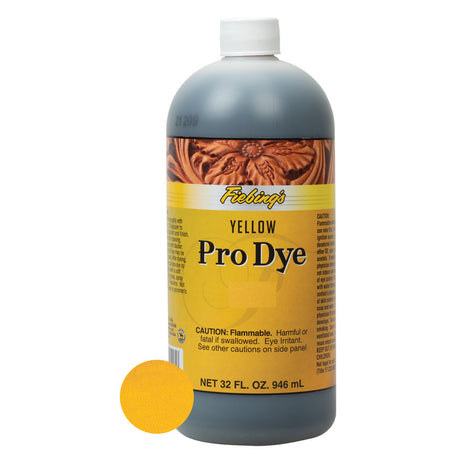
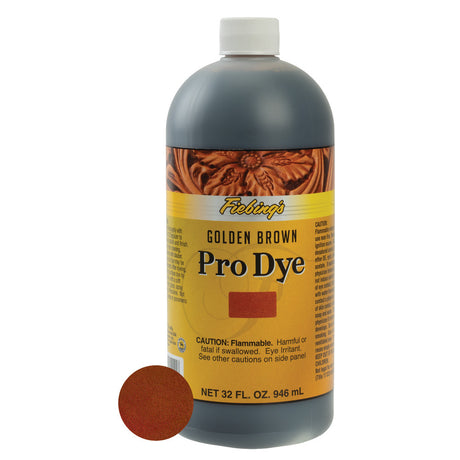
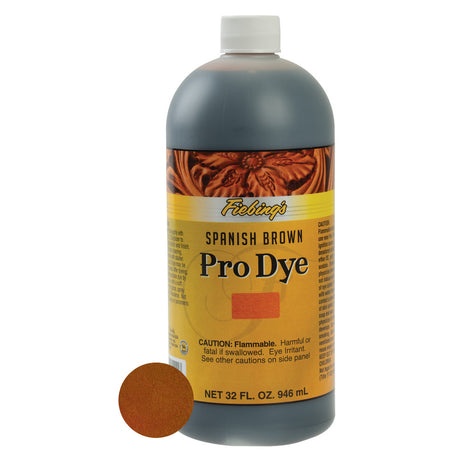
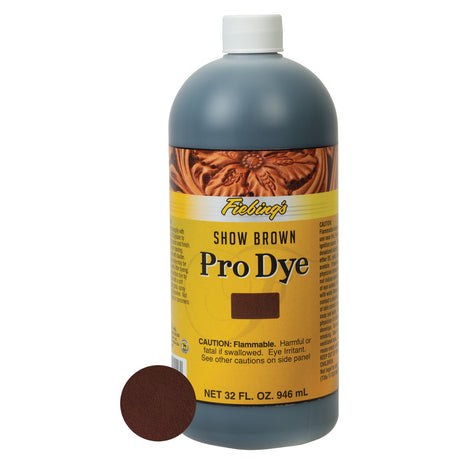
If you're using a natural veg tan leather, dyeing is an important step that will make your handmade leather wallet look finished. You can use daubers or sponges, airbrush or dip dye your pieces. Pro Dye is an oil based dye that allows us to dip dye leather successfully. Just make sure the leather is evenly coated, and lay it aside and wipe with a cotton rag to remove the excess dye. Give each piece about two hours to dry.
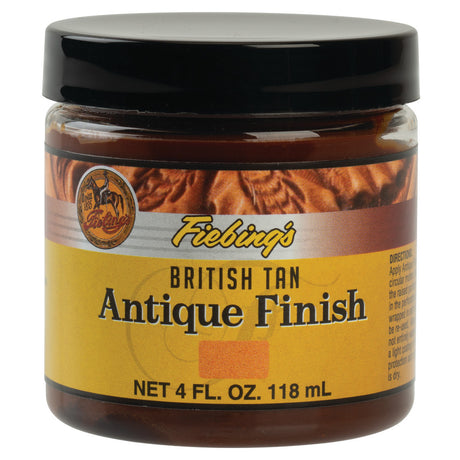
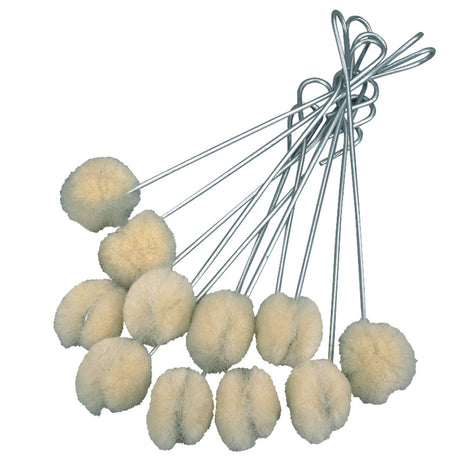
When applying antique, you don't want it to wrap around the back of your wallet pieces, so tape off the flesh side. Apply the antique using a wool dauber to get it down in the stamps and groove lines and edges. Gently buff the antique off using a cotton rag. Set your leather aside to dry for about 45 minutes.
7. Top Coat

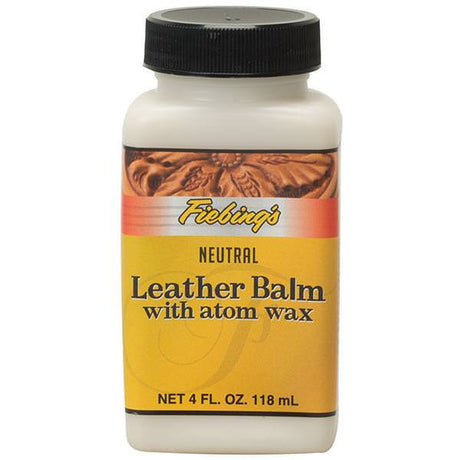
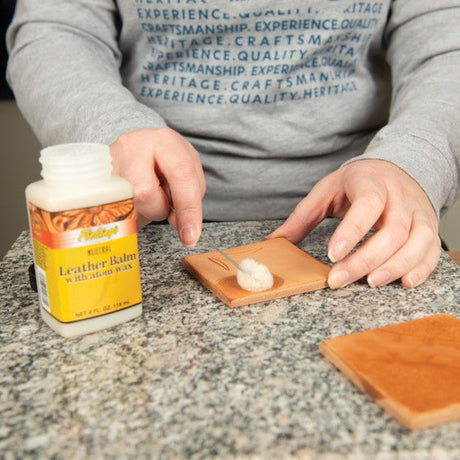
Apply leather balm using a cotton rag, and try to hit as much of the piece as you can in one pass. Use a dry rag to buff the leather and remove the excess balm. You should see a glossy finish start to come through. Give each piece about 15-20 minutes to dry.
A good leather top coat is essential on any project, as it prevents dye from rubbing off and gives your leather a smooth, even look.
8. Gluing
Once all of your pieces are stamped, dyed and decorated to your liking, you can glue them together. You will be stitching your wallet in the next step, but the glue will hold the pieces together to make the stitching easier. Make sure the flesh side of the leather is on the inside of the wallet, so the top grain is facing out on both sides. Lightly apply glue around the edges of the flesh sides, and then give it a few minutes to dry and get tacky. Firmly press the leather pieces together. Attach your pocket pieces the same way, lining up the edges and gluing them flesh side down to the inside of your wallet. Make sure not to apply glue anywhere that will be seen on your finished wallet. It's helpful to hang the edge of your piece off the edge of your table, and lightly brush the glue right off the edge so you don't make a mess on your workspace.
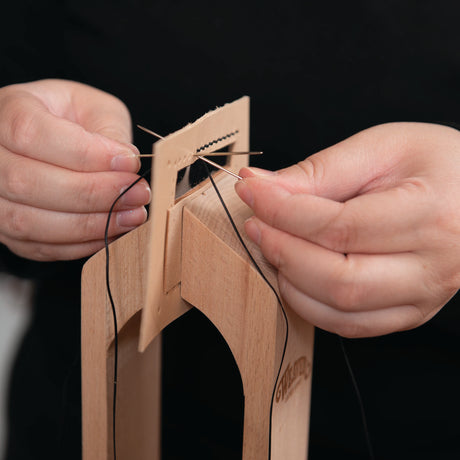
9. Hand Stitching

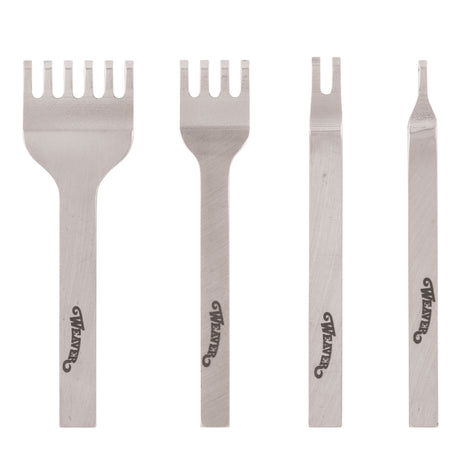
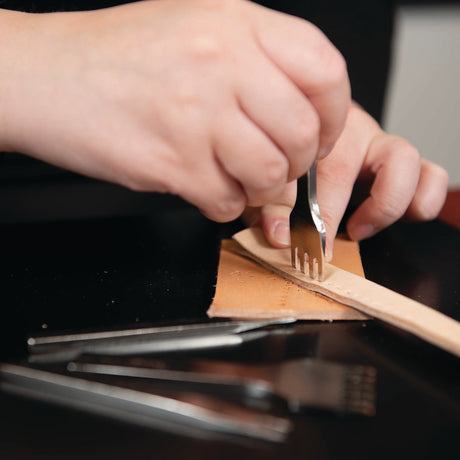
Once your glue has dried and your pieces are securely attached, you can punch your chisel holes for your stitch line. Start your chisel line with one tine hanging off the edge, keeping the chisel in the groove line you made earlier. Chisel all the way around your groove lines, making sure to place the first tine of the chisel in the last hole you made as you move around. This will keep your stitches spaced evenly, rather than trying to eyeball it.
Hand stitching a leather wallet may seem intimidating, but once you have the proper technique down, you'll be creating beautiful stitch lines with ease. For this project, you're going to use a saddle stitch all the way around the sides and bottom edge of your wallet. Take 2 hand sewing needles and measure out your thread to be about 4 times the length of what you need to sew. Thread each end through one of your needles, so that you have a needle in each hand with your thread strung between them.
Start on one side of your wallet, preferably at the top corner where your wallet opens up. Thread one of your needles through both layers of leather, pulling it all the way through and evening up the length of thread on each side. You should now have one needle and half of your thread on each side of your wallet.
Take the needle on the front side of your wallet, and push it halfway into the next stitch hole. Then take the needle on the back (the inside) of your wallet, and push it into the SAME stitch hole. Now, both needles should be halfway in the same hole, pointing in different directions.
Grab both of your needles and pull them the rest of the way through the leather. (The needle that was on the front side should now be on the back, and vice versa.) Pull your thread taut so that the stitch sinks a bit into the groove line. Repeat in the next hole
Repeat your saddle stitch to sew around the entire outside edge of your wallet. Stop when you reach your last hole (right before the hole you started with), leaving it empty.
Take the needle on the inside of your wallet, and push it into your last stitch hole, but only through the first layer of leather. Angle the needle so that it comes out from underneath this layer, from the wallet's opening.
Do the same thing with the needle on the outside of your wallet. Push the needle into the last stitch hole, pulling it through one layer (the main body piece) and out through the wallet's opening.
Pull each thread taut to lock in your stitch line, and then tie a square knot, making sure the knot is pushed inside and hidden in the wallet's opening. Carefully trim your thread ends. If you'd like, you can take a tack hammer and carefully tap down your stitch line to help it sink into the leather.
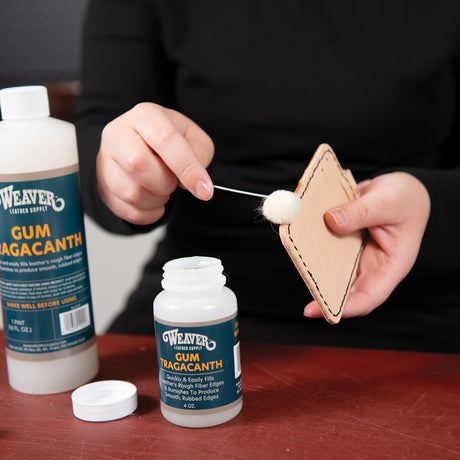
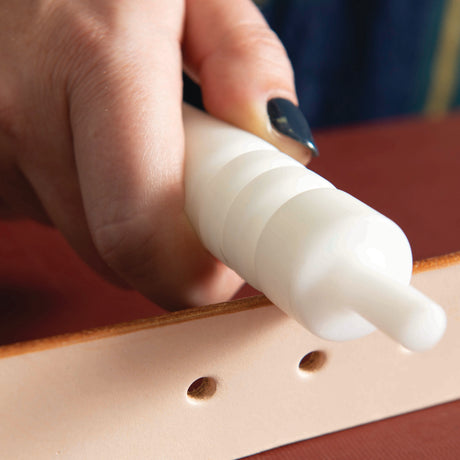
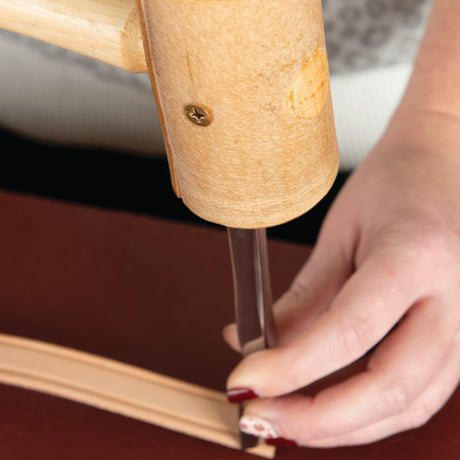
10. Burnish your Edges

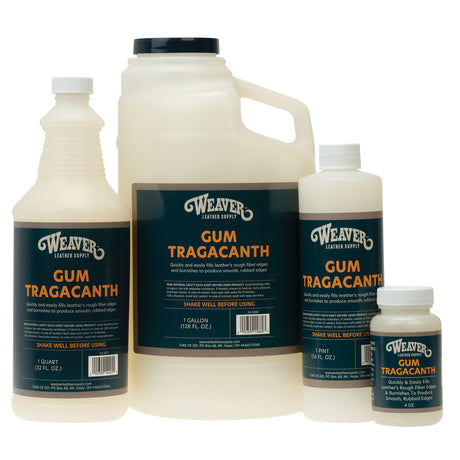
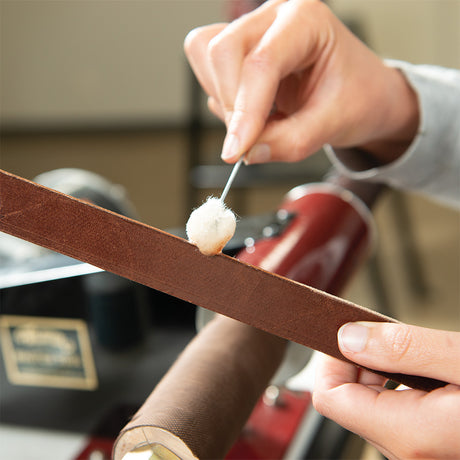
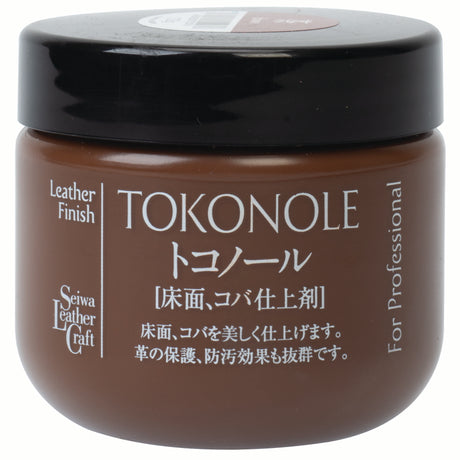
Use a clean rag to carefully apply gum tragacanth or Tokonole to the edges of your wallet, making sure to avoid getting product on the front or back of the leather. Take your edge slicker and place your wallet in the appropriate sized groove, then rub the slicker back and forth along each edge. There's no need to press hard—the burnishing effect comes from the friction created by the back and forth motion, rather than the force applied. Once your edges are burnished to your liking, your handmade leather wallet is complete!
Final Notes
The great thing about a leather bifold wallet is that it can be customized in so many ways! From customized stamping and tooling to adding extra pockets and hardware, you have countless opportunities to make this leather project your own. Once you've mastered the basic steps outlined above, you'll be able to create the unique leather wallet of your dreams!
For Chuck's video tutorial and a full list of supplies we recommend for making a leather bifold wallet, check out our Leather Wallet Project Page. Our Wallet and Cardholder Leathercrafting Kit has project essentials to get you started.

Suggested Products
View all-

![Ritza 25 Tiger Thread, 0.8 mm, 50 Meter Spool]()
![Ritza 25 Tiger Thread, 0.8 mm, 50 Meter Spool]()
![Ritza 25 Tiger Thread, 0.8 mm, 50 Meter Spool]()
![Ritza 25 Tiger Thread, 0.8 mm, 50 Meter Spool]()
![Ritza 25 Tiger Thread, 0.8 mm, 50 Meter Spool]()
![Ritza 25 Tiger Thread, 0.8 mm, 50 Meter Spool]()
![Ritza 25 Tiger Thread, 0.8 mm, 50 Meter Spool]()
![Ritza 25 Tiger Thread, 0.8 mm, 50 Meter Spool]()
![Ritza 25 Tiger Thread, 0.8 mm, 50 Meter Spool]()
![Ritza 25 Tiger Thread, 0.8 mm, 50 Meter Spool]()
![Ritza 25 Tiger Thread, 0.8 mm, 50 Meter Spool]()
![Ritza 25 Tiger Thread, 0.8 mm, 50 Meter Spool]()
![Ritza 25 Tiger Thread, 0.8 mm, 50 Meter Spool]()
![Ritza 25 Tiger Thread, 0.8 mm, 50 Meter Spool]()
![Ritza 25 Tiger Thread, 0.8 mm, 50 Meter Spool]()
![Ritza 25 Tiger Thread, 0.8 mm, 50 Meter Spool]()
![Ritza 25 Tiger Thread, 0.8 mm, 50 Meter Spool]()

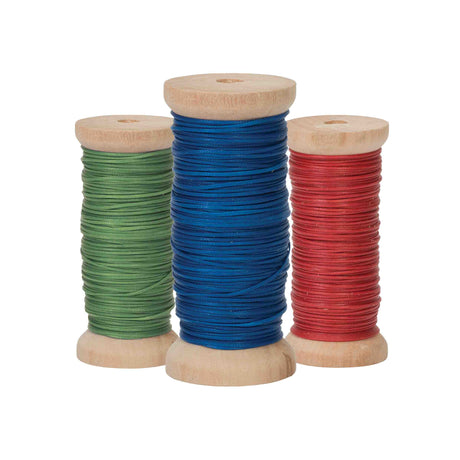
Weaver Leather Supply
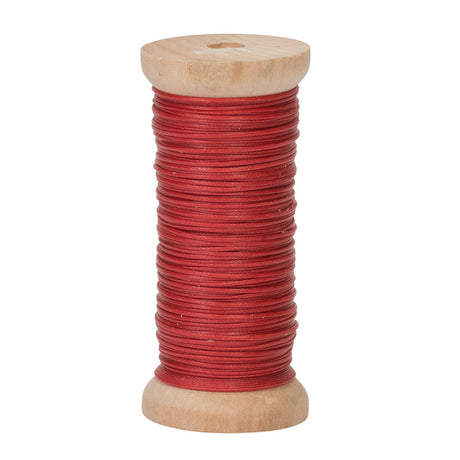
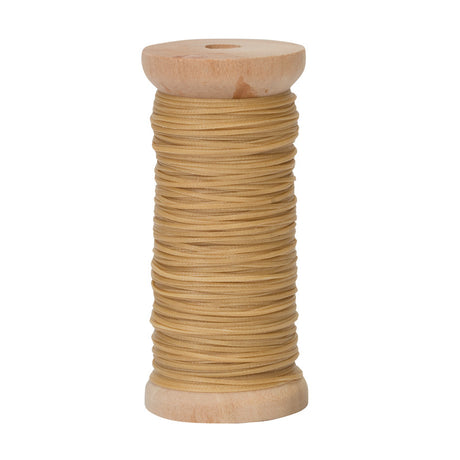
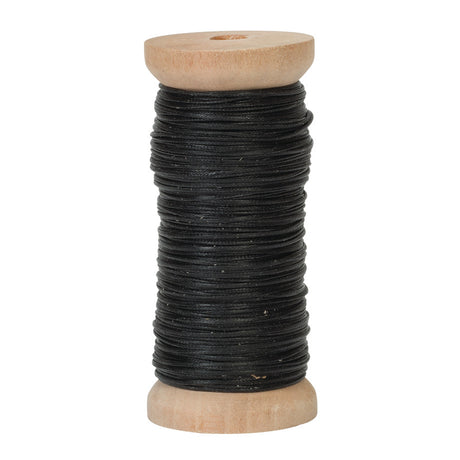
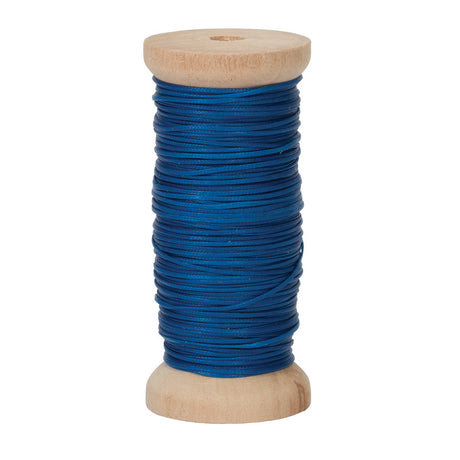
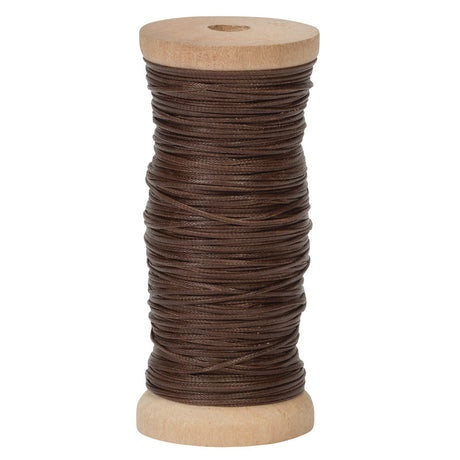
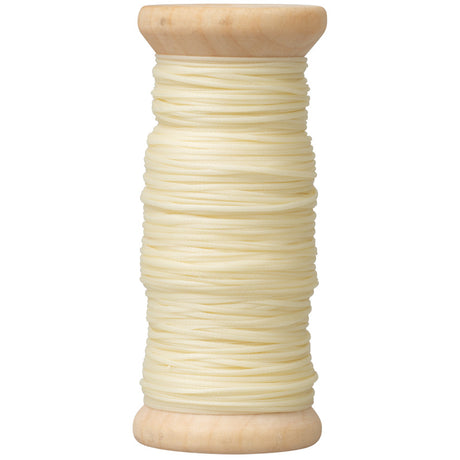
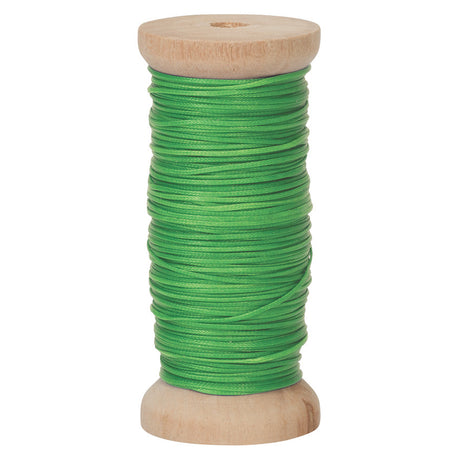
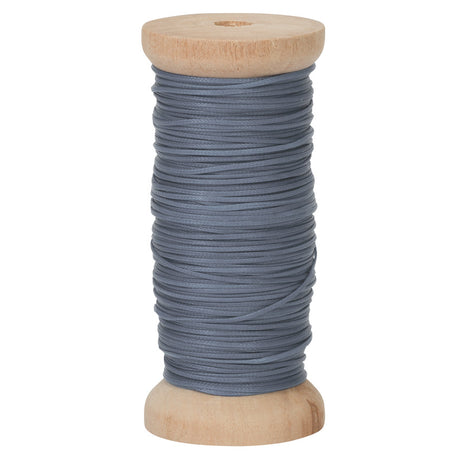
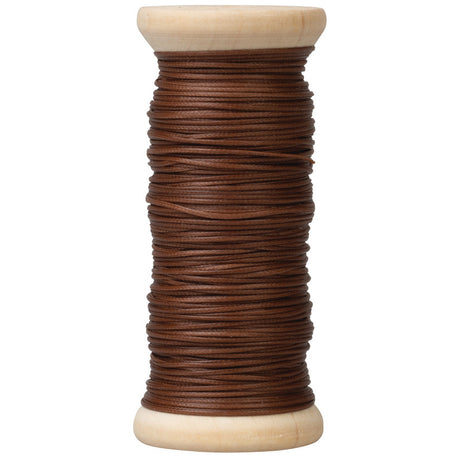
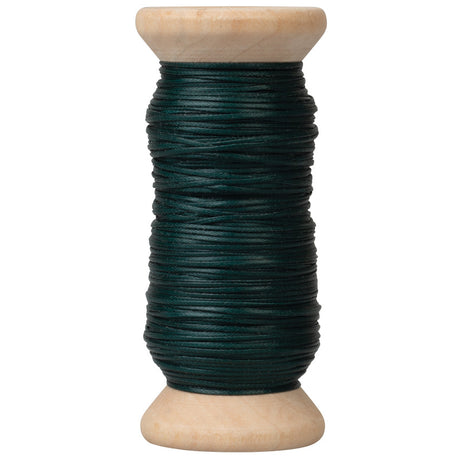
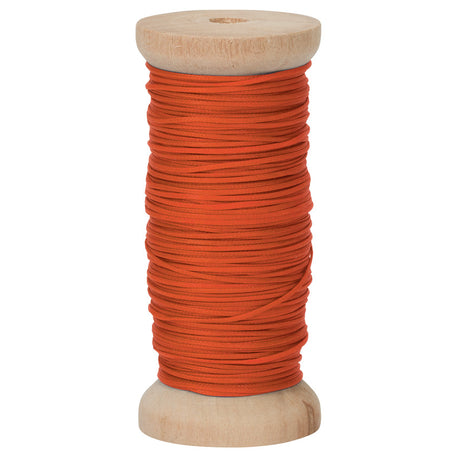
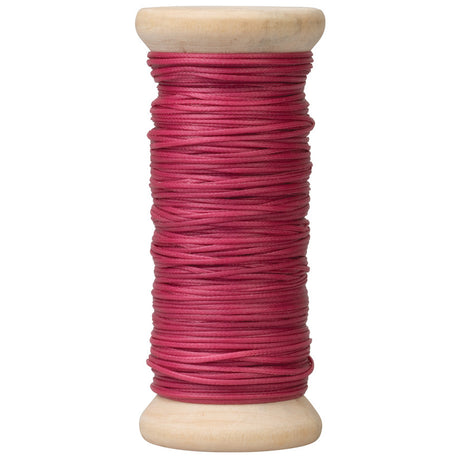
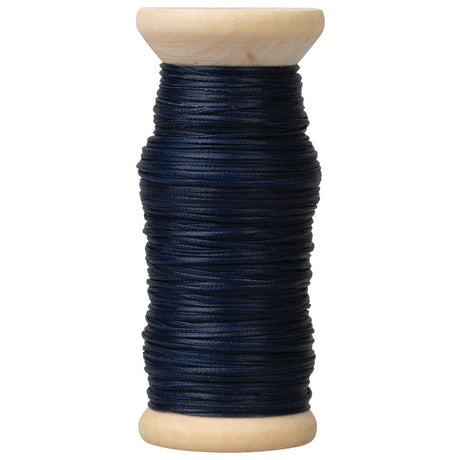
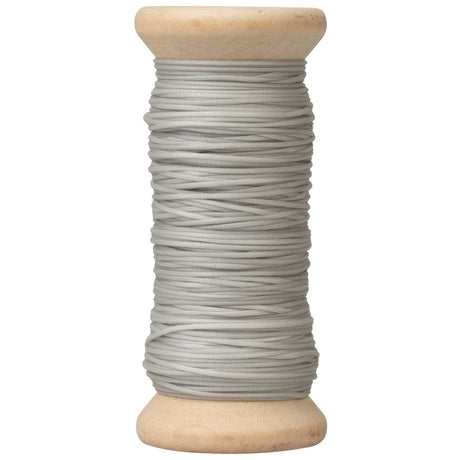
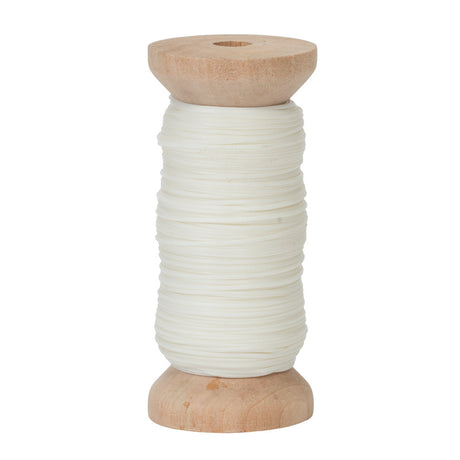
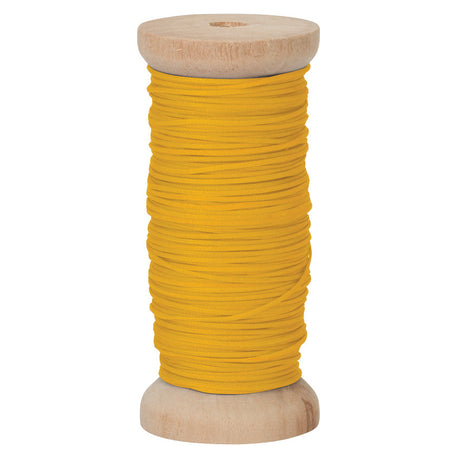
Ritza 25 Tiger Thread, 0.8 mm, 50 Meter Spool
$9.30Unit price /Unavailable+14 -
Weaver Leather Supply
John James Saddler's Harness Needles
From $9.40 Sold by 25 packUnit price /Unavailable -
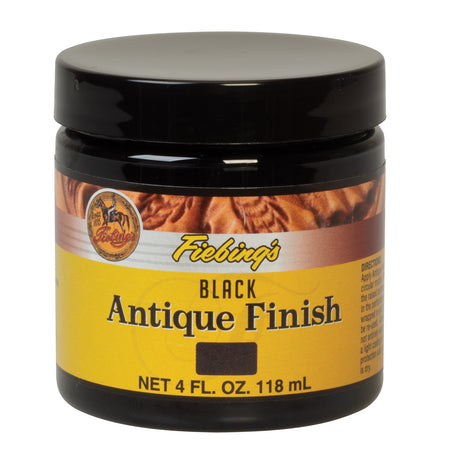
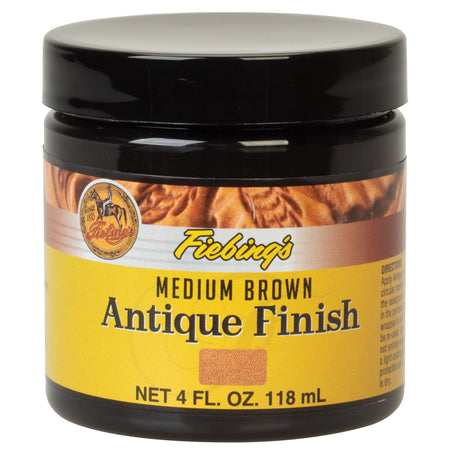
![Fiebing's Antique Finish, 4 oz.]()
![Fiebing's Antique Finish, 4 oz.]()
![Fiebing's Antique Finish, 4 oz.]()
![Fiebing's Antique Finish, 4 oz.]()
![Fiebing's Antique Finish, 4 oz.]()
![Fiebing's Antique Finish, 4 oz.]()
![Fiebing's Antique Finish, 4 oz.]()
![Fiebing's Antique Finish, 4 oz.]()
![Fiebing's Antique Finish, 4 oz.]()
-
![Fiebing's Pro Dye, Quart]()
![Fiebing's Pro Dye, Quart]()
![Fiebing's Pro Dye, Quart]()
![Fiebing's Pro Dye, Quart]()
![Fiebing's Pro Dye, Quart]()
![Fiebing's Pro Dye, Quart]()
![Fiebing's Pro Dye, Quart]()
![Fiebing's Pro Dye, Quart]()
![Fiebing's Pro Dye, Quart]()
![Fiebing's Pro Dye, Quart]()
![Fiebing's Pro Dye, Quart]()
![Fiebing's Pro Dye, Quart]()
![Fiebing's Pro Dye, Quart]()
![Fiebing's Pro Dye, Quart]()
![Fiebing's Pro Dye, Quart]()

-
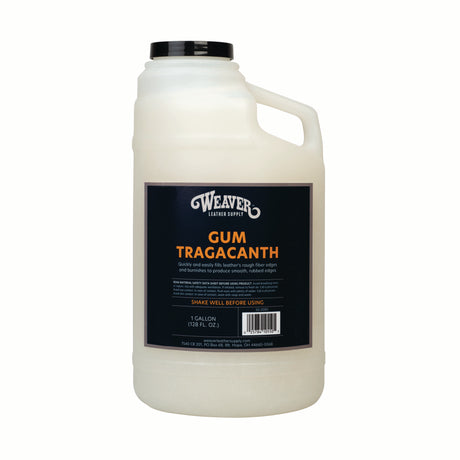
![Weaver Gum Tragacanth]()
![Weaver Gum Tragacanth]()
![Weaver Gum Tragacanth]()
![Weaver Gum Tragacanth]()
-

-
-
![Tokonole Burnishing Gum]()
-
![Pattern Sheet, 24" x 45"]()

-
Sold out
-
-

Weaver Leather Supply
Fiebing's Leather Balm with Atom Wax, Neutral, 4 oz.
$8.39Unit price /Unavailable -
-
![Toluene-Free Barge Cement]()
![Toluene-Free Barge Cement]()
![Toluene-Free Barge Cement]()
-
-
-
-
-

-